


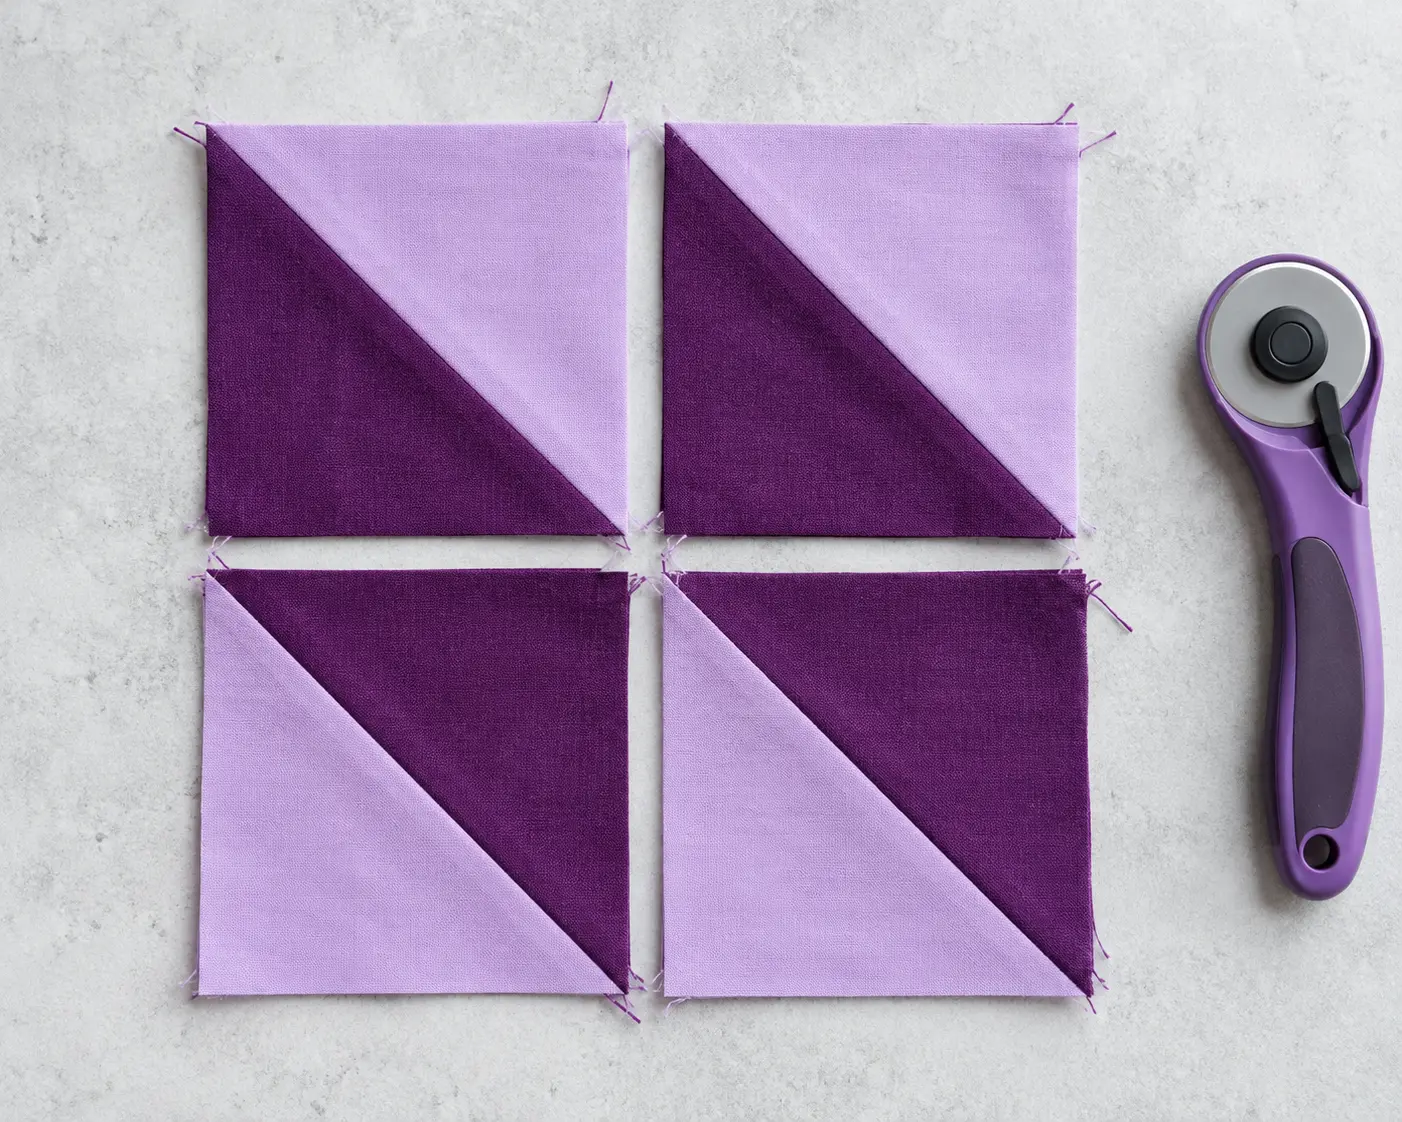
Half-square triangles, or HSTs, let one square hold two contrasting triangles. The cutting chart below gives deliberately oversized starting squares for three common methods, so you can trim each unit to a dependable unfinished size.
Choose the finished block size first. A 4-inch finished HST must measure 4½ inches unfinished before it is joined to neighboring blocks with quarter-inch seams.
The measurements are in US inches. They assume an accurate quarter-inch sewing seam and enough extra fabric for trimming; test one pair before cutting every square for a large quilt.
Read the chart correctly
“Finished” means the visible HST size after the unit is sewn into a quilt on all four sides. “Unfinished” means the square size you trim to before it joins the quilt.
The unfinished trim target is always the finished size plus ½ inch. This is the one relationship to remember when a pattern gives you only the finished block size.
The 2-at-a-time column is the side length of each of two matching starting squares. The 4-at-a-time and 8-at-a-time columns are also the side length of each of two starting squares; all methods need a light square and a dark square of the listed size.
| Finished HST | Trim unfinished HST to | Cut two squares for 2 at a time | Cut two squares for 4 at a time | Cut two squares for 8 at a time |
|---|---|---|---|---|
| 1½ in | 2 in | 2½ in | 3½ in | 5 in |
| 2 in | 2½ in | 3 in | 4¼ in | 6 in |
| 2½ in | 3 in | 3½ in | 4⅞ in | 7 in |
| 3 in | 3½ in | 4 in | 5⅝ in | 8 in |
| 3½ in | 4 in | 4½ in | 6⅜ in | 9 in |
| 4 in | 4½ in | 5 in | 7 in | 10 in |
| 5 in | 5½ in | 6 in | 8½ in | 12 in |
| 6 in | 6½ in | 7 in | 9⅞ in | 14 in |
The 2-at-a-time cuts add 1 inch to the desired finished size. The 8-at-a-time cuts add 2 inches after doubling it. Both are a little larger than the theoretical minimum, leaving room to square up.
The 4-at-a-time cuts are rounded up to the next eighth inch from the geometric minimum plus a small trimming margin. The units have bias edges, so treat these as practical starting cuts rather than a promise that every fabric will behave identically.
For example, the row for 3-inch finished blocks tells you to trim every unit to 3½ inches. You can start with two 4-inch squares for two units, two 5⅝-inch squares for four, or two 8-inch squares for eight.




Which method should you use?
Choose two at a time if you need only a few units or want easier control of directional prints. Its outer edges follow the fabric grain, which makes the unit less vulnerable to stretching during handling.
Choose four at a time when you have larger squares and want four matching units quickly. Because the resulting outer edges are on the bias, handle them gently and avoid tugging while pressing.
Choose eight at a time for a batch of identical units. The cuts are efficient, but every marked line and seam affects eight blocks, so a test pair is especially valuable.
There is also a one-at-a-time method: layer two squares, sew directly on one diagonal, trim the excess, and press. It uses more fabric and is useful when you need a specific print position.
Strip piecing is another option, but its ruler placement depends on strip width and the angle of the cut. Use a dedicated strip-method ruler guide rather than assuming the square-cut chart applies unchanged.
The Janome HST tutorial shows quarter-inch seams on both sides of a diagonal guide and emphasizes trimming the result ½ inch larger than its finished size. That standard underpins the size labels here.
Make two HSTs at a time
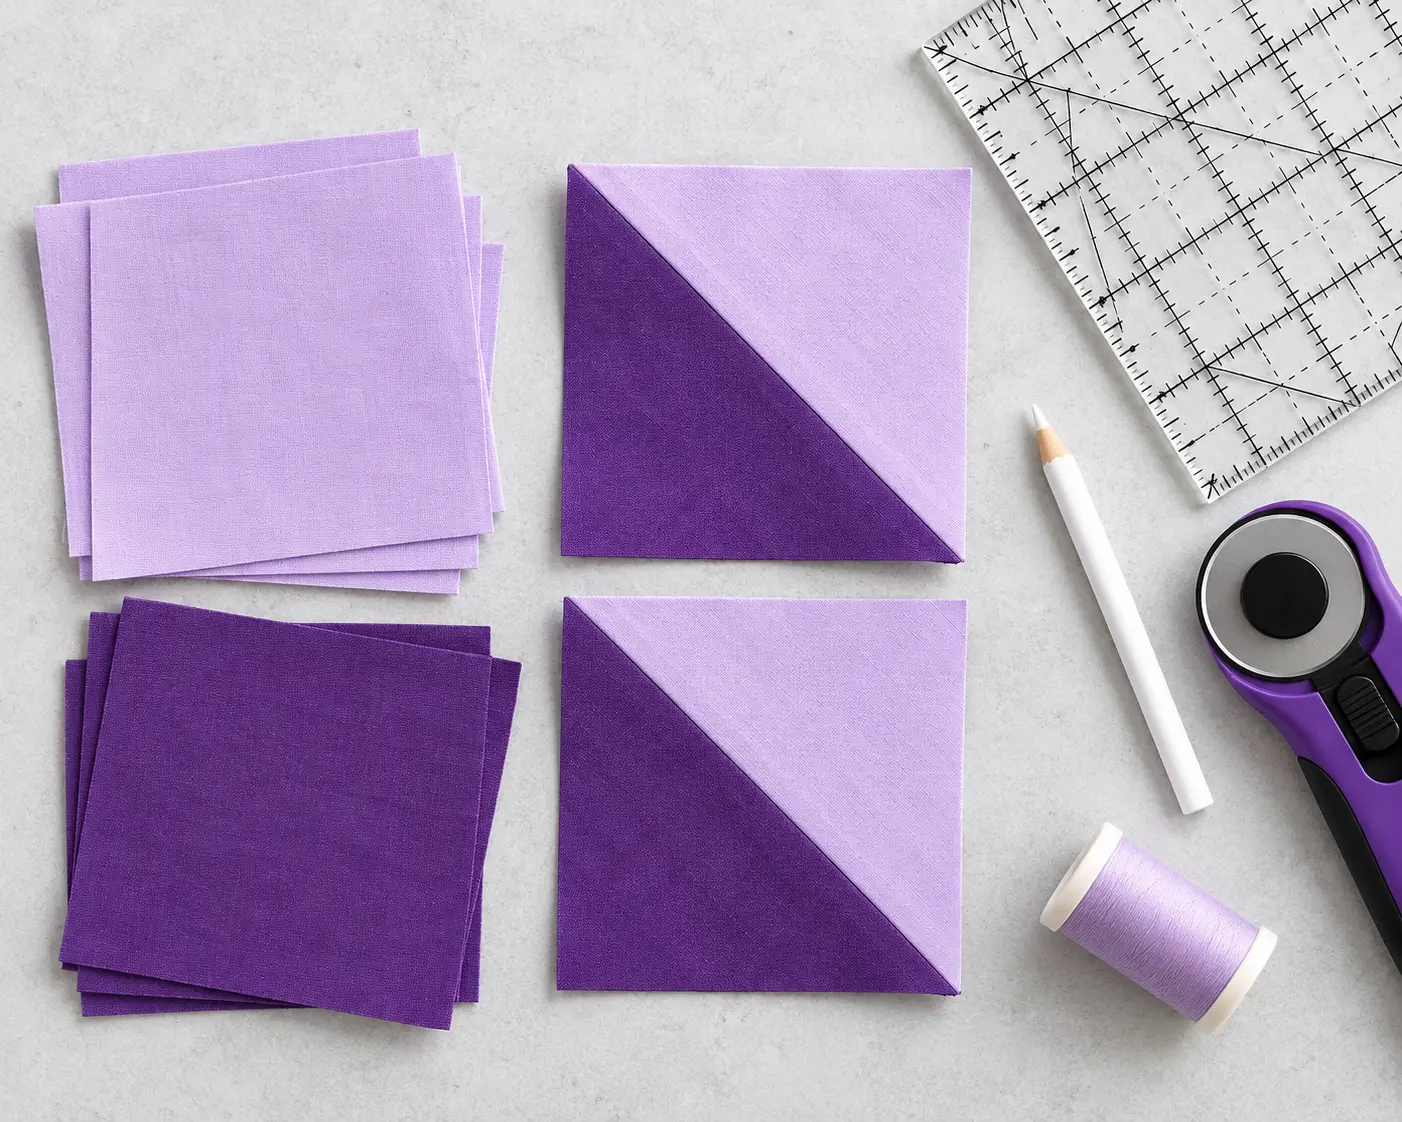
Cut two squares using the 2-at-a-time column. For a 4-inch finished HST, cut two 5-inch squares, one from each fabric.
Place them right sides together and draw one corner-to-corner diagonal on the wrong side of the lighter fabric. Pin only if the layers shift.
Sew a quarter inch on each side of the diagonal. Cut along the marked line between the seams to separate two units.

Press the seams without dragging the iron. Open the triangles and trim each square to 4½ inches unfinished, keeping the diagonal centered from corner to corner.

Remove the tiny points that extend past the square, often called dog ears. The two finished units will be ready to join into a block.


Make four HSTs at a time
Cut two starting squares from the 4-at-a-time column. For 4-inch finished units, cut two 7-inch squares.
Place the squares right sides together and sew a quarter inch around all four outside edges. Do not leave a turning opening.
Draw both corner-to-corner diagonals to form an X. Cut on those two lines, producing four triangular pairs, and open each pair into a square.
Press gently from the center toward the corners. The new outside edges are bias cut; keep them on the mat and lift the iron rather than sliding it.
If you want to use a directional print, test how its motif rotates in all four units before sewing a full stack. This method does not preserve one upright print direction in every resulting square.
Trim all four units to the chart’s unfinished size. If the first test square falls short, confirm the perimeter seam width and starting-square measurement before cutting the full batch.

Moda’s four-at-a-time block instructions use the same perimeter-seam and diagonal-cut construction. The chart above adds an explicit trim target for planning your own block size.
Make eight HSTs at a time
Cut two squares from the 8-at-a-time column. For 4-inch finished units, use two 10-inch squares and plan to trim eight pieces to 4½ inches unfinished.
Layer them right sides together, then mark both diagonals on the wrong side of the lighter square. Also mark the vertical and horizontal halfway lines.
Sew a quarter inch on both sides of each diagonal. You will sew four long seam lines in total; do not sew the horizontal and vertical marks.
Cut along both diagonal marks, then the horizontal and vertical center marks. Keep the stacked layers flat while cutting so the eight units do not shift.
Count the units after the first pair: four sections, each divided by a diagonal cut, make eight HSTs. If you have fewer, a center or diagonal cut was missed.

Press and trim each HST to the unfinished target. Janome’s eight-at-a-time instructions show the diagonal seams followed by center and diagonal cuts.


Keep every unit square
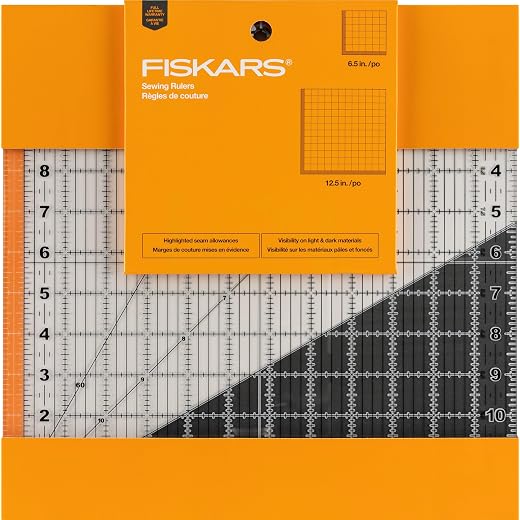
Place a square ruler’s 45-degree line on the HST seam while trimming. Cut two adjacent edges, rotate the unit, then trim the other two to the exact unfinished size.

Check the seam after trimming: it should reach opposite corners. If it misses a corner, the two triangles will meet neighboring blocks unevenly even when the outside square measures correctly.
Pressing seams to the dark side can reduce shadowing through light fabric; pressing open can reduce bulk at crowded intersections. Test both on one unit and use the approach that suits the full quilt design.
Starch or a fabric press aid may help stabilize bias edges, but follow the product and fabric instructions. The more important habit is to support the whole block while moving it.
Label stacks with their intended finished size. A 4-inch unfinished HST and a 4-inch finished HST are different pieces, and mixing them is an easy cutting mistake.
For a patchwork project that uses these units, try the quilted Christmas stocking or browse beginner quilt layouts. Start with a few test blocks and record the size that your own machine produces before cutting the rest.
What’s Next?
Pin this post: Save this tutorial to your Pinterest boards so that you can come back to it later.
Leave a comment: We love to hear your feedback. Tell me in the comments below!
Share on Instagram or Facebook: When you make this project, share it on social media and tag me @iheartdiybystacy. We love to see what you make!
Have questions? Join the Facebook Group!
We hope this article was useful for you! If you have any additional questions, feel free to join my Facebook Group. We created this group for you to share pictures, ask questions, and help each other out.
I hope this article was useful for you! If you have any additional questions, feel free to join my Facebook Group.
Join the group to share pictures, ask questions, and help each other out.


Have a question? Use the form above to submit your question or comment.
I love hearing from you and seeing what you made!