


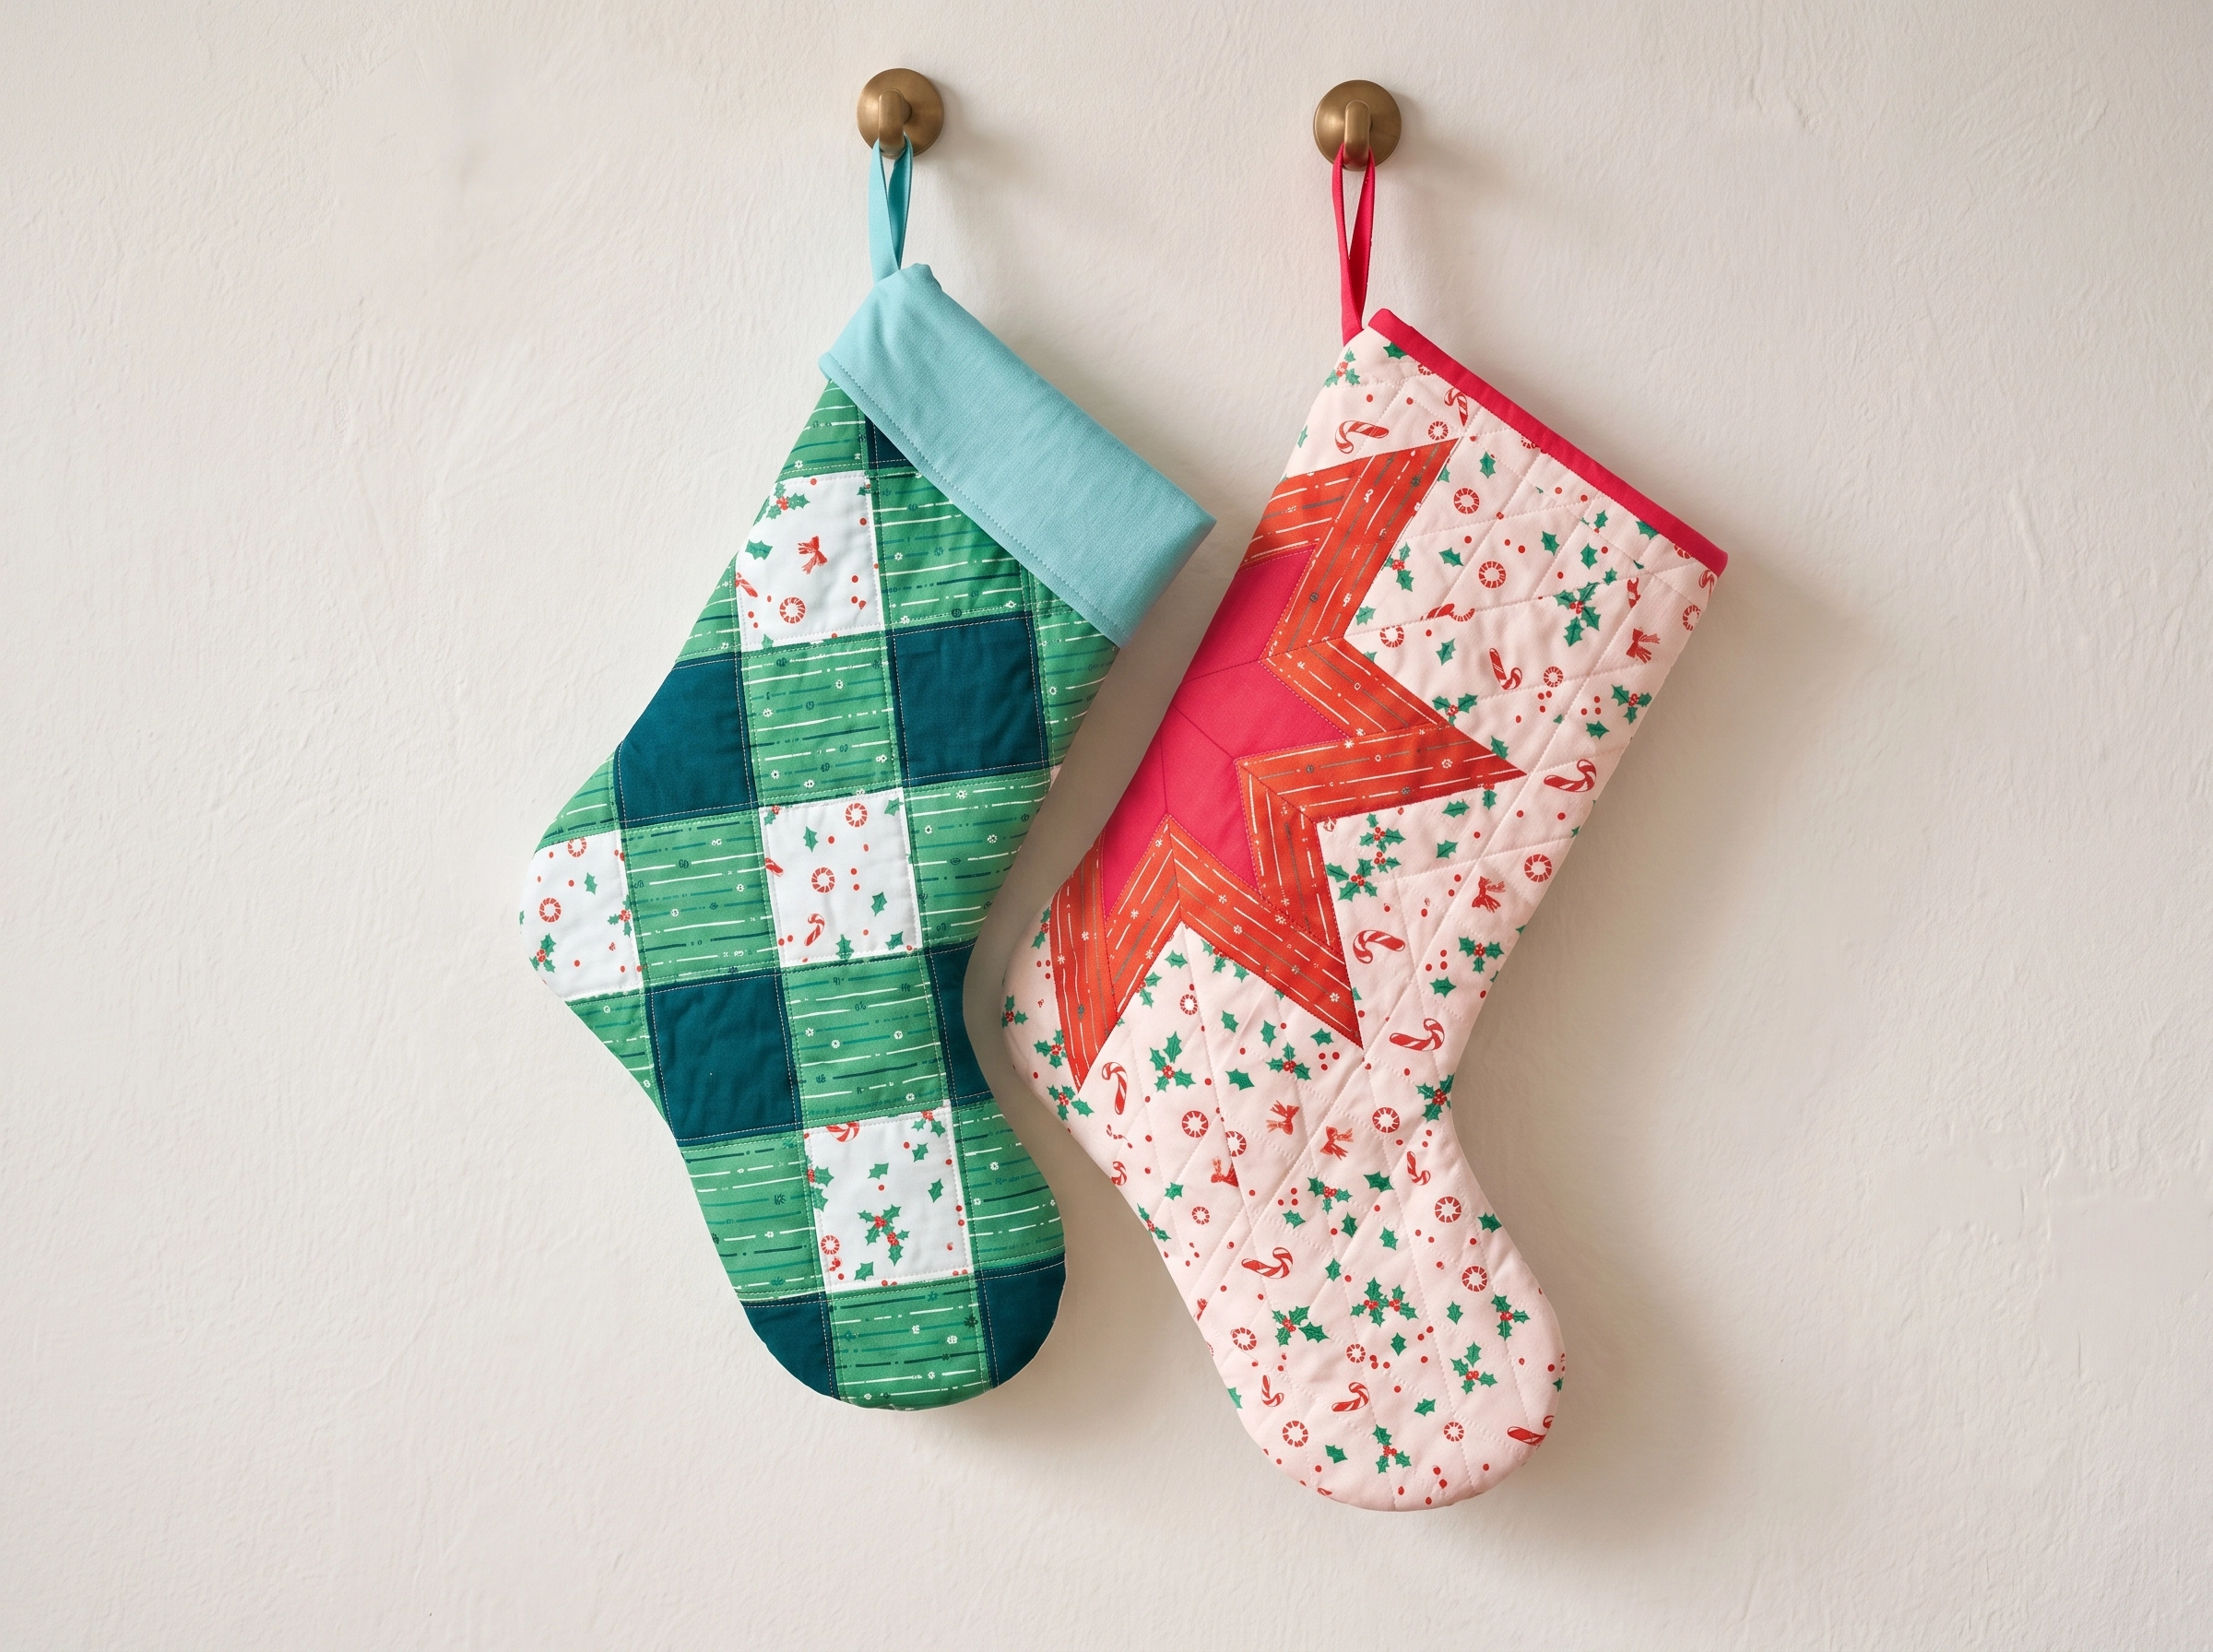
A quilted Christmas stocking turns a small patchwork panel into something you can hang and use. This tutorial gives you a full-size stocking outline as coordinates, so you can draw the pattern on paper without downloading an image.
The finished stocking is about 17½ inches tall, with a 5½-inch opening and an approximately 10½-inch-wide foot. The paper cutting outline includes a quarter-inch seam allowance; check it against a ruler before cutting fabric.

Plan the stocking
This version has a patchwork front, a plain or pieced back, low-loft batting, a separate lining, and a fabric hanging loop. The outer pieces are quilted before the stocking is assembled.
Choose quilting cotton for both outer and lining fabrics. A handful of coordinating scraps can make the front; a single fat quarter usually provides enough fabric for the back or lining only if it can accommodate the 18-inch length and full outline width, so check the actual cut before relying on one.
Use a quarter-inch seam throughout. Mark that allowance on a test scrap and sew it first: a small variation in seam width matters near the narrow ankle and curved heel.
The patchwork panel must be larger than the paper pattern in every direction. A 13-by-20-inch panel gives comfortable trimming room around the 11.2-by-18-inch outline.
Draw the full-size paper pattern
Tape paper into a sheet at least 12 inches wide and 19 inches tall. Draw a one-inch grid, with x measured from the left edge and y measured down from the top edge.
Plot the points below in inches. The stocking toe points right; the first and last points are the two ends of the open cuff.
| Point | x | y | Edge |
|---|---|---|---|
| A | 2 | 0 | Top left |
| B | 8 | 0 | Top right |
| C | 7.7 | 4 | Right leg |
| D | 7.2 | 8 | Right leg |
| E | 7 | 11.5 | Inner ankle |
| F | 8.3 | 12.4 | Top of foot |
| G | 10.6 | 13.4 | Upper toe |
| H | 11.2 | 15.3 | Toe tip |
| I | 10.4 | 17.2 | Lower toe |
| J | 8.5 | 18 | Sole |
| K | 3.4 | 18 | Sole |
| L | 1.1 | 17.1 | Heel bottom |
| M | 0.1 | 15.8 | Heel |
| N | 0.6 | 13.8 | Heel upper |
| O | 2 | 11.5 | Left leg |
| P | 2 | 7.5 | Left leg |
Connect A to B with a straight line for the cuff. Then draw a smooth curve from B through C–P and back to A, rounding the heel and toe without sharp corners. The plotted line is the cutting line; sew a quarter inch inside it.
The curve is intentionally forgiving, but both fabric sides must come from the same paper shape. Label the paper “front” on one face and “back” on the reverse to prevent two identical-facing pieces.
Join each plotted point with a pencil first, then soften the short angled segments at the toe and heel. A plate or curved ruler can help, but neither changes the marked overall width or height.
Cut out the paper and lay it on a flat surface. Check that the cuff is 6 inches across and that the full height reaches 18 inches before cutting fabric.
If you prefer a narrower stocking, reduce only the foot projection after testing the paper silhouette with a folded paper mock-up. Keep the cuff and ankle roomy enough for a hand to reach inside.
Gather fabric and tools
You need a patchwork front at least 13 by 20 inches, fabric for an outer back of the same size, two lining pieces that fit the paper outline, and two low-loft batting pieces slightly larger than the outline. Fabric quantities vary with print direction and piecing.
For the loop, cut one 2-by-7-inch strip of sturdy quilting cotton. You will fold and stitch it into a narrow strap; a firmly woven ribbon of similar length also works.
Have a sewing machine, matching thread, sharp fabric scissors or a rotary cutter and mat, ruler, iron, pins or clips, and a hand needle ready. A walking foot can help feed the quilted outer pieces evenly.

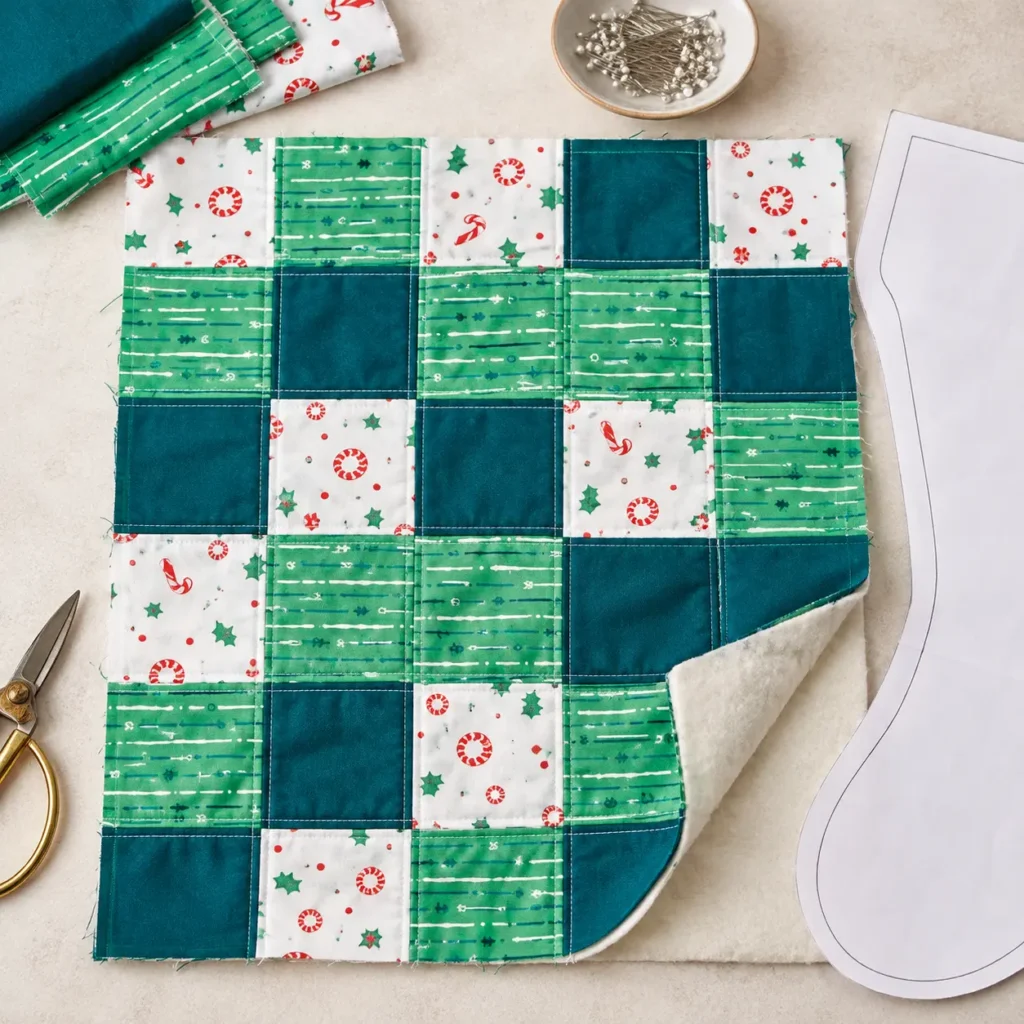
Choose a simple patchwork arrangement that fits within the 13-by-20-inch panel. A strip design uses long pieces and few intersections; a grid of squares gives a more traditional look but requires more matching seams.
Keep large directional prints upright in the leg portion. A motif that looks right in a flat panel may appear sideways when it bends into the toe.
For a first stocking, sew seven 2½-inch-wide fabric strips into a 13-by-20-inch panel, adding length with short joins where needed. Press the seams in alternating directions so the panel lies flat.
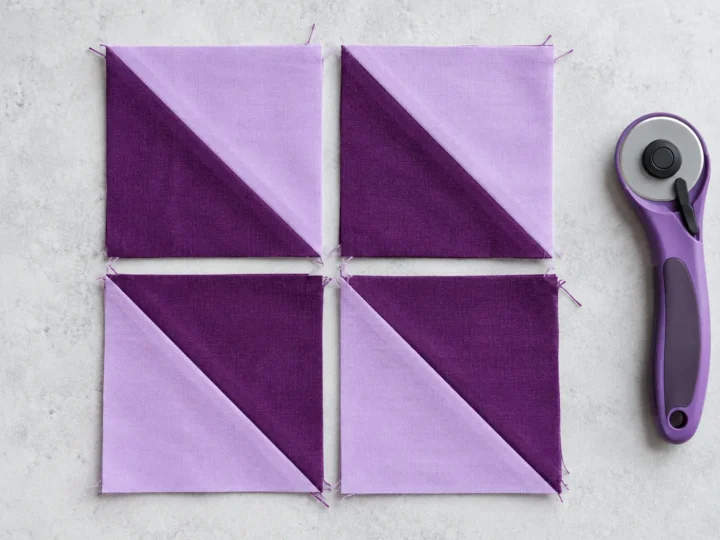
If you want to use half-square triangles, make them a little oversized and trim them consistently before assembling the panel. The half-square triangle charts explain two-, four-, and eight-at-a-time methods.




Piece and quilt the outer layers
Press the patchwork front thoroughly. Lay it wrong side down over one batting piece and baste from the center outward with safety pins or long temporary stitches.
Quilt straight lines across the front, keeping the stitching away from any loose raw edge. A walking foot and a longer stitch length can make the layers feed more evenly; test the combination on a scrap first.
Baste the outer back to its batting in the same way. Quilt it as simply or densely as the front, while keeping both sides flat enough to trace.
Check the batting maker’s quilting-distance instructions before choosing widely spaced lines. Some battings need closer stitching than others to stay stable after washing.
Set the paper pattern on the quilted front and trace around it. Cut on the traced cutting line, then flip the paper over and repeat for the back so the pieces mirror each other when their right sides face.
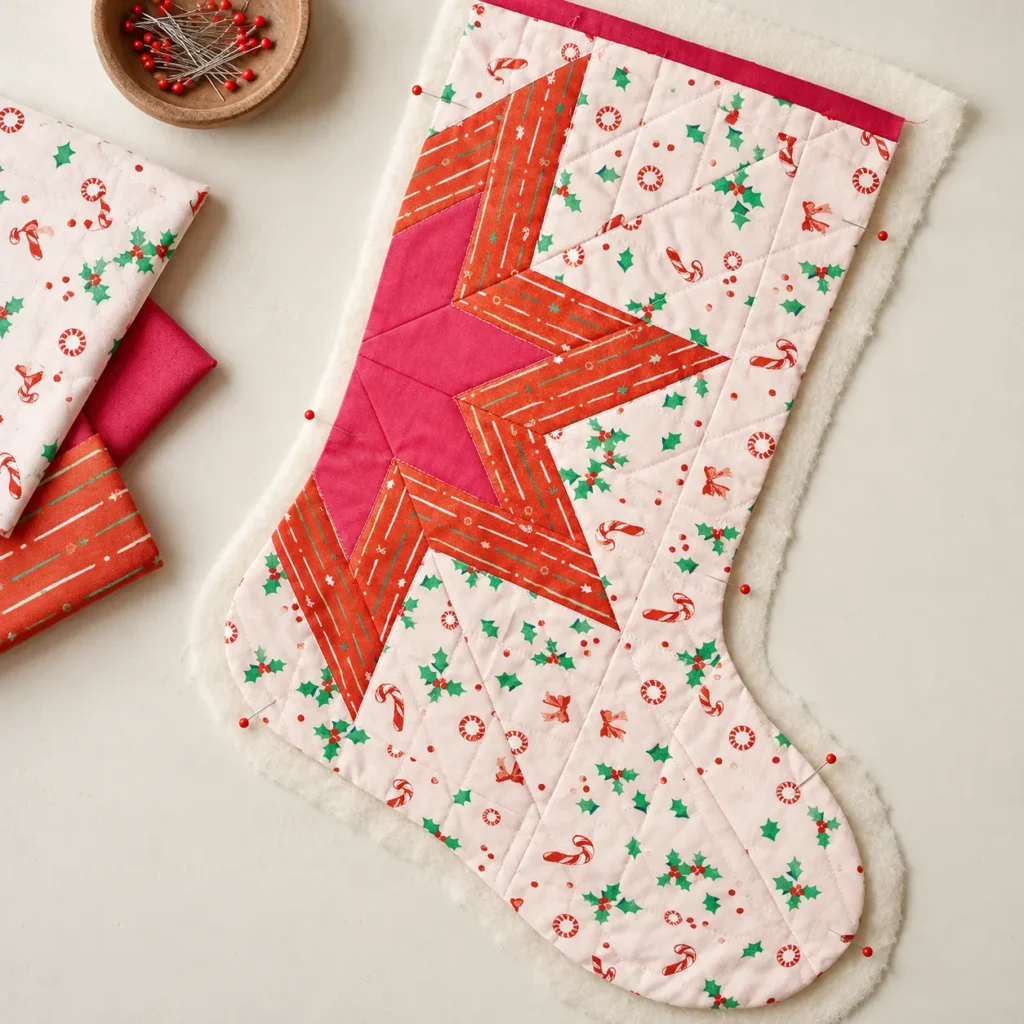
Cut two lining shapes from unquilted cotton: one with the paper face up and one with it face down. Mark each piece at the cuff so you do not accidentally rotate a stocking shape.

Lay the front and back right sides together. Align the cuff, ankle, heel, and toe, then clip around the curved edge without stretching the quilted pieces.
Sew from one cuff corner, around the leg and foot, and up to the other cuff corner with a quarter-inch seam. Leave the straight cuff edge open.
Shorten the stitch length slightly around tight curves if your machine needs it. Stop with the needle down to pivot gently instead of forcing the layers sideways.
Trim batting from the seam allowance where it adds bulk. Clip the concave inner ankle and notch the convex toe and heel, stopping short of the stitching.
Never cut through the seam at the inner ankle. Leave a small thread-width margin so the clipped edge can spread without opening a hole when the stocking turns.
Turn the outer stocking right side out and push the curves out with a blunt tool. Press from the fabric side, protecting raised seams and avoiding aggressive pressure on the batting.


Sew the lining and loop
Place the lining shapes right sides together and sew their curved perimeter with the same quarter-inch seam. Leave the cuff open and a 4-inch turning gap along the straightest part of the sole.
Mark the turning gap with two pins before sewing. Backstitch at both ends of that opening so it stays secure while you pull the layers through later.
Clip the lining curves just as you did the outer stocking. Keep the lining wrong side out; its right side will face the quilted outer layer in the next step.
Try the lining around the quilted shell before adding the loop. It should reach the toe without bunching; if it is tight, recheck the lining seam allowance and how closely it follows the paper curve.
Fold the 2-by-7-inch loop strip in half lengthwise, wrong sides together, and press. Open it, fold both long raw edges to the crease, then fold again and topstitch near the open edge.
Fold the finished strap into a loop, with its cut ends together. Place those ends at the heel-side cuff seam of the outer stocking, pointing the loop downward into the stocking, and baste inside the quarter-inch seam allowance.
Check the hanging direction before joining the lining. The loop should emerge above the heel side when the stocking hangs with its toe to the right.


Join the lining to the outer stocking
Slip the right-side-out outer stocking inside the wrong-side-out lining. The right sides should touch, with cuff edges and heel-side seams matched.
Pin the cuff all the way around, keeping the folded loop sandwiched between the layers. Push excess lining down into the foot so it cannot catch in the cuff seam.
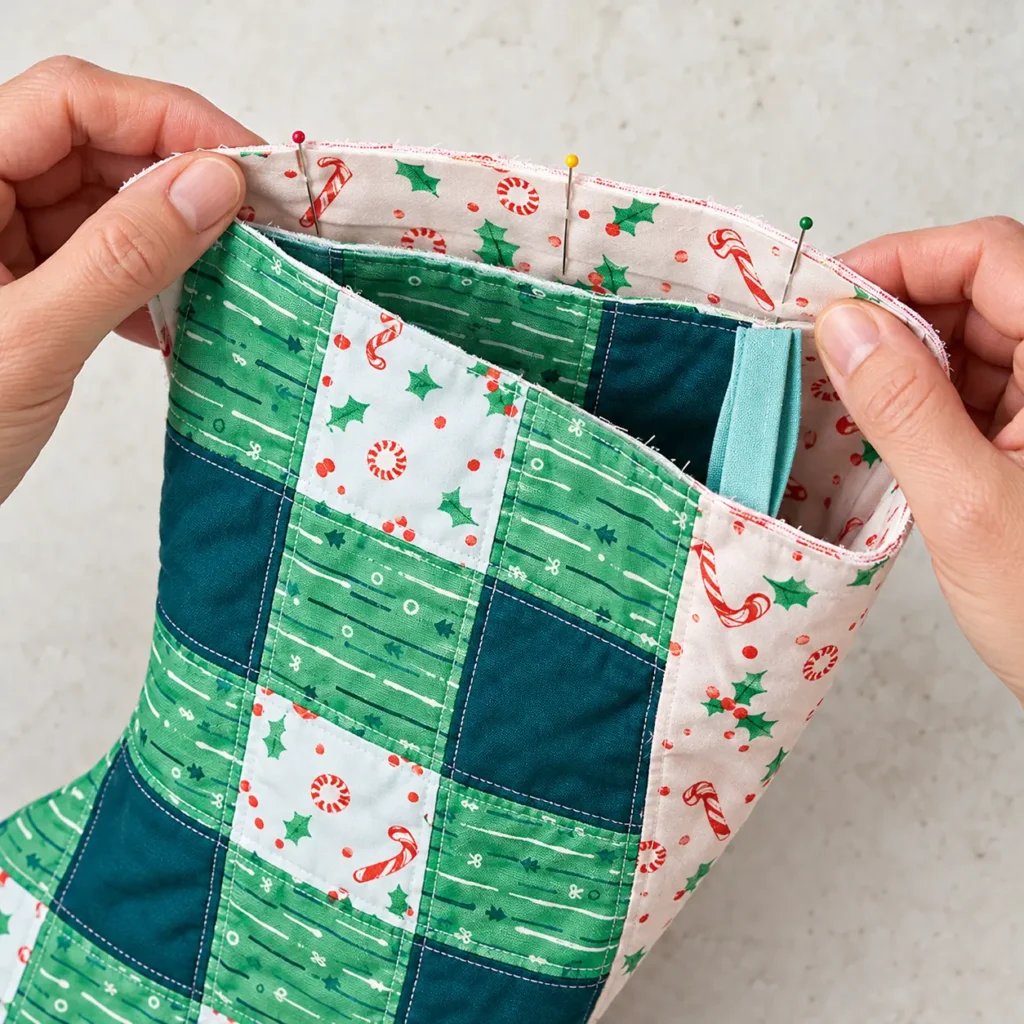
Sew one continuous quarter-inch seam around the cuff. Slow down over the loop ends and sew a second short reinforcing line across that area if the fabric thickness allows.
Reach through the opening in the lining sole and pull the quilted stocking through. Continue turning until the lining is right side out too; the two stockings will be joined at the cuff.
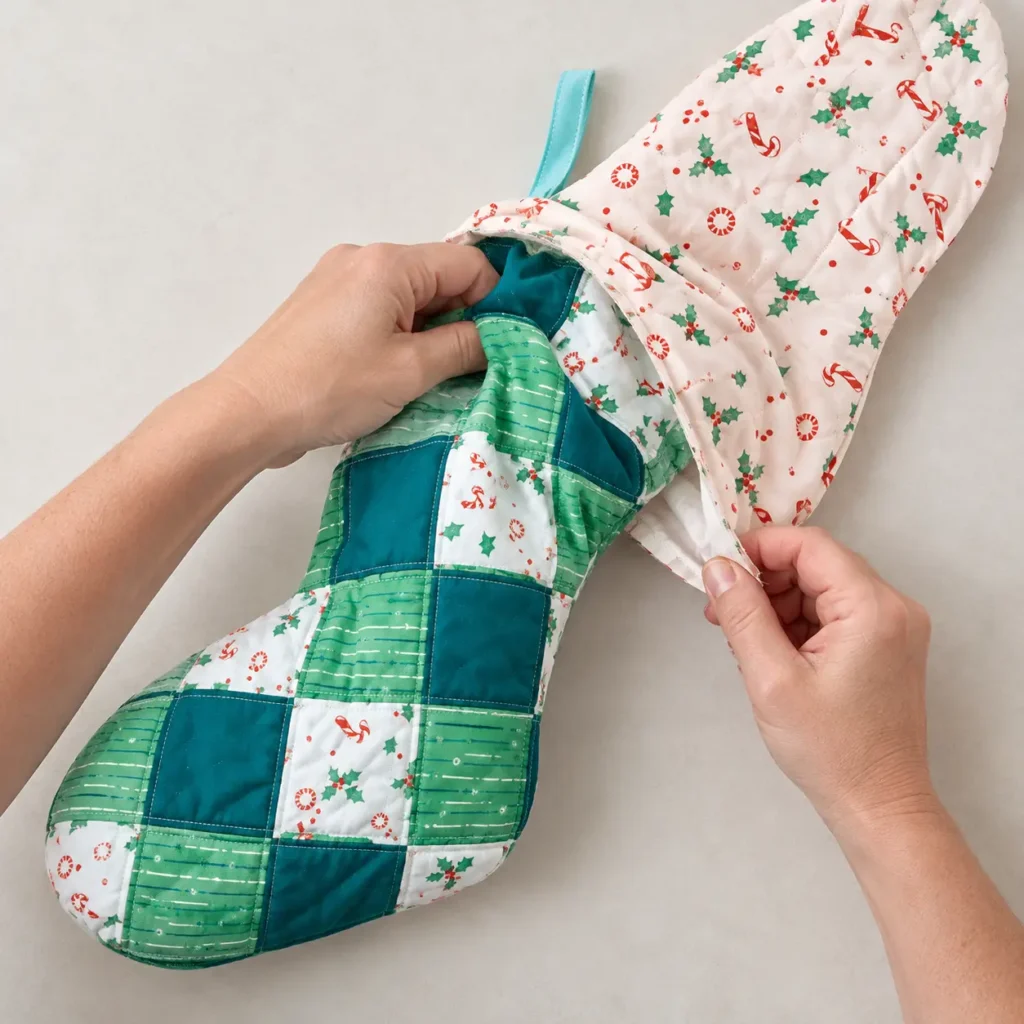
Smooth the cuff seam with your fingers and confirm that the loop has been caught securely. If its ends escaped the seam, repair that join before closing the lining.
Fold the raw edges of the lining’s turning gap inward by a quarter inch. Close the gap with a ladder stitch or a narrow machine seam close to the fold.
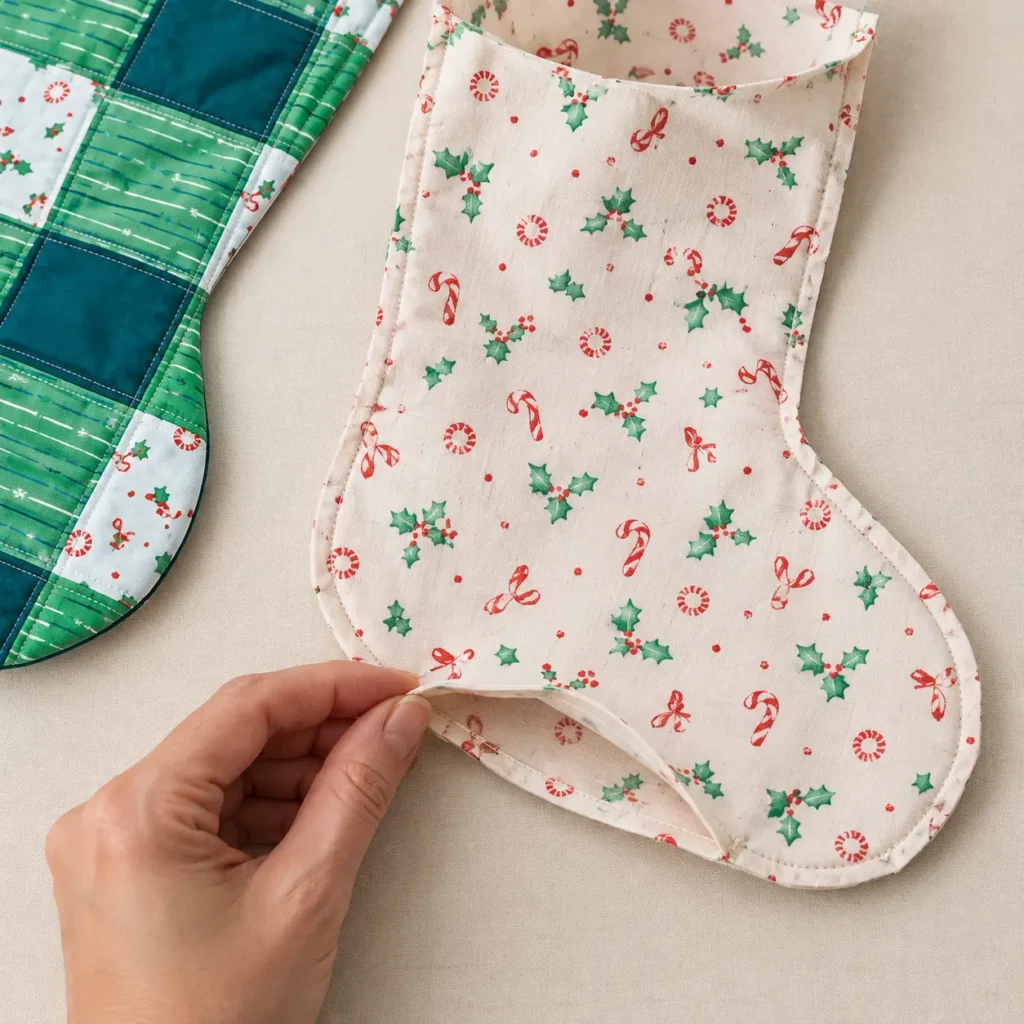
Push the lining into the outer stocking, matching heel to heel and toe to toe. The lining should sit below the cuff rather than roll over onto the patchwork face.
Press the cuff lightly and topstitch about an eighth inch from its edge. This catches the seam allowance and helps the lining stay inside when the stocking is filled.
Check the finish
Lift the stocking by its loop and inspect the cuff, sole, and toe. The batting should be enclosed, the lining gap closed, and the loop angled naturally toward the hanging point.
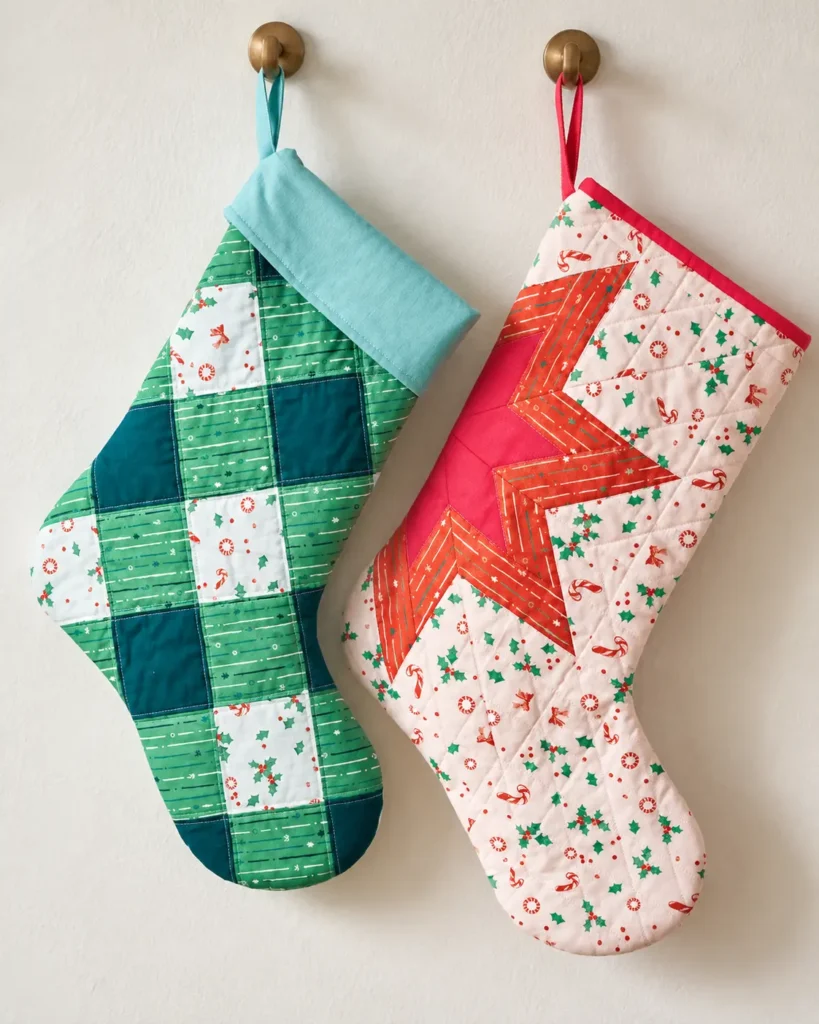
For a child’s stocking, check every seam and the hanging loop before filling it. Reserve heavy gifts for a shelf or floor rather than trusting the fabric loop with more weight than it was designed to hold.
If a seam puckers at the inner ankle, take out only the affected stitches, clip the allowance a little closer to the seam without cutting it, and resew. That local fix is safer than stretching the whole stocking flat.
Use the same paper pattern for a coordinated set, changing the patchwork colors or quilting lines. Keep the outline, seam allowance, and loop placement consistent so the stockings hang together neatly.
What’s Next?
Pin this post: Save this tutorial to your Pinterest boards so that you can come back to it later.
Leave a comment: We love to hear your feedback. Tell me in the comments below!
Share on Instagram or Facebook: When you make this project, share it on social media and tag me @iheartdiybystacy. We love to see what you make!
Have questions? Join the Facebook Group!
We hope this article was useful for you! If you have any additional questions, feel free to join my Facebook Group. We created this group for you to share pictures, ask questions, and help each other out.
I hope this article was useful for you! If you have any additional questions, feel free to join my Facebook Group.
Join the group to share pictures, ask questions, and help each other out.

Have a question? Use the form above to submit your question or comment.
I love hearing from you and seeing what you made!