

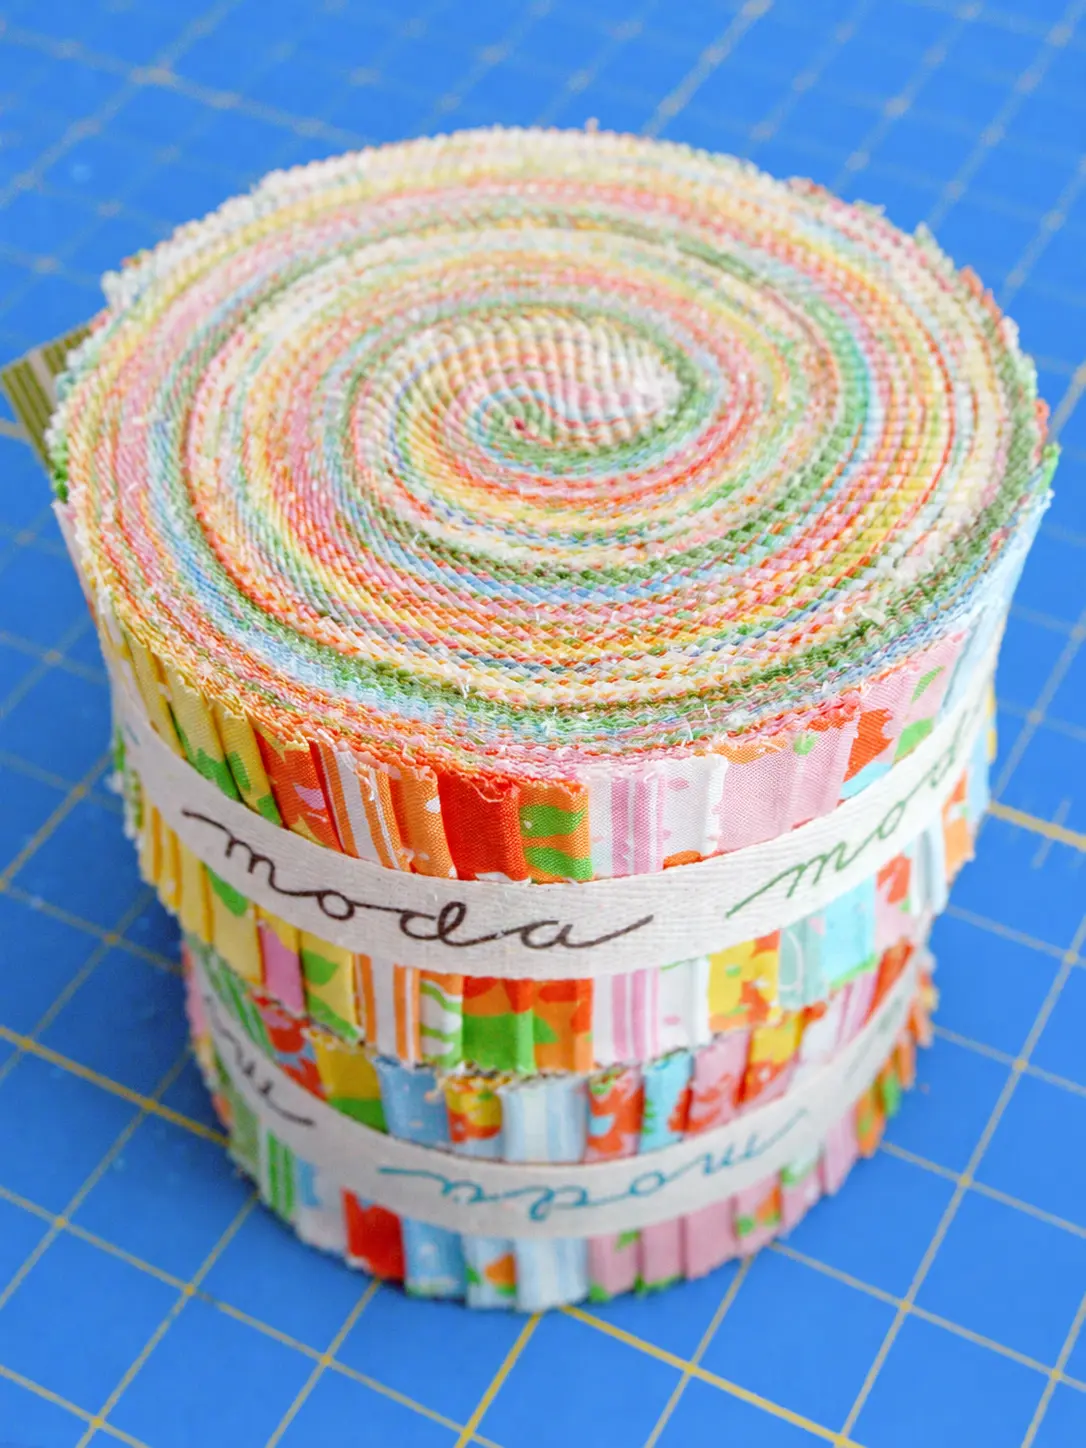
A jelly roll quilt starts with narrow precut fabric strips and turns them into a pieced top. This guide explains what the bundle contains, how to plan yardage, and how to sew an original 54-by-48-inch throw top from strip-set blocks.
The top plan uses 36 strips that are 2½ inches wide and at least 39 inches long after trimming. Check your bundle before cutting: strip count, usable length, and fabric width vary by manufacturer.
What is a jelly roll?
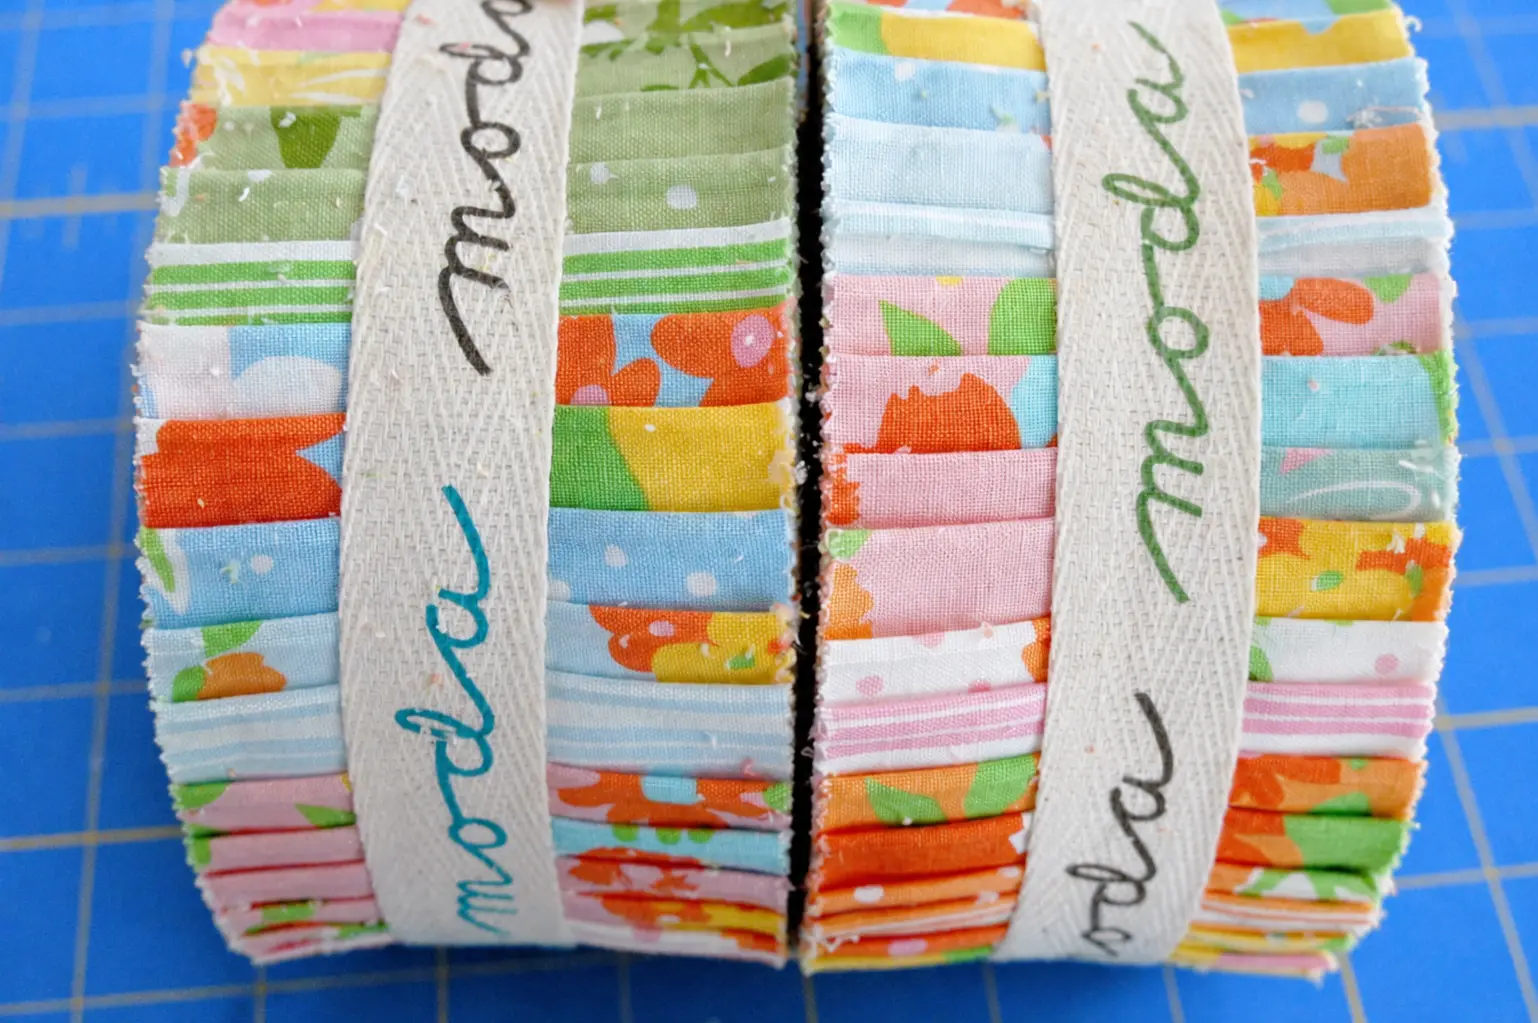
Moda sells Jelly Roll® bundles of 2½-inch strips; its product information describes a 40-strip bundle with strips about 42 inches long. Other makers sell similar precuts under different names, so read the package rather than assuming an exact count.
The appeal is preparation time. The fabric widths are already cut, which lets you start arranging colors and sewing long seams quickly.
Precut does not mean automatically square or identical at the pinked edges. Measure to the same points on each strip and make one sample seam before cutting all the blocks.
If you normally prewash yardage, remember that narrow precuts can fray and lose width in the wash. Choose a preparation method for all the top fabrics together and follow the fabric maker’s care directions.
Most strip bundles coordinate by collection, but contrast still matters. Spread the strips out and separate lights, mediums, and darks before deciding which three will share a block.
A jelly roll quilt is any quilt whose top uses these strips as a primary material. The strips may stay long or be crosscut into units for rail fence, log cabin, or other patchwork layouts.
Check the bundle before planning
Count the strips and measure the shortest one from usable edge to usable edge. This tutorial needs 36 strips that can each give a 39-inch strip set after ends are squared.
If your strips are shorter than 39 inches, make five 6½-inch blocks from each three-strip set instead of six. You will then need more strip sets or a smaller layout.
The 54-by-48-inch top below contains 72 blocks, arranged nine across and eight down. Each block is 6½ inches unfinished and 6 inches finished after quarter-inch seams on all four sides.
Nine blocks at 6 inches finished make 54 inches; eight rows make 48 inches. This is the pieced top size before any optional border or the shrinkage of quilting and washing.
Set aside backing, batting, and binding separately. A single 40-strip bundle supplies the 36 top strips in this plan, but it does not automatically supply those finishing materials.
Tools and seam accuracy
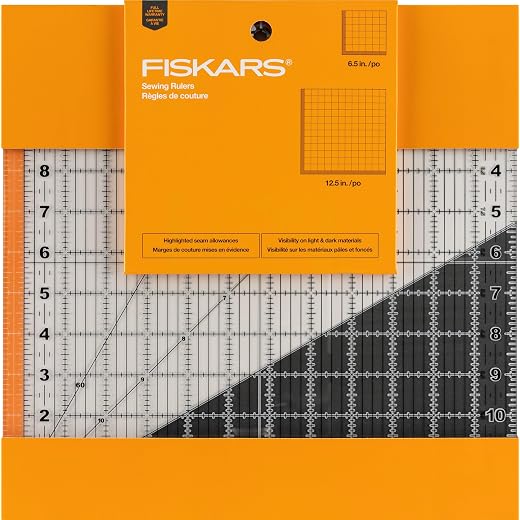
Use a quilting ruler, rotary cutter, mat, sewing machine, iron, pins or clips, and thread suited to your cotton fabric. Close the rotary cutter blade whenever it leaves the mat; the maker’s cutting kit guidance describes a covered blade and non-slip ruler for safer, steadier cutting.
Sew a test seam with two strip scraps and press it. Measure from the raw edges to the seam: a consistent quarter inch is more useful than sewing fast and correcting mismatched blocks later.
For this top, keep the same seam allowance throughout. A larger allowance reduces block width and changes the finished measurements.
Press seams to one side or open according to the bulk of your fabric and your preferred assembly method. Whichever you choose, press each strip set before crosscutting it.



Build the strip sets
Choose 12 groups of three strips. Give each group at least one light and one darker strip so the cut blocks show a clear rhythm when rotated.
For each group, place two strips right sides together and sew along one long edge. Add the third strip along the remaining long edge to make a three-strip panel.
Alternate the sewing direction on the second long seam. This reduces the tendency for the panel to bow as it grows.
Press the finished set flat without pulling across its width. Its theoretical width is 6½ inches: 7½ inches of raw strip widths minus two half-inch seam take-ups.
If the set measures narrower than 6½ inches, check seam width before making the other 11. A small repeated error would affect all 72 blocks.
Trim one short end square. Crosscut six 6½-inch sections from the set, using 39 inches of its length, and label the blocks as one color group.
Repeat for all 12 sets. You will have 72 square blocks if every set yields six sections.
Arrange the quilt top
Lay nine blocks across and eight down on a clean floor or design wall. Rotate some blocks a quarter turn so the strips switch from horizontal to vertical.
Start with a simple checkerboard of orientations. If neighboring fabrics blend together, move a dark block next to a lighter one rather than remaking the entire layout.
Take a photo of the arrangement for your own reference before stacking rows. This is a planning note, not evidence of a finished quilt, and it helps you restore the order after moving to the machine.
Label each row with a paper slip and stack its nine blocks in order. Keep the row labels until the top is fully assembled.
Sew the blocks into rows with quarter-inch seams. Check every third join against the layout so a rotated block does not slip into the wrong position.
Press the seam allowances of odd rows in one direction and even rows in the other. The opposing allowances can nest where blocks meet, reducing bulk.
Join the eight rows, matching the block seams and pinning them before sewing. Press the complete top flat and measure its center rather than pulling the edges to force a target size.


Quilt and bind it
Layer backing right side down, batting, then quilt top right side up. The Janome quilt instructions show this standard quilt-sandwich order and quarter-inch piecing allowance.
Cut backing and batting several inches larger than the top on every side, following the longarm or batting maker’s requirements if you will use a service. Smooth from the center outward and baste securely.
Straight-line quilting parallel to the strip seams is an approachable first choice. Keep within the batting maker’s maximum spacing and test how your machine feeds the three layers.
After quilting, trim the excess backing and batting square with the quilt top. Measure the actual perimeter before cutting binding; the nominal 54-by-48-inch top has a 204-inch perimeter.
For a continuous 2½-inch-wide double-fold binding, six 42-inch usable-width strips provide about 252 inches before diagonal joins. That leaves room for joins and tails, but measure your fabric before cutting.
Join binding strips, press the strip in half lengthwise, sew it to the front with a quarter-inch seam, then fold and secure it on the back. Check every corner and join for caught fabric.


Other ways to use the strips
A rail-fence quilt uses small strip-set blocks like this plan, but rotates them into more pronounced paths. The same 72 blocks can make a different top without new cutting measurements.
For a log cabin layout, sew strips around a center square one side at a time. That construction uses shorter segments and calls for a separate block plan rather than the 6½-inch crosscuts here.
A long-strip race quilt joins strips end to end, then folds and sews the long band repeatedly. Its final dimensions depend on the number and length of usable strips, so calculate them from the actual bundle.
Leftover strips can become a small table runner or a test block. Make one sample before using them as binding, because a stretchier or thinner strip may behave differently from purpose-cut binding fabric.
If you want more starting layouts, the beginner quilt patterns guide compares squares, strips, and triangle designs. For accurate triangular blocks, use the half-square triangle charts.
The most reliable first jelly roll quilt is the one whose measurements you verify at each stage: bundle, test seam, strip set, block, and final top. Those checks make it easy to change the colors without changing the construction.
What’s Next?
Pin this post: Save this tutorial to your Pinterest boards so that you can come back to it later.
Leave a comment: We love to hear your feedback. Tell me in the comments below!
Share on Instagram or Facebook: When you make this project, share it on social media and tag me @iheartdiybystacy. We love to see what you make!
Have questions? Join the Facebook Group!
We hope this article was useful for you! If you have any additional questions, feel free to join my Facebook Group. We created this group for you to share pictures, ask questions, and help each other out.
I hope this article was useful for you! If you have any additional questions, feel free to join my Facebook Group.
Join the group to share pictures, ask questions, and help each other out.

Have a question? Use the form above to submit your question or comment.
I love hearing from you and seeing what you made!