


To make a monogram with Cricut, create your initials in a monogram generator, download an SVG if available, then import it into Design Space. A PNG or JPG works too, with an extra cleanup step. This guide takes you from choosing letters to applying a simple vinyl decal.
Plan a simple vinyl monogram
Start with one color of adhesive craft vinyl on a smooth, flat storage box. A plain block monogram is a useful first design: you can see the letter openings clearly, and there are fewer delicate pieces to lift during weeding.
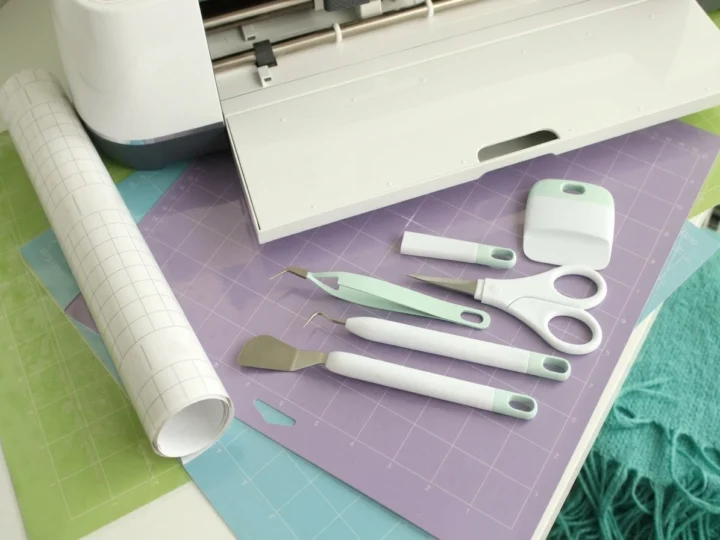
Gather adhesive vinyl, a compatible cutting mat and blade, a weeding tool, suitable transfer tape, a scraper and your clean project blank. If machine setup is new to you, work through our Cricut beginner tutorial first.
Keep the first project small enough to practice comfortably but large enough to handle the letters. The process has four stages, and checking the design before cutting saves more effort than rushing through cleanup.
- Create readable initials and download the file.
- Import it and check the cut shape.
- Size the design and test your material setting.
- Cut, weed and transfer the letters.
Choose your monogram route
You can upload your own images to Design Space for free. Cricut Access is optional for this route. The generator may have its own fees or usage conditions, so check those before downloading a design.
These upload steps use Design Space on a Windows or Mac computer. Install the current app and sign in using Cricut’s official installation guide. Compatible iOS and Android apps are also available, though their screens differ.
Choose SVG for ready-made vector cut paths. PNG and JPG are raster images that need their cut shape checked during upload. A transparent PNG usually needs less background cleanup than a JPG.
Already have Cricut Access? The desktop Monogram Maker is another option: select Monogram, enter your initials, choose a style and add it to the Canvas. Cricut currently requires Access to cut designs from that tool. For styles with a larger center letter, its last entered initial moves to the center; check the preview.
Design initials that are easy to cut
For the external-file route, Monogram Frames provides a free creator with fonts and frames, plus SVG and PNG downloads. Begin with a simple style; an elaborate border can be attractive on screen but awkward to weed at a small size.
Check the generator’s terms for your intended use, especially if you plan to sell finished items. A free download does not automatically grant commercial permission. Keep the original file and any license information together so you can check them later.
Choose letter order before exporting. In a traditional three-letter style, the surname goes in the larger center position: Alex Riley Brooks becomes A–B–R. Equal-size initials usually read A–R–B. These are conventions, not requirements; use the arrangement the recipient prefers, regardless of gender.
Look for substantial letter strokes and open spaces inside letters such as A, B and R. Avoid hairline flourishes for your first decal. Judge the design at its intended physical size, rather than only in an enlarged generator preview.
Export a one-color design with no unwanted border or background. Download SVG when offered, or a clear PNG or JPG if necessary. Give it a recognizable filename, such as alex-brooks-monogram.svg, rather than leaving several downloads with similar names.
If the download arrives in a ZIP folder, extract it first and select the SVG or image file inside. Changing a .jpg filename to .svg does not convert the artwork into vector paths; the file must actually be exported or converted in that format.
Upload your file to Design Space
If you downloaded an SVG
Open a new Canvas project. Choose Upload, then Upload Image, and browse to your SVG. Follow the naming and upload prompts to add it to the Canvas. SVGs retain their designed paths and may contain separate layers; inspect each one before cutting.
If you downloaded a PNG or JPG
Open the same Upload Image route and select your PNG or JPG. Continue into cleanup. Button names can vary by app version; Cricut’s current upload guide shows each platform.
Remove unwanted background with the manual tools. Check enclosed spaces inside letters, too: clearing only the outside can leave filled-in holes. A checkerboard marks removed areas; it should surround the letters and appear inside their intended openings.
Check Preview Single Layer, then use Apply & Continue when the silhouette is correct. Choose Single Layer for a one-color cut design, name the image and finish uploading. You should see distinct letters rather than a solid rectangle.
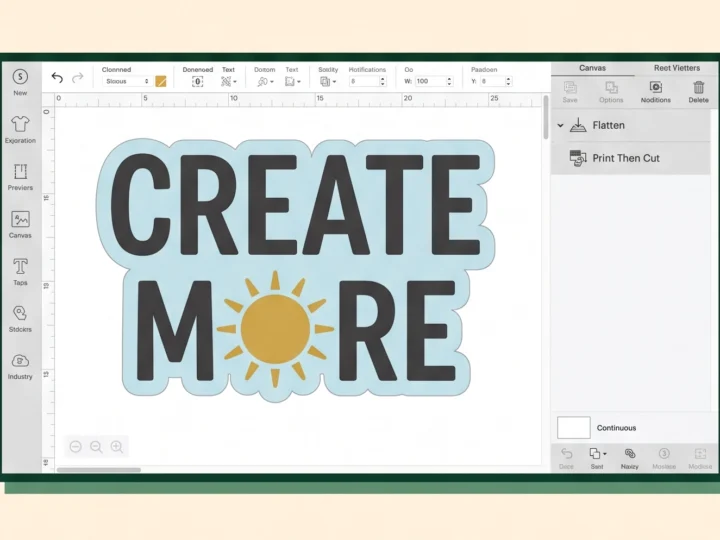
For this decal, check that the Canvas operation is Basic Cut. Flat Graphic is intended for Print Then Cut. You do not need a printer to cut ordinary colored adhesive vinyl.
Size, cut and apply your monogram
Measure the flat area of your blank and leave space around its edges. Select the whole design, keep its proportions locked and set the width. A 2½-inch-wide decal is an example starting size, not a minimum that guarantees every font will cut well.
If your same-color letters or frame are separate layers, select the pieces and use Attach to preserve their placement. Check the mat preview: the surname should remain centered. Grouping on the Canvas alone does not hold the cutting arrangement.
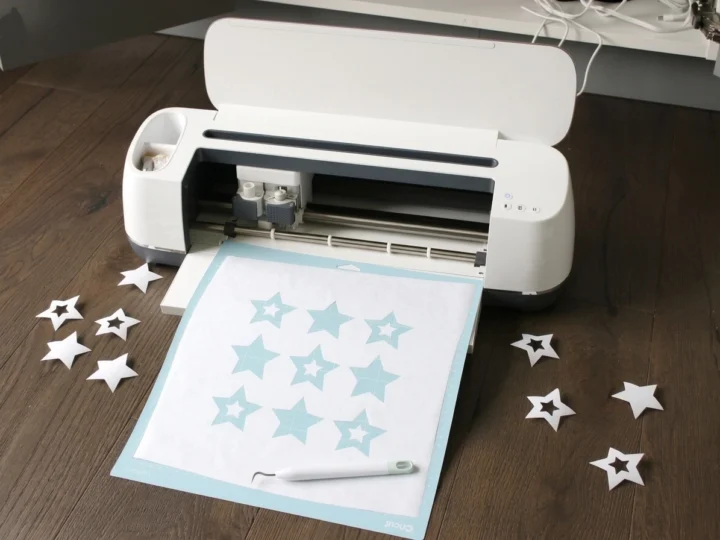
Save the project, then send it to Make. Select the material setting for your exact vinyl. For ordinary adhesive vinyl, place the liner against the mat and leave Mirror off. Test a small shape first: the vinyl should separate while its liner stays intact. Follow Cricut’s vinyl instructions for cutting and application.
After cutting, weed away the surrounding vinyl and letter openings, leaving the initials on their liner. Apply compatible transfer tape and burnish with the scraper. Peel away the liner, position the design on the clean, dry blank and burnish again. Peel the tape back slowly at a low angle; if a letter lifts, press it down and try again.
Fix common monogram problems
Check the file and preview before changing machine settings. A background box is a design problem; letters lifting during weeding may need a simpler design, a larger size or a better-matched cut setting. Use the symptom to choose your next check.
| What you see | What to check |
|---|---|
| A rectangle around the letters | Revisit raster cleanup and remove the background. For an SVG, inspect for an unwanted background layer. |
| Letters rearranged on the mat | Attach the separate same-color pieces, then review the mat preview. |
| Thin strokes tear or disappear | Try sturdier lettering or enlarge the design; test the material setting before the full decal. |
Questions before you cut
Do I need Cricut Access for a monogram?
Not for uploading and cutting your own permitted artwork. Access is required for certain features, including Cricut’s desktop Monogram Maker and Automatic Background Remover. Manual raster cleanup remains available without Access. Paid fonts or images added to the project can also create a charge.
How small can I cut the initials?
There is no single reliable size for every monogram. Font thickness, tiny openings, material and blade condition affect the result. Test the actual design at your chosen size; if small pieces fail, enlarge it or simplify the lettering before using your final blank.
Make your next personalized project
Once the first decal transfers cleanly, save the project with its size in the name so you can find it again. Try another flat blank or explore our Cricut tutorials. Share the letter style and material you used in the comments to help other beginners choose their next project.
Have a question? Use the form above to submit your question or comment.
I love hearing from you and seeing what you made!