


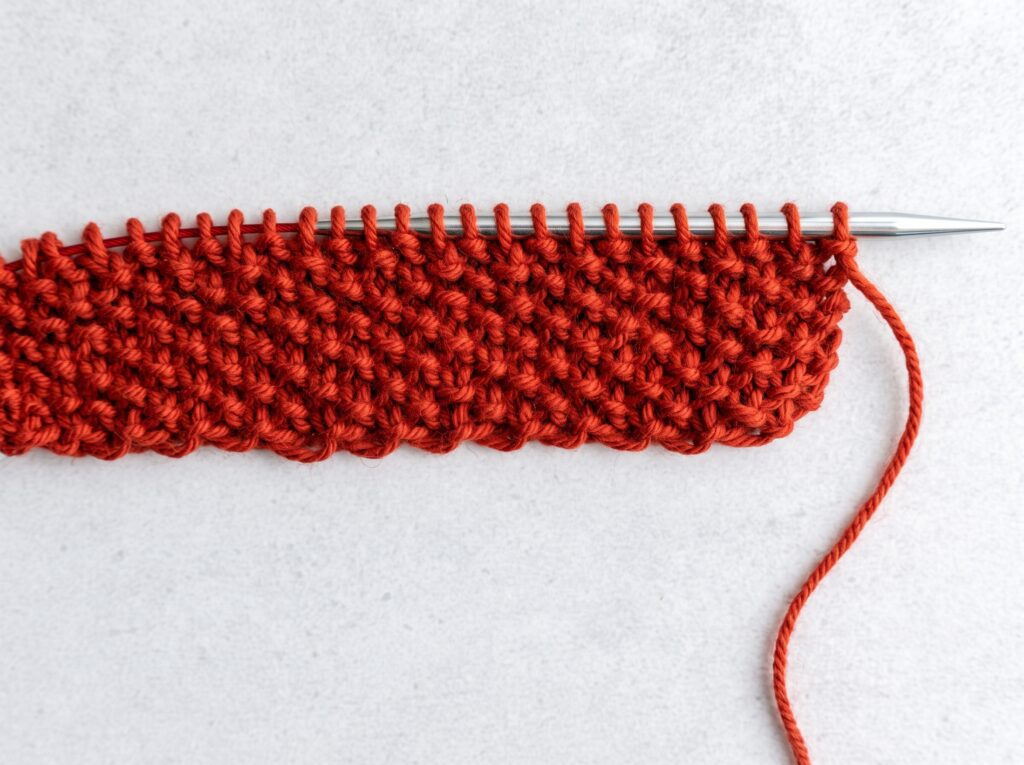
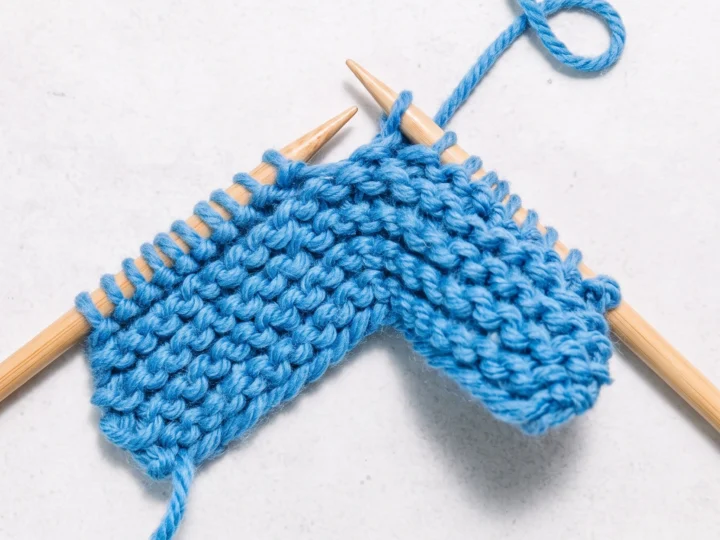
Knit seed stitch alternates one knit and one purl stitch, then offsets those stitches on the next row or round. The result is a small, pebbled texture that looks good on either side of the fabric.
If you can knit and purl, you already know the two moves this pattern needs. The part that usually takes practice is choosing the right move for the stitch facing you and bringing the yarn between the needles each time you switch.
This guide gives you a small flat swatch to practice, written instructions for odd and even stitch counts, and a separate explanation for knitting in the round. You can also use the stitch-reading tips to get back on track without counting every row.
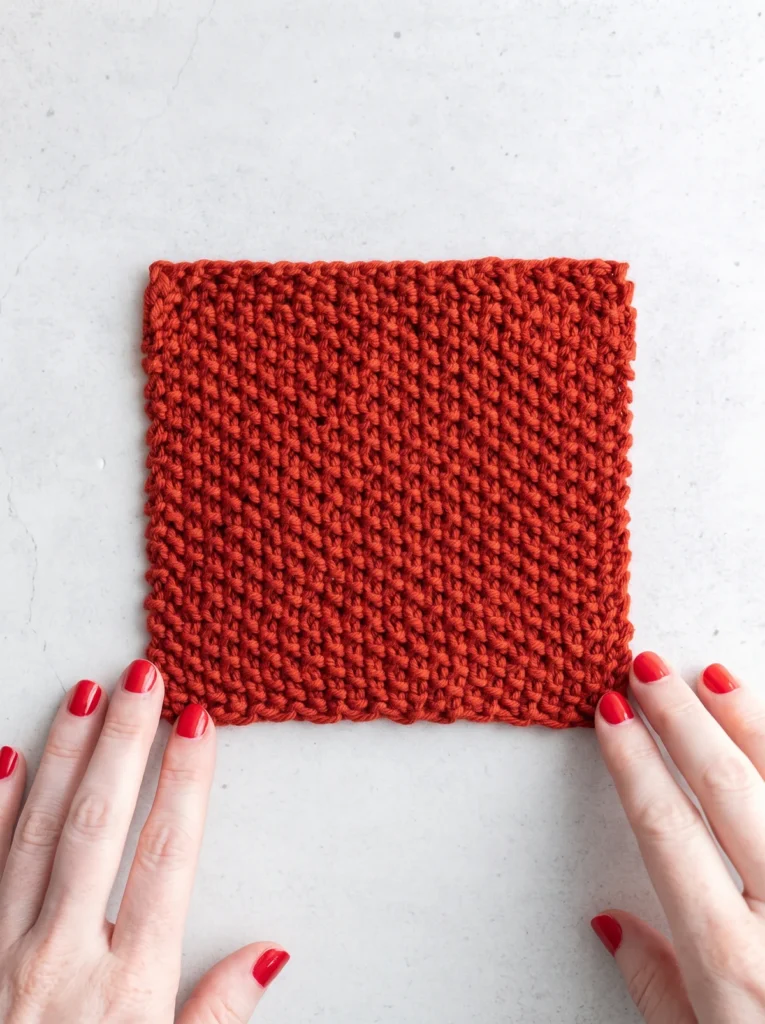
Seed stitch at a glance
The rule is simple: alternate knit 1 and purl 1 across a row, then knit into each purl bump and purl into each knit V on the next pass. That offset keeps the stitches from stacking into ribbing.
Why knit seed stitch?
Seed stitch has a textured surface on both faces, so it works well when the back of a scarf or blanket might show. The alternating stitches also help a narrow border lie flatter than a stockinette-only edge.
It makes a useful accent on cuffs, pockets, hat brims, and blanket borders. For a first attempt, knit a small practice square before adding seed stitch to a project with a required gauge or finished size.
What you need
Choose a smooth, light-colored medium-weight yarn if you want the knit Vs and purl bumps to be easy to see. Medium, or category 4, includes many worsted yarns in the Craft Yarn Council’s yarn-weight system.
Use the needle size suggested on your yarn label as a starting point. You can knit a flat swatch on straight or circular needles; circular needles are useful for the separate in-the-round instructions below.
You will need to cast on, make knit and purl stitches, and bind off. If casting on is new to you, start with our beginner cast-on guide.
Keep a tapestry needle and scissors nearby for the yarn ends. A stitch marker is helpful when you work in the round because it identifies the start of each round.
Set up a practice swatch
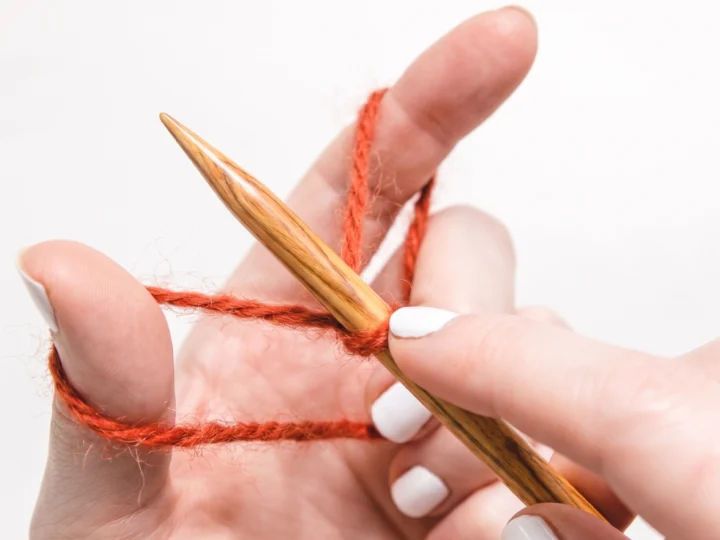
Cast on 15 stitches for an easy flat sample. An odd stitch count lets you begin every row with a knit stitch, and you can use the long-tail cast-on tutorial if you want a familiar starting edge.
How to knit seed stitch in rows
For written patterns, K1 means knit one stitch and P1 means purl one stitch. The instructions below describe what to do as each stitch faces you after you turn your work, not what it looked like before the turn.
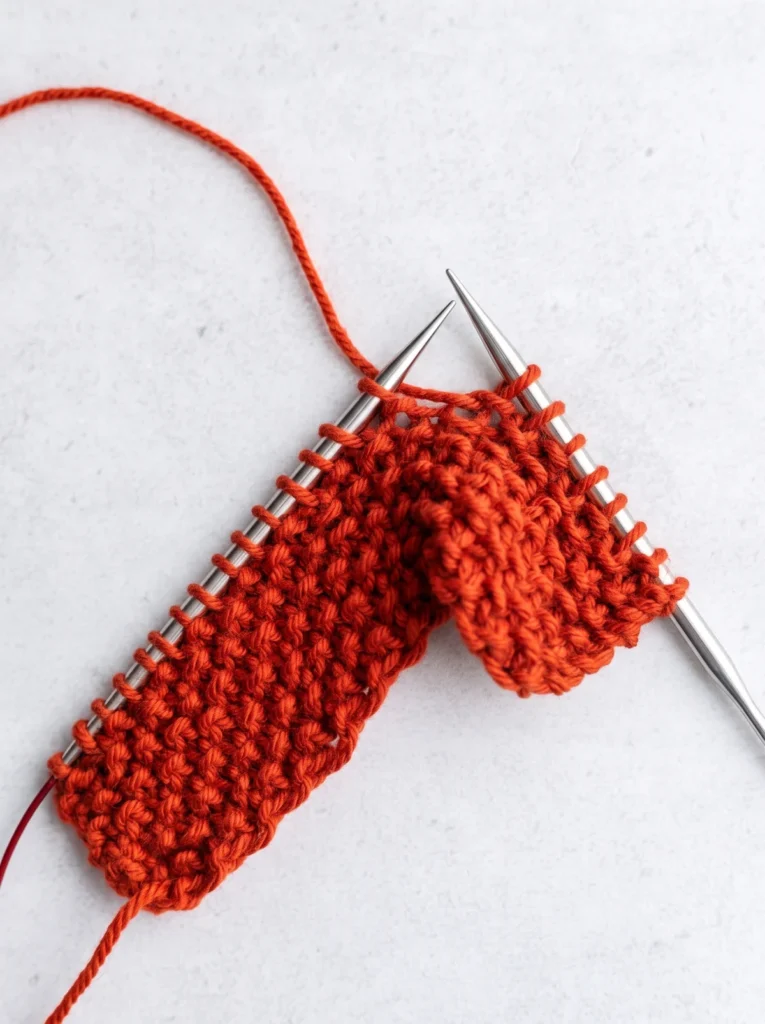
Start your first row by knitting one stitch, moving the yarn to the front between the needle tips, and purling the next stitch. Move the yarn to the back between the tips before the next knit, and continue alternating to the end.
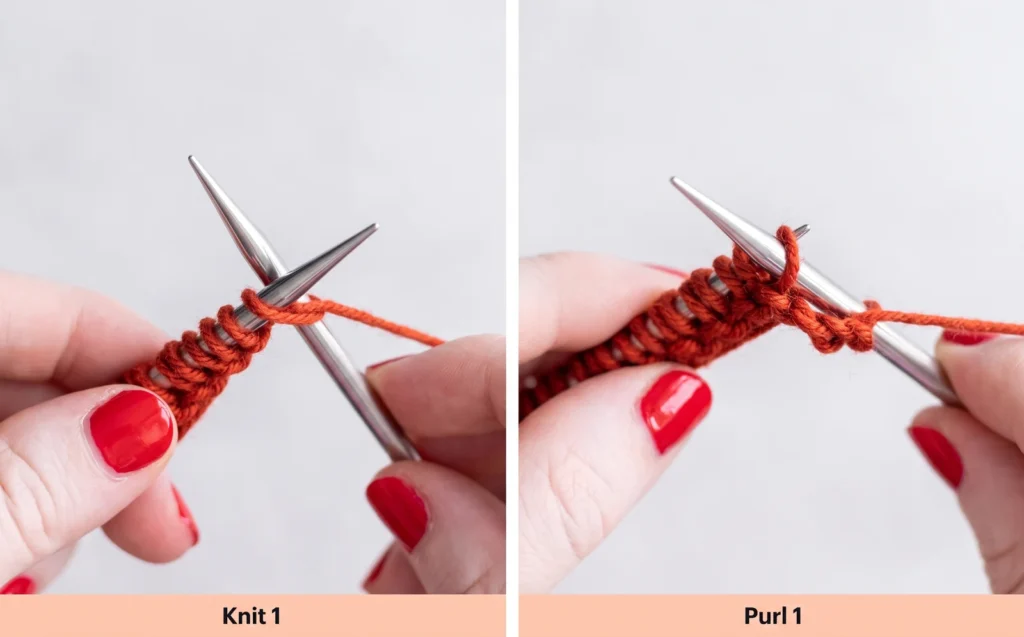
With 15 stitches, Row 1 reads K1, P1 repeated seven times, then K1. Count the stitches after the row: you should still have 15, with no extra loop sitting on the needle.
Turn the work. For Row 2, work K1, P1 across again and finish with K1; repeat this same row for as many rows as you want. Turning an odd-numbered row puts the opposite-looking stitch in front of you at each position.
If your flat project has an even stitch count, the repeat changes when you turn. For 16 stitches, Row 1 is K1, P1 repeated eight times, ending with a purl.
On Row 2 of that 16-stitch sample, begin with P1, K1 and repeat to the edge. Work Rows 1 and 2 alternately; this places the new purls over the previous knits and the new knits over the previous purls.
The difference comes from the edge stitch. An odd row begins and ends with a knit, whereas an even row begins with a knit and ends with a purl; once turned, the first stitch therefore needs a different instruction.
When switching from knit to purl, bring the working yarn between the needles to the front. When switching back, take it between the tips to the back before inserting the right needle.
Do not carry the yarn over the top of the needle to change position. That path makes an extra loop, called a yarn over, which adds a stitch and can leave a hole.
For a project with decorative edge stitches, follow that project’s directions for the edge and work seed stitch only over the stated panel. Count the panel stitches rather than forcing the whole row into a K1, P1 repeat.
Read the next stitch instead of memorizing the row
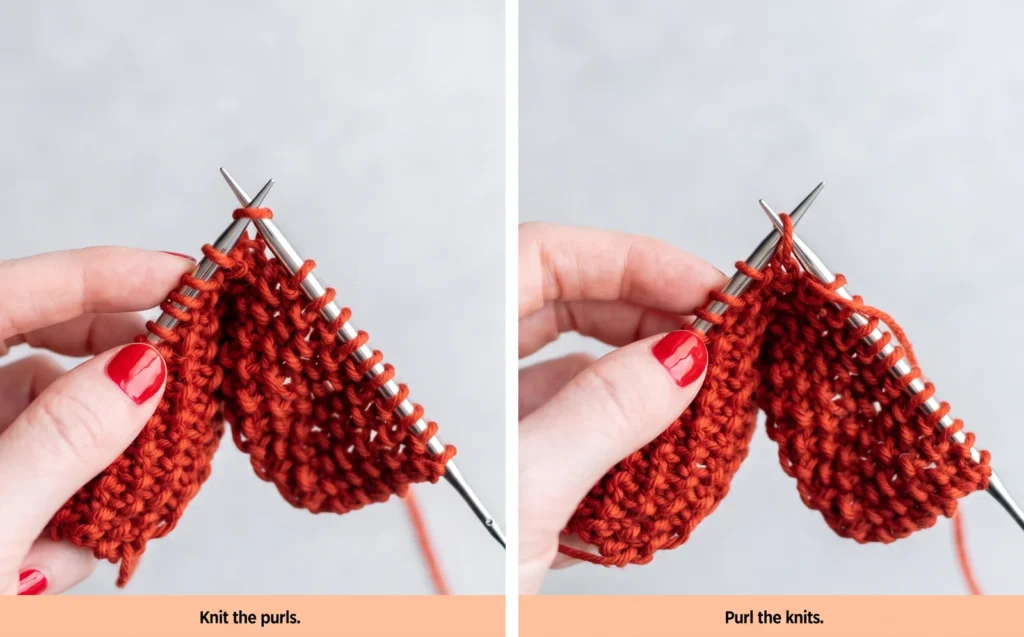
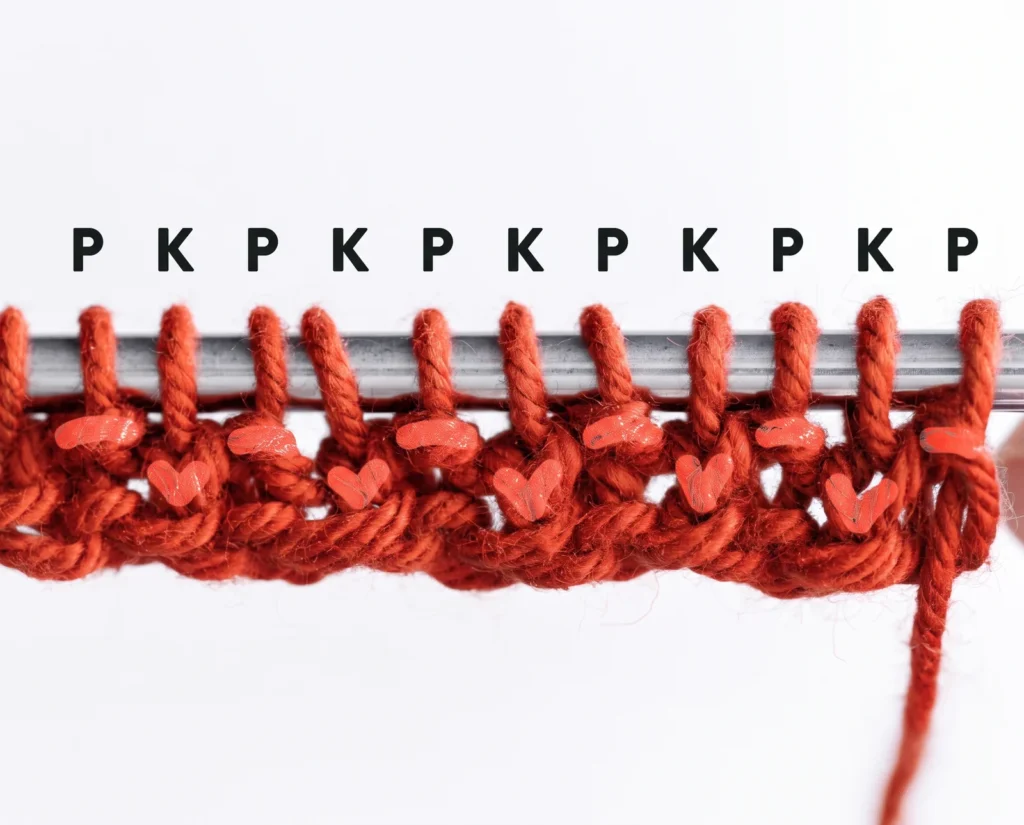
Look just below the stitch on the left needle. A knit stitch shows a small V on the face toward you; a purl stitch shows a horizontal bump, as illustrated in Knit Picks’ stitch-reading guide.
If you see a bump facing you, knit that stitch. Your new knit will sit above a purl on the side you are working, which is the offset seed stitch needs.
If you see a V facing you, purl that stitch. After several rows, the little bumps should appear scattered across the fabric rather than lining up in long vertical columns.
This read-as-you-go rule works with either stitch count. Check the stitch immediately below the needle, work its opposite, and move the yarn between the needle tips before the next stitch.
Knit seed stitch in the round
Put a marker at the beginning of the round and check that the cast-on edge is not twisted before joining. Unlike flat knitting, you never turn the work, so you must reverse the knit-purl sequence on the next round.
For an even number of stitches, Round 1 is K1, P1 repeated to the marker. Round 2 is P1, K1 repeated to the marker; keep alternating these two rounds.
At the marker, the first stitch of Round 2 sits above a knit stitch from Round 1, so it must be purled. Reading that first stitch is a quick check that your round sequence is correct.
For an odd number of stitches, Round 1 is K1, P1 repeated and ends with K1. Round 2 begins P1, K1 and ends with P1; alternate the two rounds in the same way.
The odd-count round has matching stitches on either side of the marker within a single round. The texture still offsets from one round to the next when you reverse the starting stitch.
Keep the marker in the same place as you work. If you move it by mistake, a neat texture can develop a visible diagonal break where the round begins.
If you lose track at the marker, inspect the stitch below the next one to work: knit above a visible purl bump and purl above a visible knit V. This is more reliable than assuming the round number from memory.
Bind off and finish
To keep the top edge visually consistent, bind off while following the established knit-purl sequence. Work the first two stitches as they appear in pattern, pass the first stitch over the second, then work the next stitch in pattern and repeat.
Do not pull the working yarn tight after each pass-over. A firm bind-off can draw in a seed-stitch edge, so check that the finished edge can stretch comfortably across the width of your swatch.
Fix common seed-stitch problems
If the fabric is forming vertical ribs, some knits are sitting above knits and purls above purls. Stop at the next stitch and resume the opposite-stitch rule rather than following a row label that no longer matches your fabric.
One misplaced stitch may leave a small vertical patch. If the error is close to the needles, undo stitches back to that point; otherwise, decide whether the mark matters in your finished project before taking out several rows.
A small hole and an unexpected extra stitch often point to a yarn over. Count the stitches, then watch the yarn travel between the needle tips whenever you change from knit to purl or back.
Uneven bumps can come from tightening the yarn sharply every time it changes position. Let each new loop settle on the full shaft of the needle, and compare a few rows before adjusting your tension.
If your stitch count changes without a visible yarn over, check whether you worked twice into one stitch or dropped a stitch. Correct the count before continuing, because the alternating pattern depends on each stitch holding its place.
For a neat border, compare both side edges every few rows. Catching a sequence change early is easier than trying to identify it after the texture has grown several inches.
Seed stitch, ribbing, and moss stitch
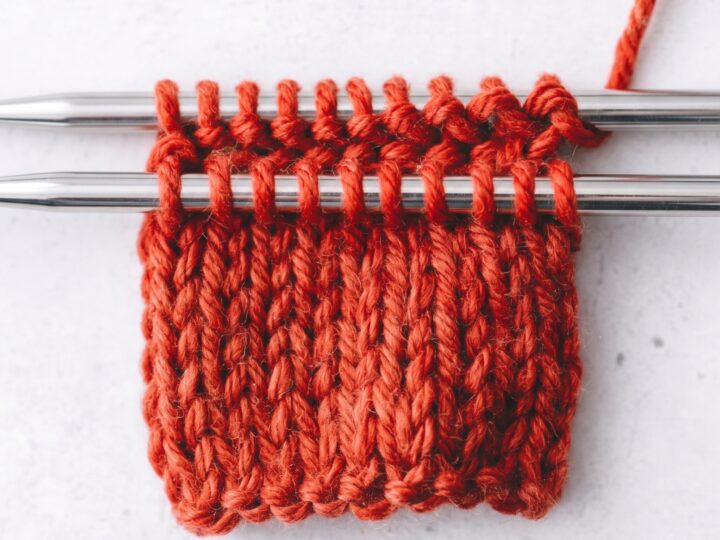
Seed stitch and 1×1 ribbing both alternate knit and purl stitches within a row. Ribbing keeps each stitch type above the same type; seed stitch puts each one above its opposite, producing scattered bumps rather than columns.
Names vary across countries. Many UK patterns call the US seed stitch moss stitch; LoveCrafts’ UK stitch guide notes that its double moss stitch has a different, longer repeat.
When a pattern says “moss stitch,” read its actual row instructions before substituting this tutorial. The stitch sequence, not the name alone, tells you whether the designer means a two-row seed texture or a four-row variation.
Where to use it
A seed-stitch border can frame a stockinette center on a scarf or blanket. Keep the border wide enough for the design you want, then work only those border stitches in seed stitch while following the main fabric’s pattern.
Because the texture looks similar on both sides, an allover seed-stitch scarf or cowl is a straightforward next project. The frequent yarn changes make it slower than plain knitting, so a short swatch is a useful way to judge whether you enjoy the rhythm.
If a pattern gives a required gauge, measure a seed-stitch swatch rather than using a stockinette gauge as a substitute. Stitch patterns can change the width and height of the fabric even with the same yarn and needles.
Seed-stitch questions
Can I use an odd or even number of stitches?
Yes. For flat rows, repeat K1, P1 every row with an odd count; with an even count, alternate a K1, P1 row and a P1, K1 row. In the round, alternate those two sequences regardless of whether the stitch count is odd or even.
Is seed stitch reversible?
Yes. The two faces have the same kind of pebbled texture, though a particular edge or join may look slightly different depending on how you cast on or finish.
Why does my seed stitch look like ribbing?
You are probably stacking a knit over a knit or a purl over a purl. Look below the next stitch on the side facing you and work its opposite: knit the bump, purl the V.
Why did my stitch count increase?
Check for an extra loop made while moving the yarn over a needle. Bring it between the needles before each switch, and count your stitches at the end of the row until the motion feels natural.
Does the first stitch always have to be knit?
No. The first stitch depends on your stitch count and whether you are working flat or in the round. Reading the stitch below it tells you what to work even if your pattern starts with a purl.
Seed stitch gets easier once you stop treating it as a row to memorize and start seeing the next V or bump. Practice a few inches on your 15-stitch swatch, then try an even count to confirm that you can change the starting stitch.
For another beginner technique, review the cast-on methods guide before starting a new swatch. Keep your notes on stitch count and row sequence beside your project until the texture becomes familiar.
Have a question? Use the form above to submit your question or comment.
I love hearing from you and seeing what you made!