


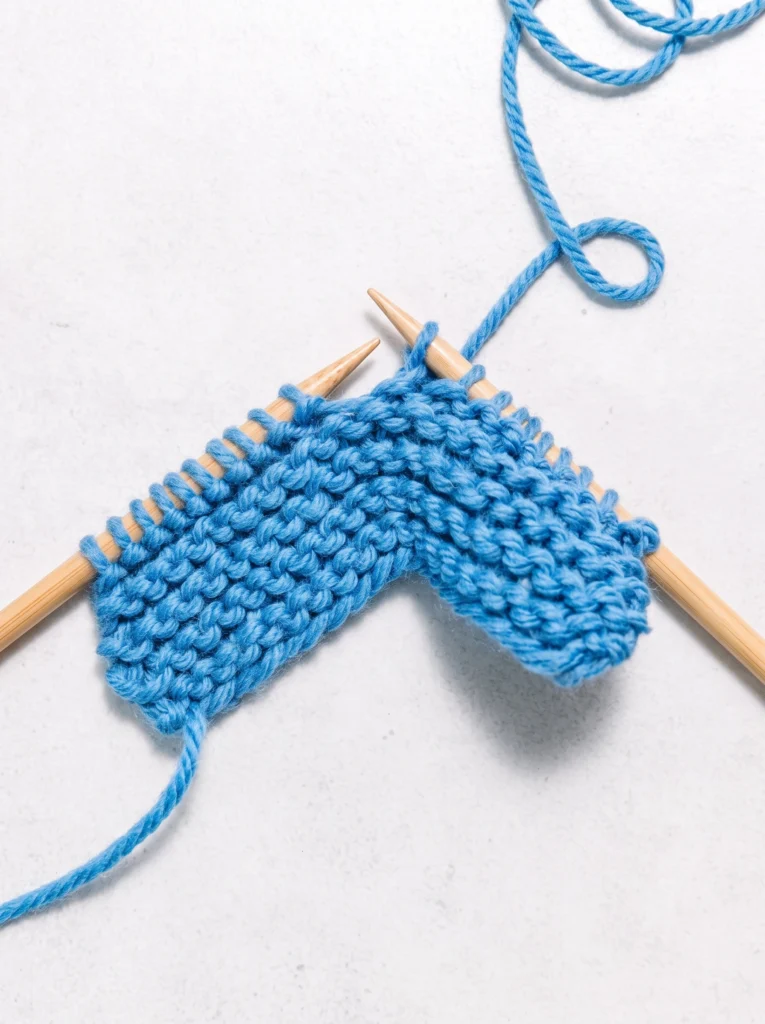
A small practice swatch makes your first moves easier to see and repeat. This guide uses clear photos to explain the knit stitch and help you build confidence, one step at a time. Knitting turns yarn into fabric by looping it around a needle. That simple motion creates one of the two basic moves used in many patterns.
You’ll choose yarn and needles, cast on, then work an even row. Next, you’ll turn the swatch and continue until you have a small sample. This practice can help you get started with garter stitch and prepare to try new projects. You can learn knit basics at your own pace; there’s no need to rush.
The guide’s authors bring fiber-arts experience dating back to 1997, yet they know every new maker starts somewhere. Sara, an in-house knitting expert trained by national instructors, can also help readers work through questions in the source guide. Take your time, follow each photo, and enjoy seeing the yarn become fabric.
Gather Beginner-Friendly Yarn, Needles, and a Few Basic Tools
Before you begin, pick supplies that feel easy to see and handle. A few simple choices can make your first practice swatch less fussy and help you spot small mistakes.
Choose Smooth, Light-Colored Yarn and a Matching Needle Size
Choose smooth, medium-weight yarn in a light shade. The clear surface makes each stitch easier to see. Most worsted-weight yarn pairs well with US size 7 or 8 needles. If you tend to knit tightly, US size 8 may feel more comfortable. Metal needles glide smoothly and last well; bamboo and wood provide more grip. Plastic needles feel light and cost less. ChiaoGoo, HiyaHiya, Addi, and Kollage are established brands. Addi offers a lifetime warranty on its needles.
Keep Scissors and a Tapestry Needle Nearby
Two tools cover the basic finishing tasks:
- Sharp scissors cut the yarn cleanly.
- A tapestry needle weaves in loose ends.
- Optional tools include stitch markers, a measuring tape, a yarn bowl, and a row counter.
You can get started with yarn, a pair of needles, scissors, and a tapestry needle. The extras can wait until you try more projects. Keep the working yarn close at hand, and add tools as your needs grow.
Cast On Stitches to Create Your Practice Swatch
Casting on creates the foundation stitches that hold your practice swatch together. The long-tail cast-on is a widely used method. It makes a neat, stretchy edge that can move easily along the needle.
Use a Long-Tail Cast-On for a Neat Foundation
Estimate a long tail about three and a half times the finished width of your swatch. Tie a slip knot near the yarn end and place it on a needle. Count this knot as your first stitch.
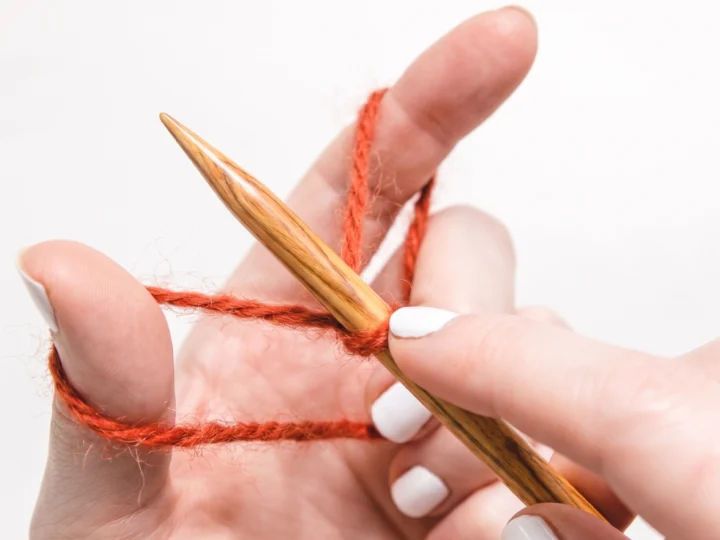
Hold the needle in your right hand. Place the tail over your thumb and the working yarn over your index finger on your left hand. Keep both strands steady, with your palm facing up. Your thumb and index finger now form two loops.
- Pass the needle from front to back through the thumb loop.
- Catch the strand over your index finger, then draw it through the thumb loop.
- Release the loop from your thumb and gently tighten the new stitch.
Repeat this step until the stitches left on the needle match your swatch plan. Count the slip knot in that total, then stop. Keep each stitch loose enough to slide along the needle without slipping off.
Hold the Needles and Working Yarn Comfortably
Good hand placement helps you see each loop and move with ease. Start with a relaxed grip; you can adjust it as you find what feels natural.
Position the Stitch-Filled Needle in Your Left Hand
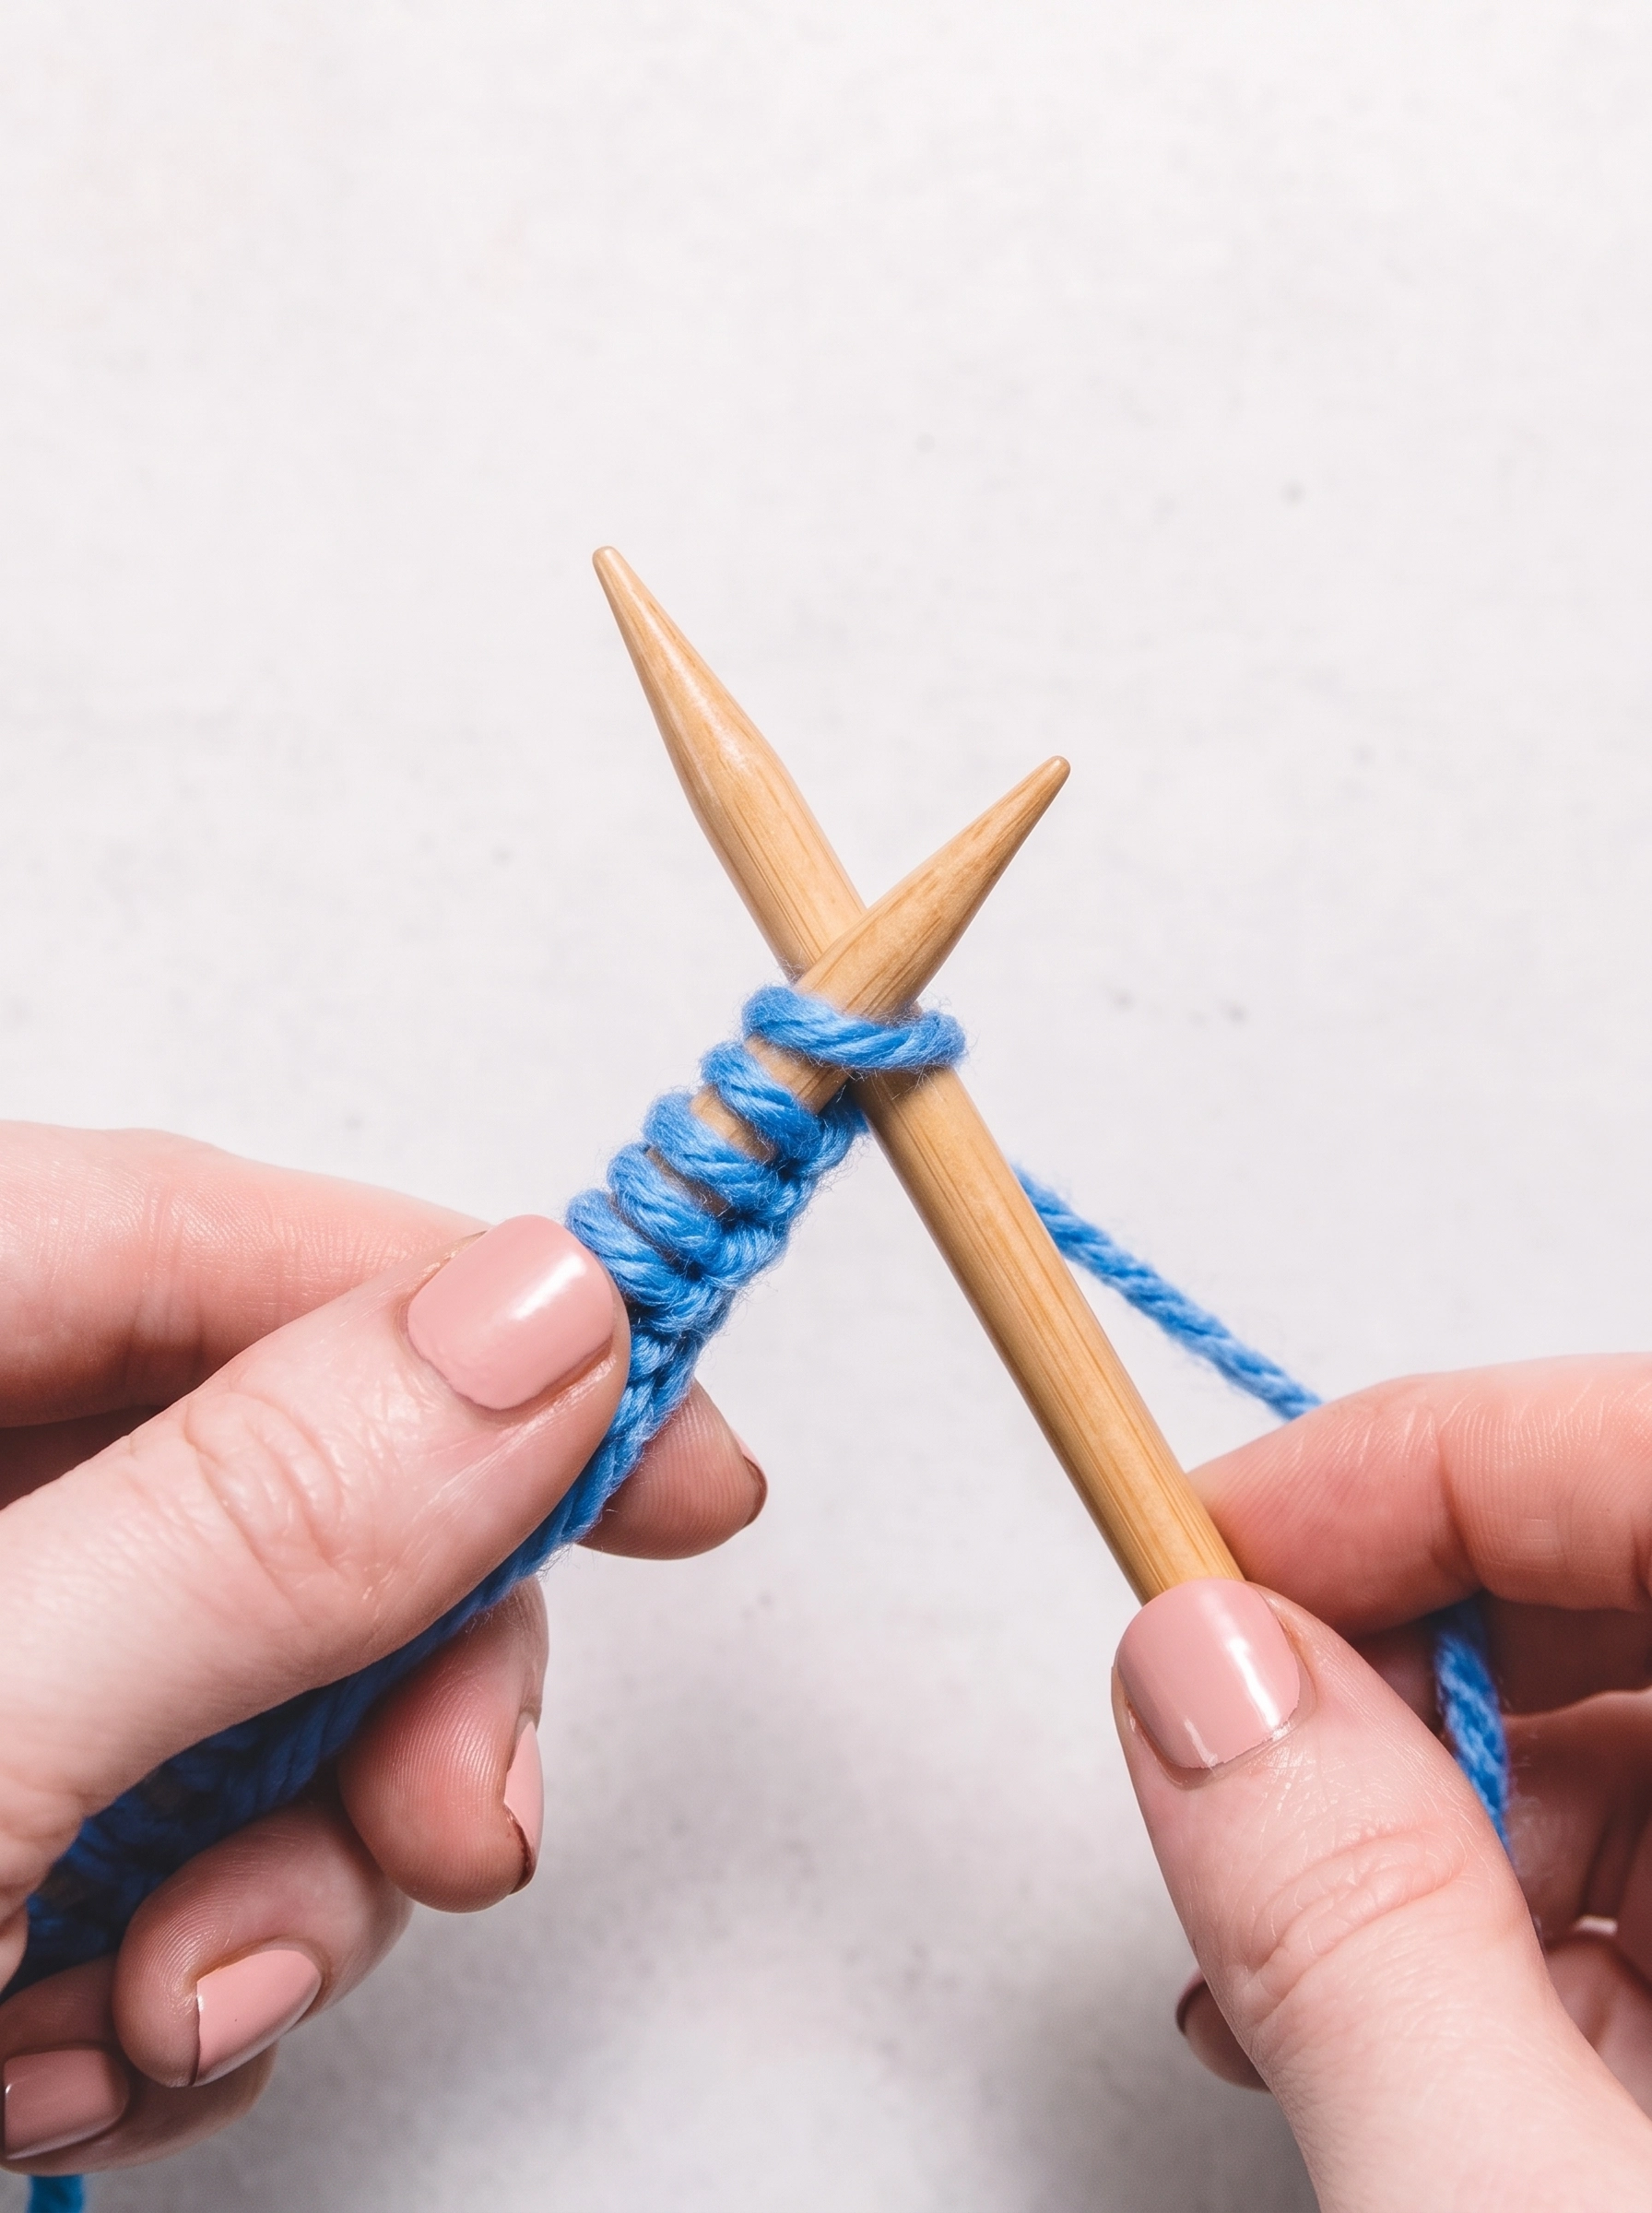
Hold the needle with the cast-on stitches in your left hand. Keep the empty needle in your right hand. These labels describe a common setup, not a strict rule. If another grip feels better, adjust your hands while keeping the loops secure.
Find a Relaxed Way to Guide the Yarn With Your Right Hand
Guide the working yarn through your fingers in a way that feels steady. Some people pass it over an index finger; others use a different hold. Aim for gentle control, not a tight pull. The yarn should form an easy loop around the needle, with room to move.
After each row, switch the needles. Move the one holding the stitches to your left hand, then place the empty one in your right. This simple step sets you up to continue knitting. A calm grip makes the next knit stitch easier to manage.
How to Make the Knit Stitch for Beginners
Use a small, steady motion as you work across the row. Keep the yarn relaxed, and watch each loop move from one needle to the other. Take the steps in order, and the motion will soon feel more familiar.
Insert the Right Needle Into the First Loop
Hold the loaded needle in your left hand and the empty one in your right. Find the first loop on the left needle. Insert the right needle from left to right through that loop. The needles cross to form an X.
Wrap the Working Yarn Around the Right Needle
With your right hand, bring the working yarn counterclockwise around the right needle. Keep the wrap near the tips, but do not pull it tight. If you guide yarn with your index finger, use a light touch.
Pull the New Loop Through and Release the Old One
- Use the right needle to draw the yarn loop through the original loop.
- Once the new loop sits on the right needle, slide the old one off the left needle.
- Repeat across the row until all loops move to the working needle.
That completes one knit stitch. Keep the new loops secure as you repeat each step.
Practice Even Tension and Fix Common Beginner Mistakes
Even tension grows with practice, and small errors are easy to fix. Aim for loops that slide along the needle but stay secure enough not to fall off. A relaxed hand helps the yarn move without pulling each new loop too tight.
Keep Stitches Loose Enough to Move Along the Needle
If the stitches feel stuck, ease your grip rather than tugging the yarn. At the start of a row, keep the working yarn below both needles. This helps prevent an accidental extra loop from forming.
Check Your Stitch Count and Watch for Dropped Loops
Count the stitches at the end of each row. Regular checks can catch a mistake before it affects your fabric or future patterns.
A dropped loop may ladder down if it stays loose, but you can often bring it back. Use a crochet hook to pull the loop through the horizontal yarn bars, one bar at a time, until it reaches the needle row again. Then place it securely on the needle.
Pause, check, and adjust as you go. This simple step makes knitting feel calmer and keeps your practice swatch on track.
Turn Your Work and Knit Rows for a Garter Stitch Swatch
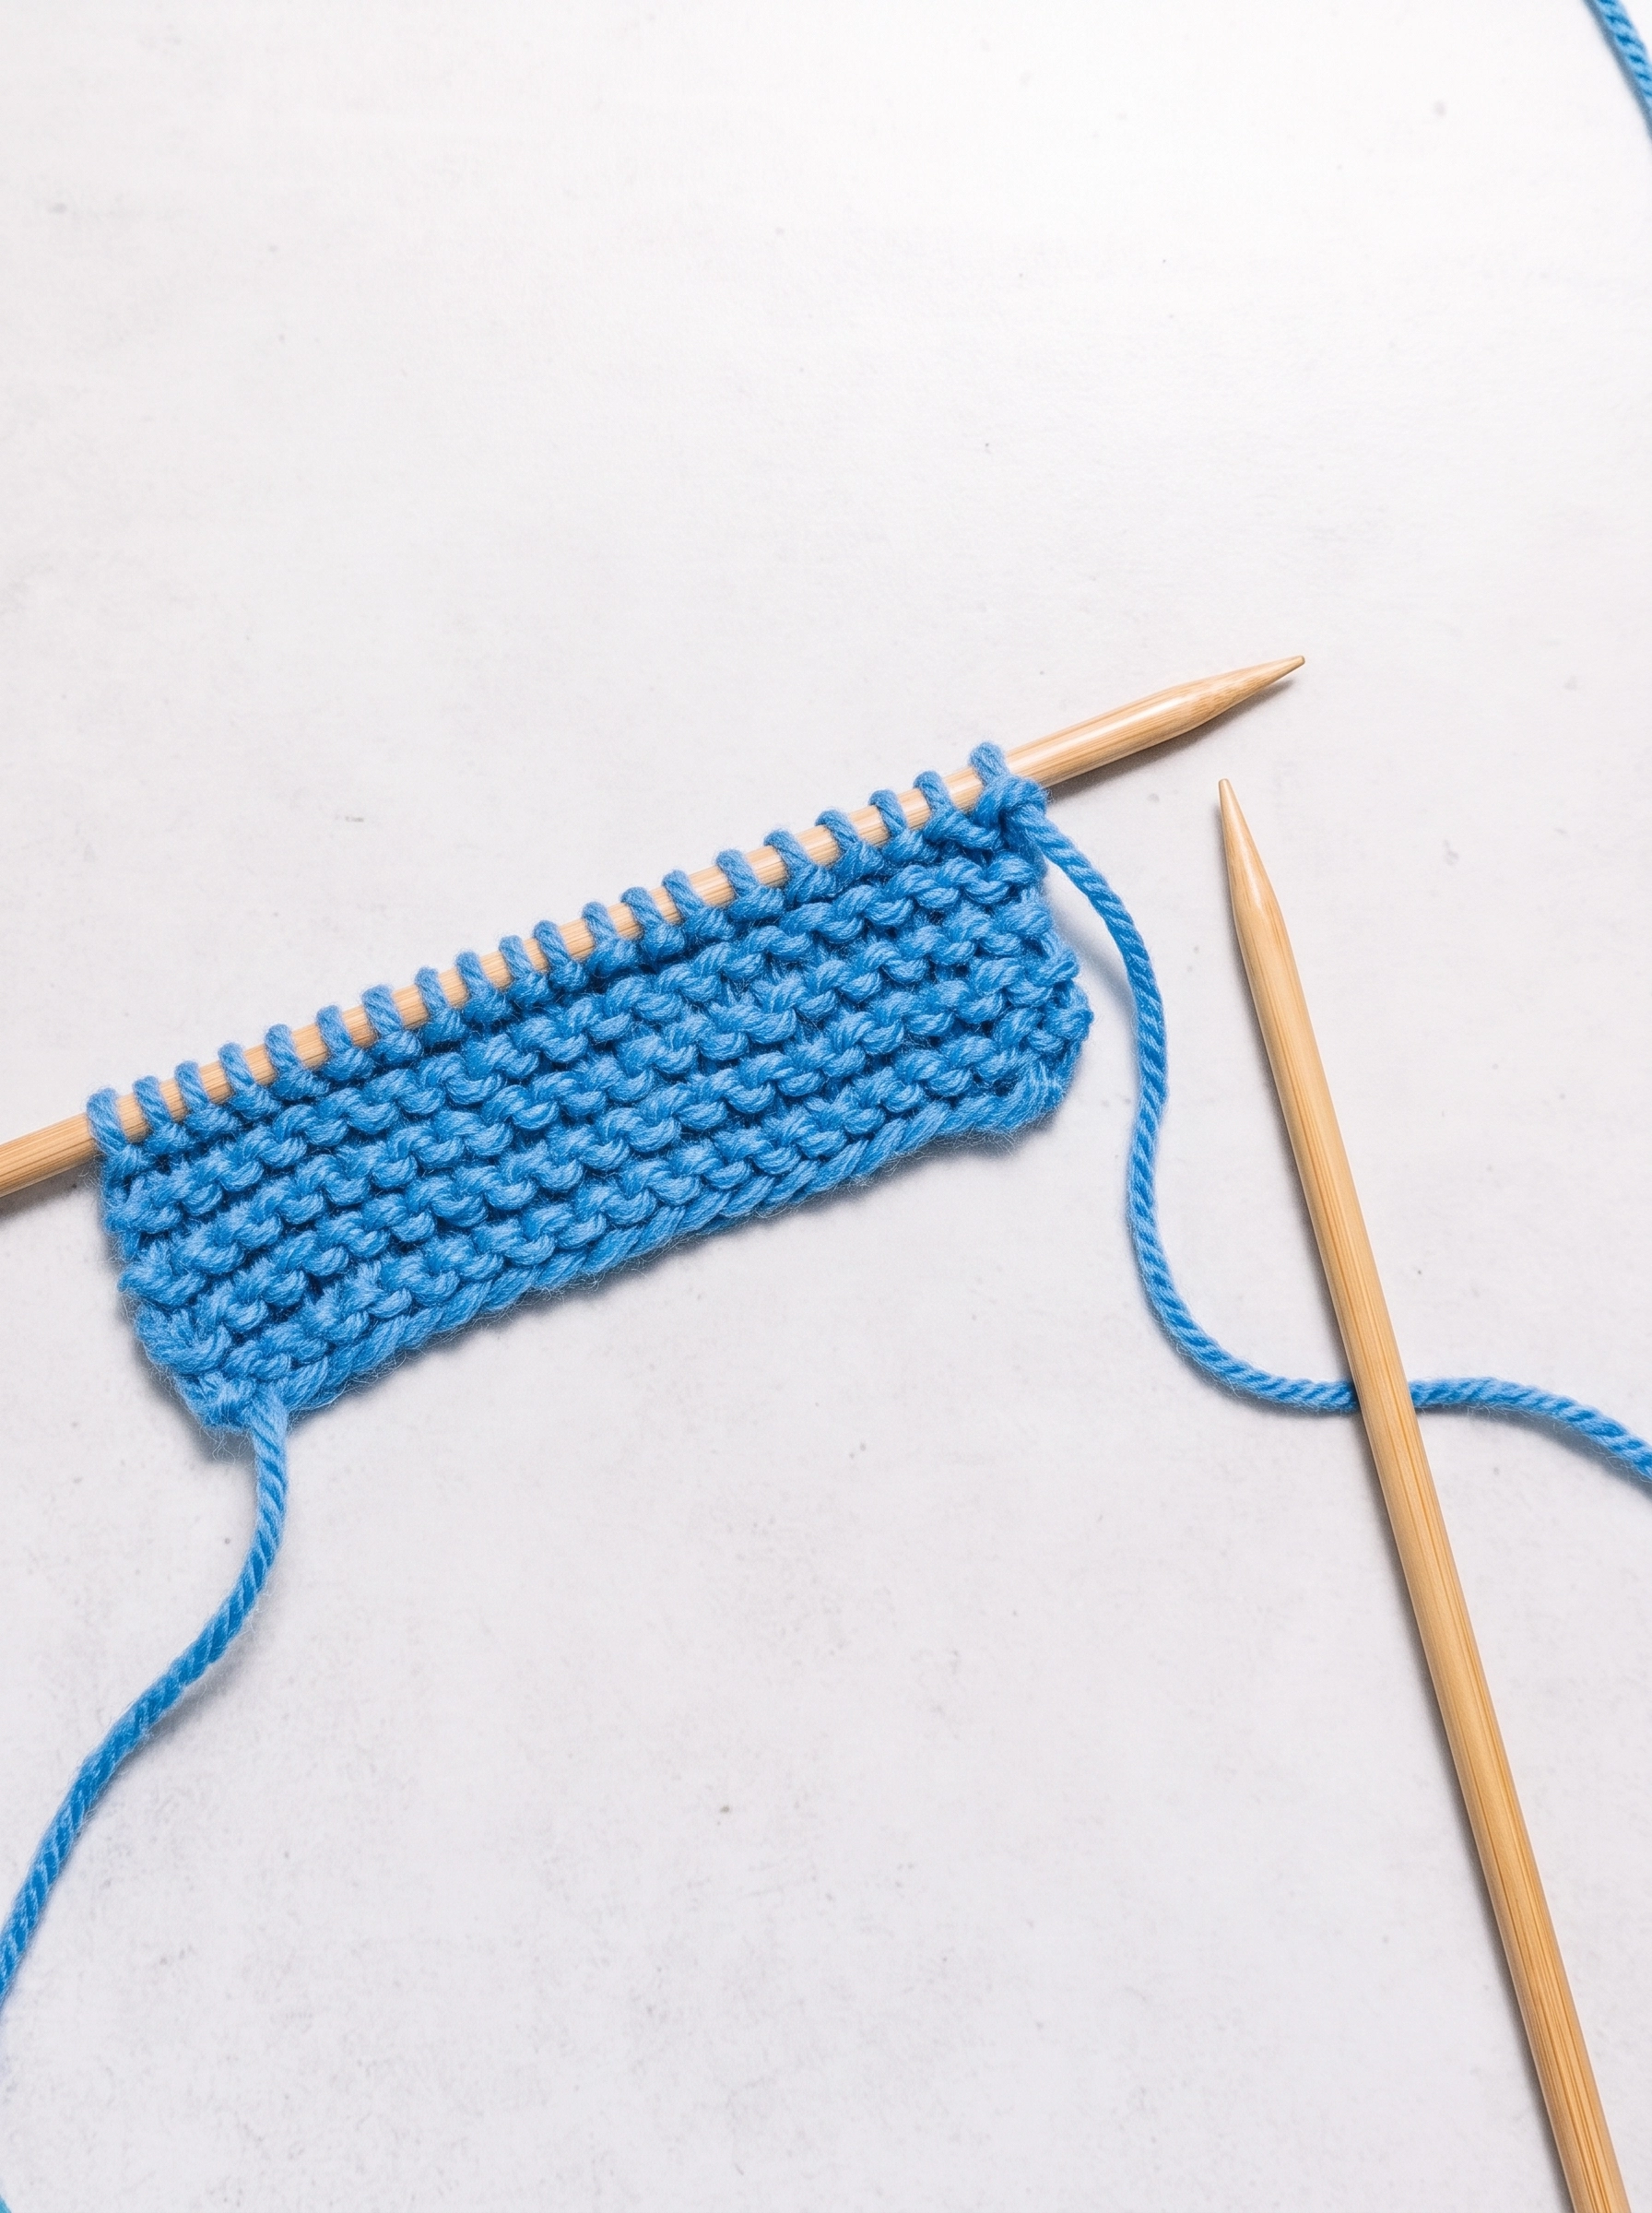
When you finish a row, turn the work by changing hands. Place the needle holding the loops in your left hand, then hold the empty needle in your right. This reset lines you up to begin the next row.
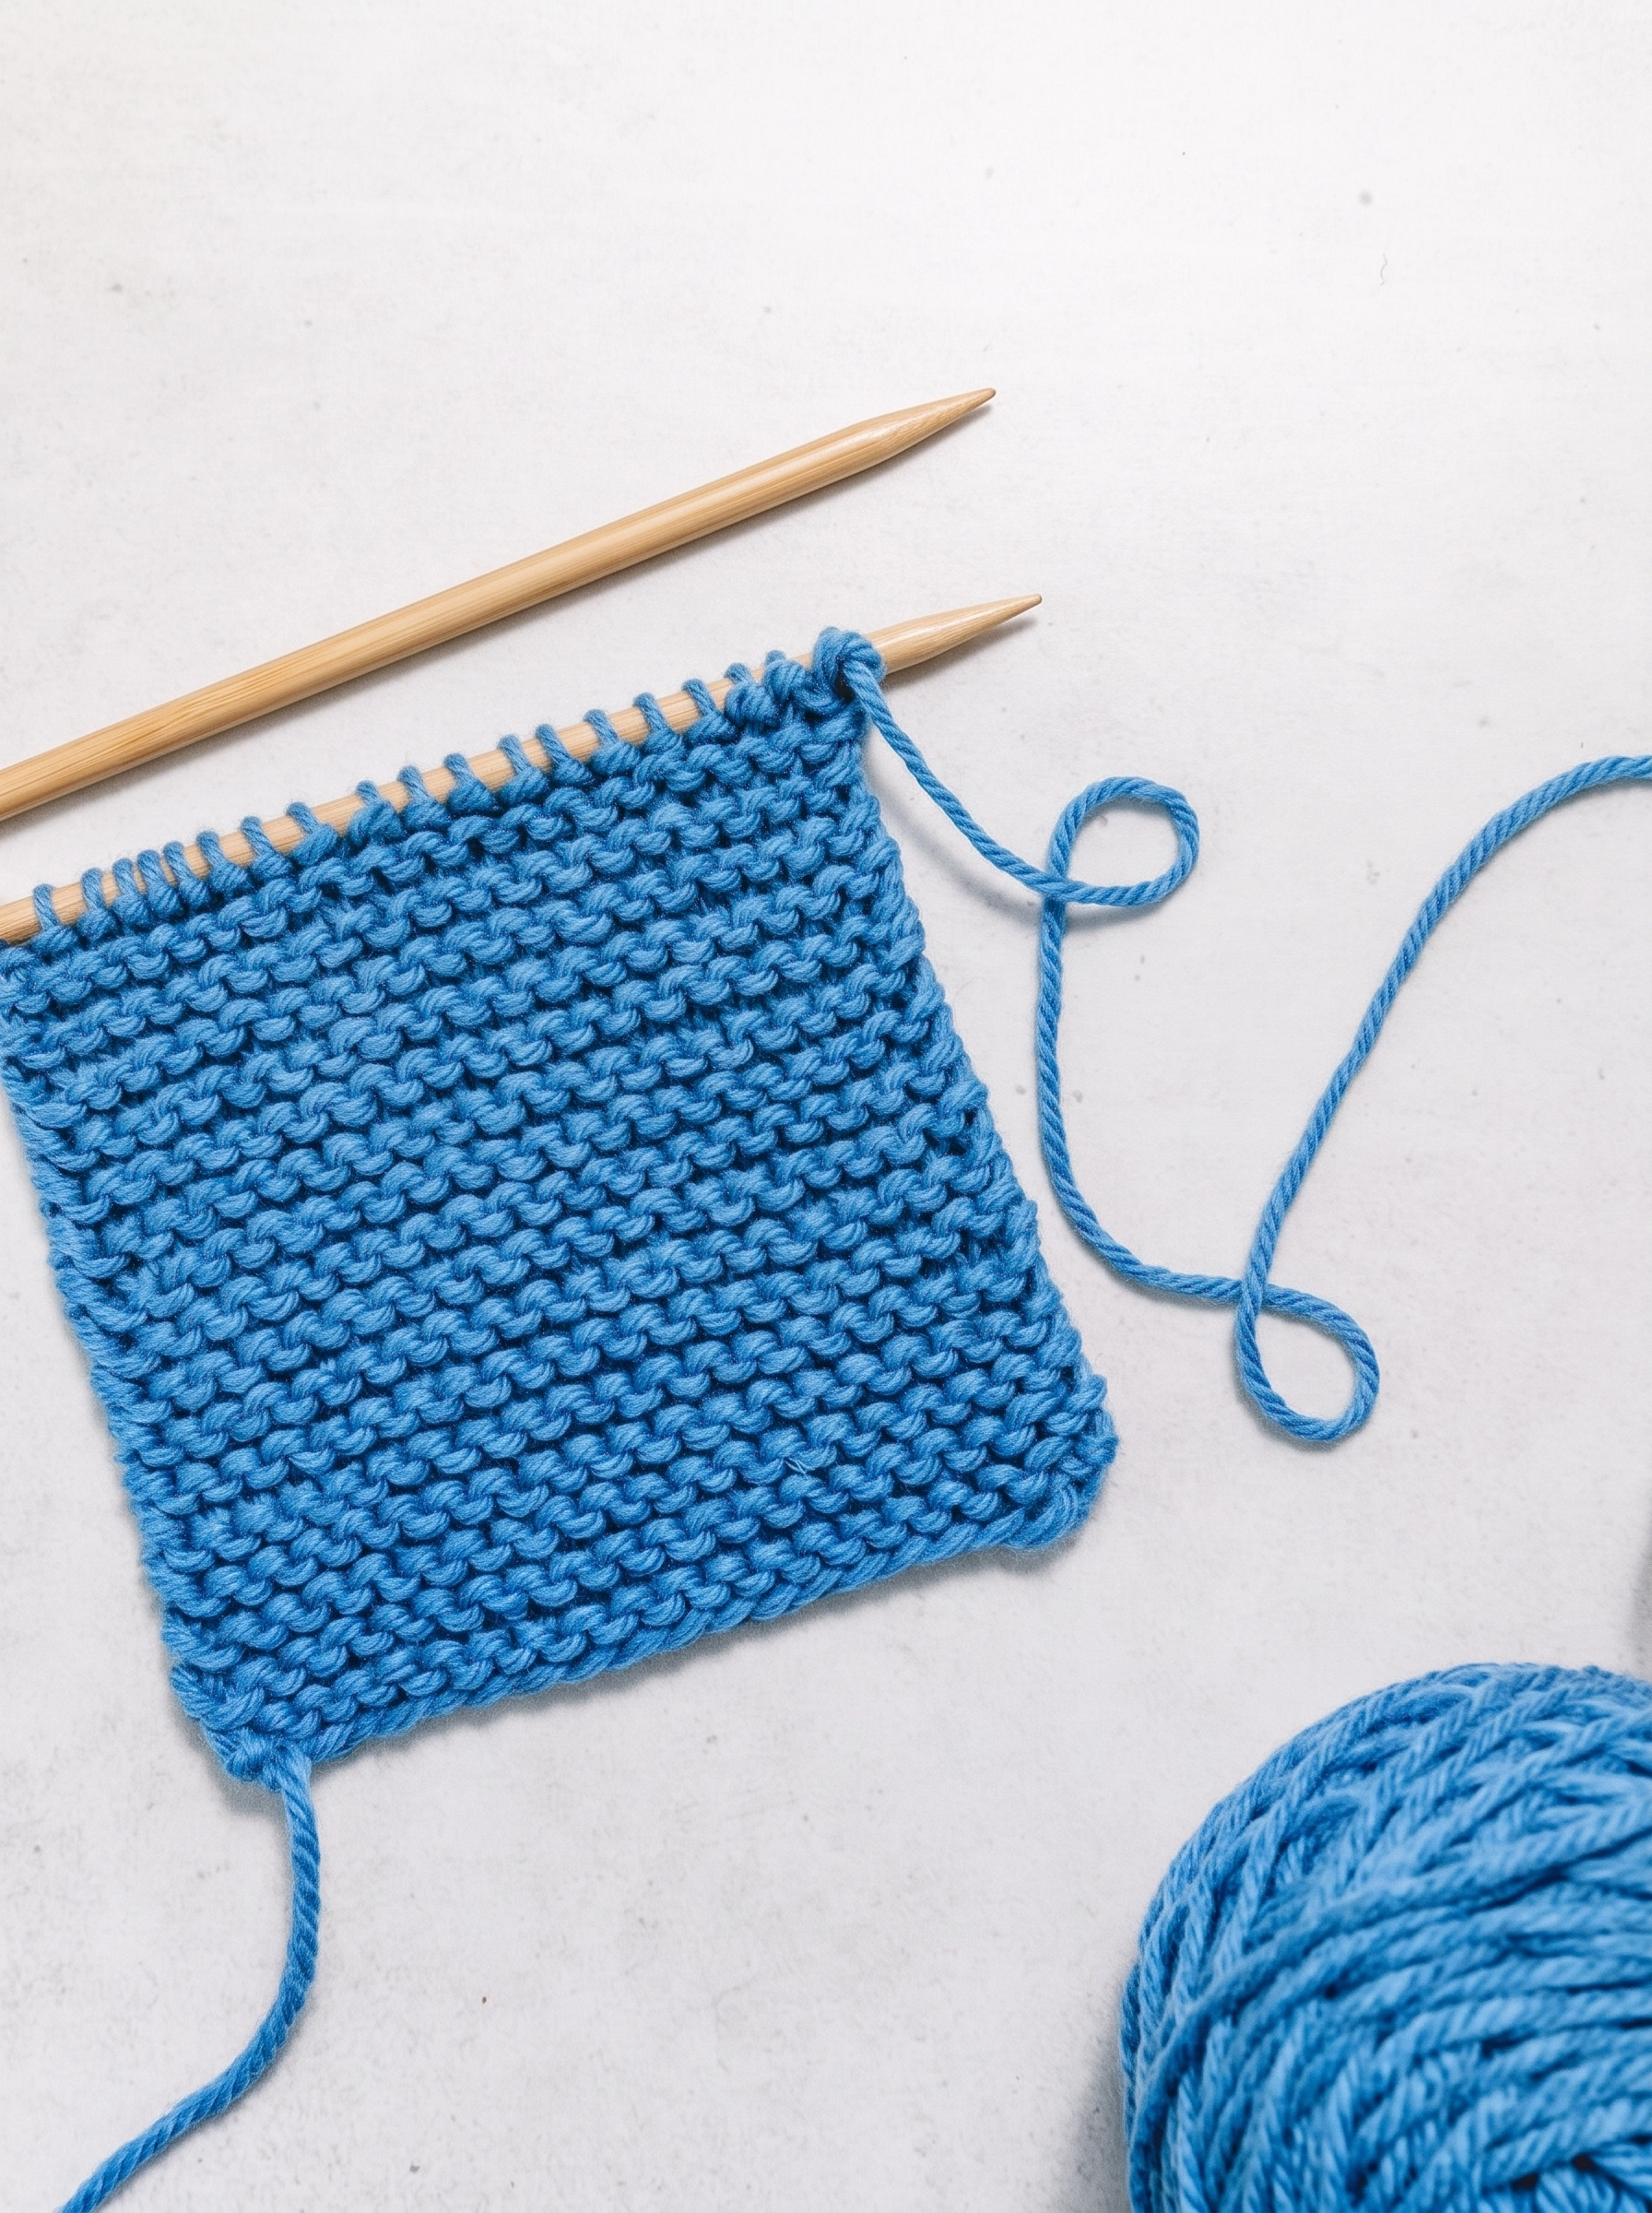
Work each loop with the same knit motion across every row. This makes garter stitch, a simple pattern that uses only the knit stitch. Keep the yarn below the needles as you start again. This helps prevent an extra loop from forming.
- Finish the row, then switch the needles between hands.
- Repeat the same motion across each new row.
- Check that the working yarn stays below the needles.
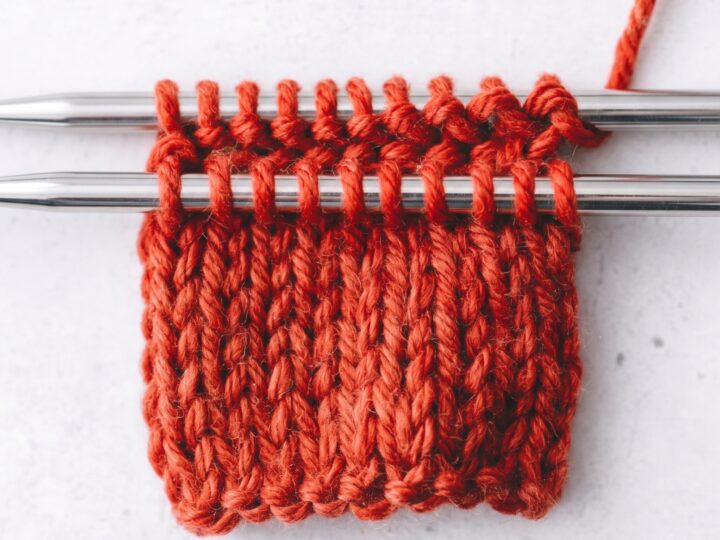
Your fabric will show raised ridges and look the same on both sides. Garter fabric also stays flat because its edges do not curl. These clear features make it easy to spot progress as your swatch grows. If one row looks uneven, keep going at a calm pace. With each pass, your hands can find a steadier rhythm.
Bind Off and Finish the Practice Swatch
Binding off secures the final row so its stitches cannot slide off the needles and unravel. This finish gives your practice fabric a neat edge and a useful reference as your knitting skills grow.
Hold the left needle steady, with the yarn at the back. Knit two stitches. Use the left needle to lift the first loop over the second, then drop it off the right needle. One loop remains on the right needle.
Knit one more stitch, then lift the older loop over it and off the needle. Repeat this motion across the row, bringing one loop over the next each time. Continue until only one loop remains. Keep your hands relaxed so the edge stays even.
Leave about a 6-inch yarn tail. Cut the yarn, remove the needle, and pull the tail through the last loop to secure it. Thread the tail through a tapestry needle and weave in both loose ends. Your swatch is now finished and ready to guide future projects. Enjoy this small win; each step adds to your knitting practice.
Build Confidence With Your First Simple Knitting Project
Your first swatch shows how a few simple moves can become useful fabric. Keep practicing the knit stitch; steady tension comes with regular sessions, not one perfect first row. Each time you learn knit basics, the motions feel more familiar.
Try a dishcloth or garter-stitch scarf as your next project. Both use simple stitch patterns and let you work across many rows. When you want more ideas, explore Ravelry. It is free to join and offers hundreds of thousands of patterns, including options suited to new makers.
Cast on, knit each row, turn the work, and bind off. This clear sequence can carry a simple project from start to finish. Your swatch has already helped you handle yarn, needles, and each loop with more ease. Take that confidence into your next knitting project, one step at a time.
Have a question? Use the form above to submit your question or comment.
I love hearing from you and seeing what you made!