


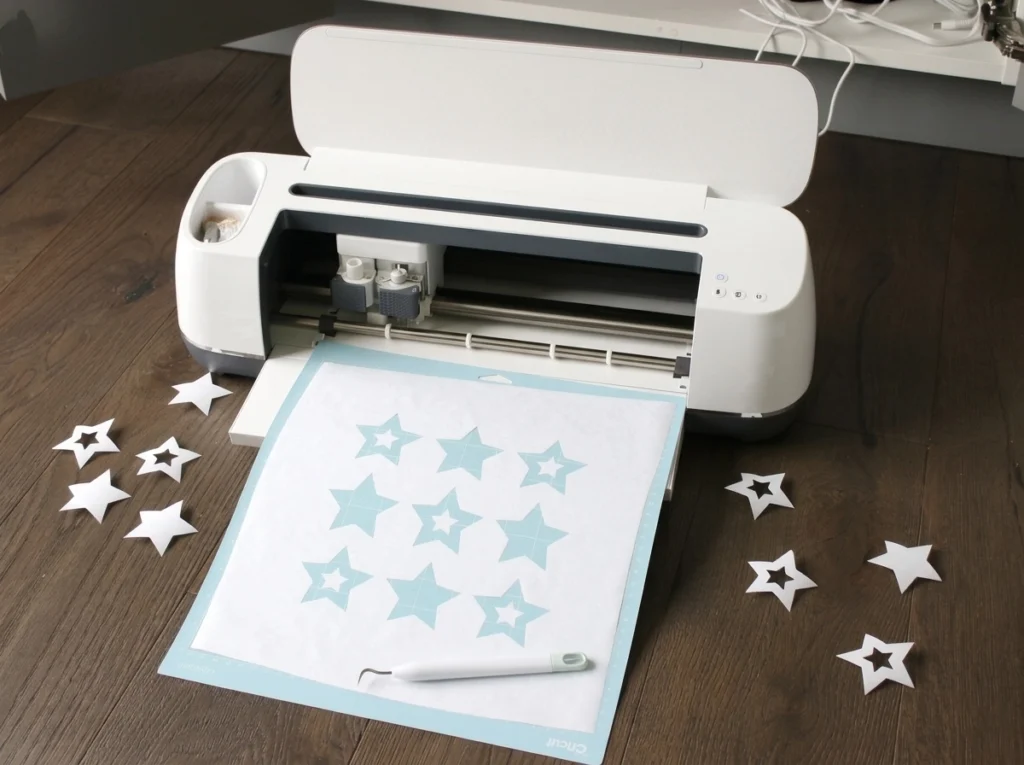
A tiny detail can turn a simple vinyl decal into a fussy weeding job. In Cricut Design Space, Contour lets you hide cut paths within one image layer before you make the project. It is useful when you want the main shape but not every line inside it.
This guide shows where to find Contour, how to switch individual paths off and back on, and what to check when the button is unavailable. You can follow the same method for a single-color decal, a simplified badge, or a design split into several colors.
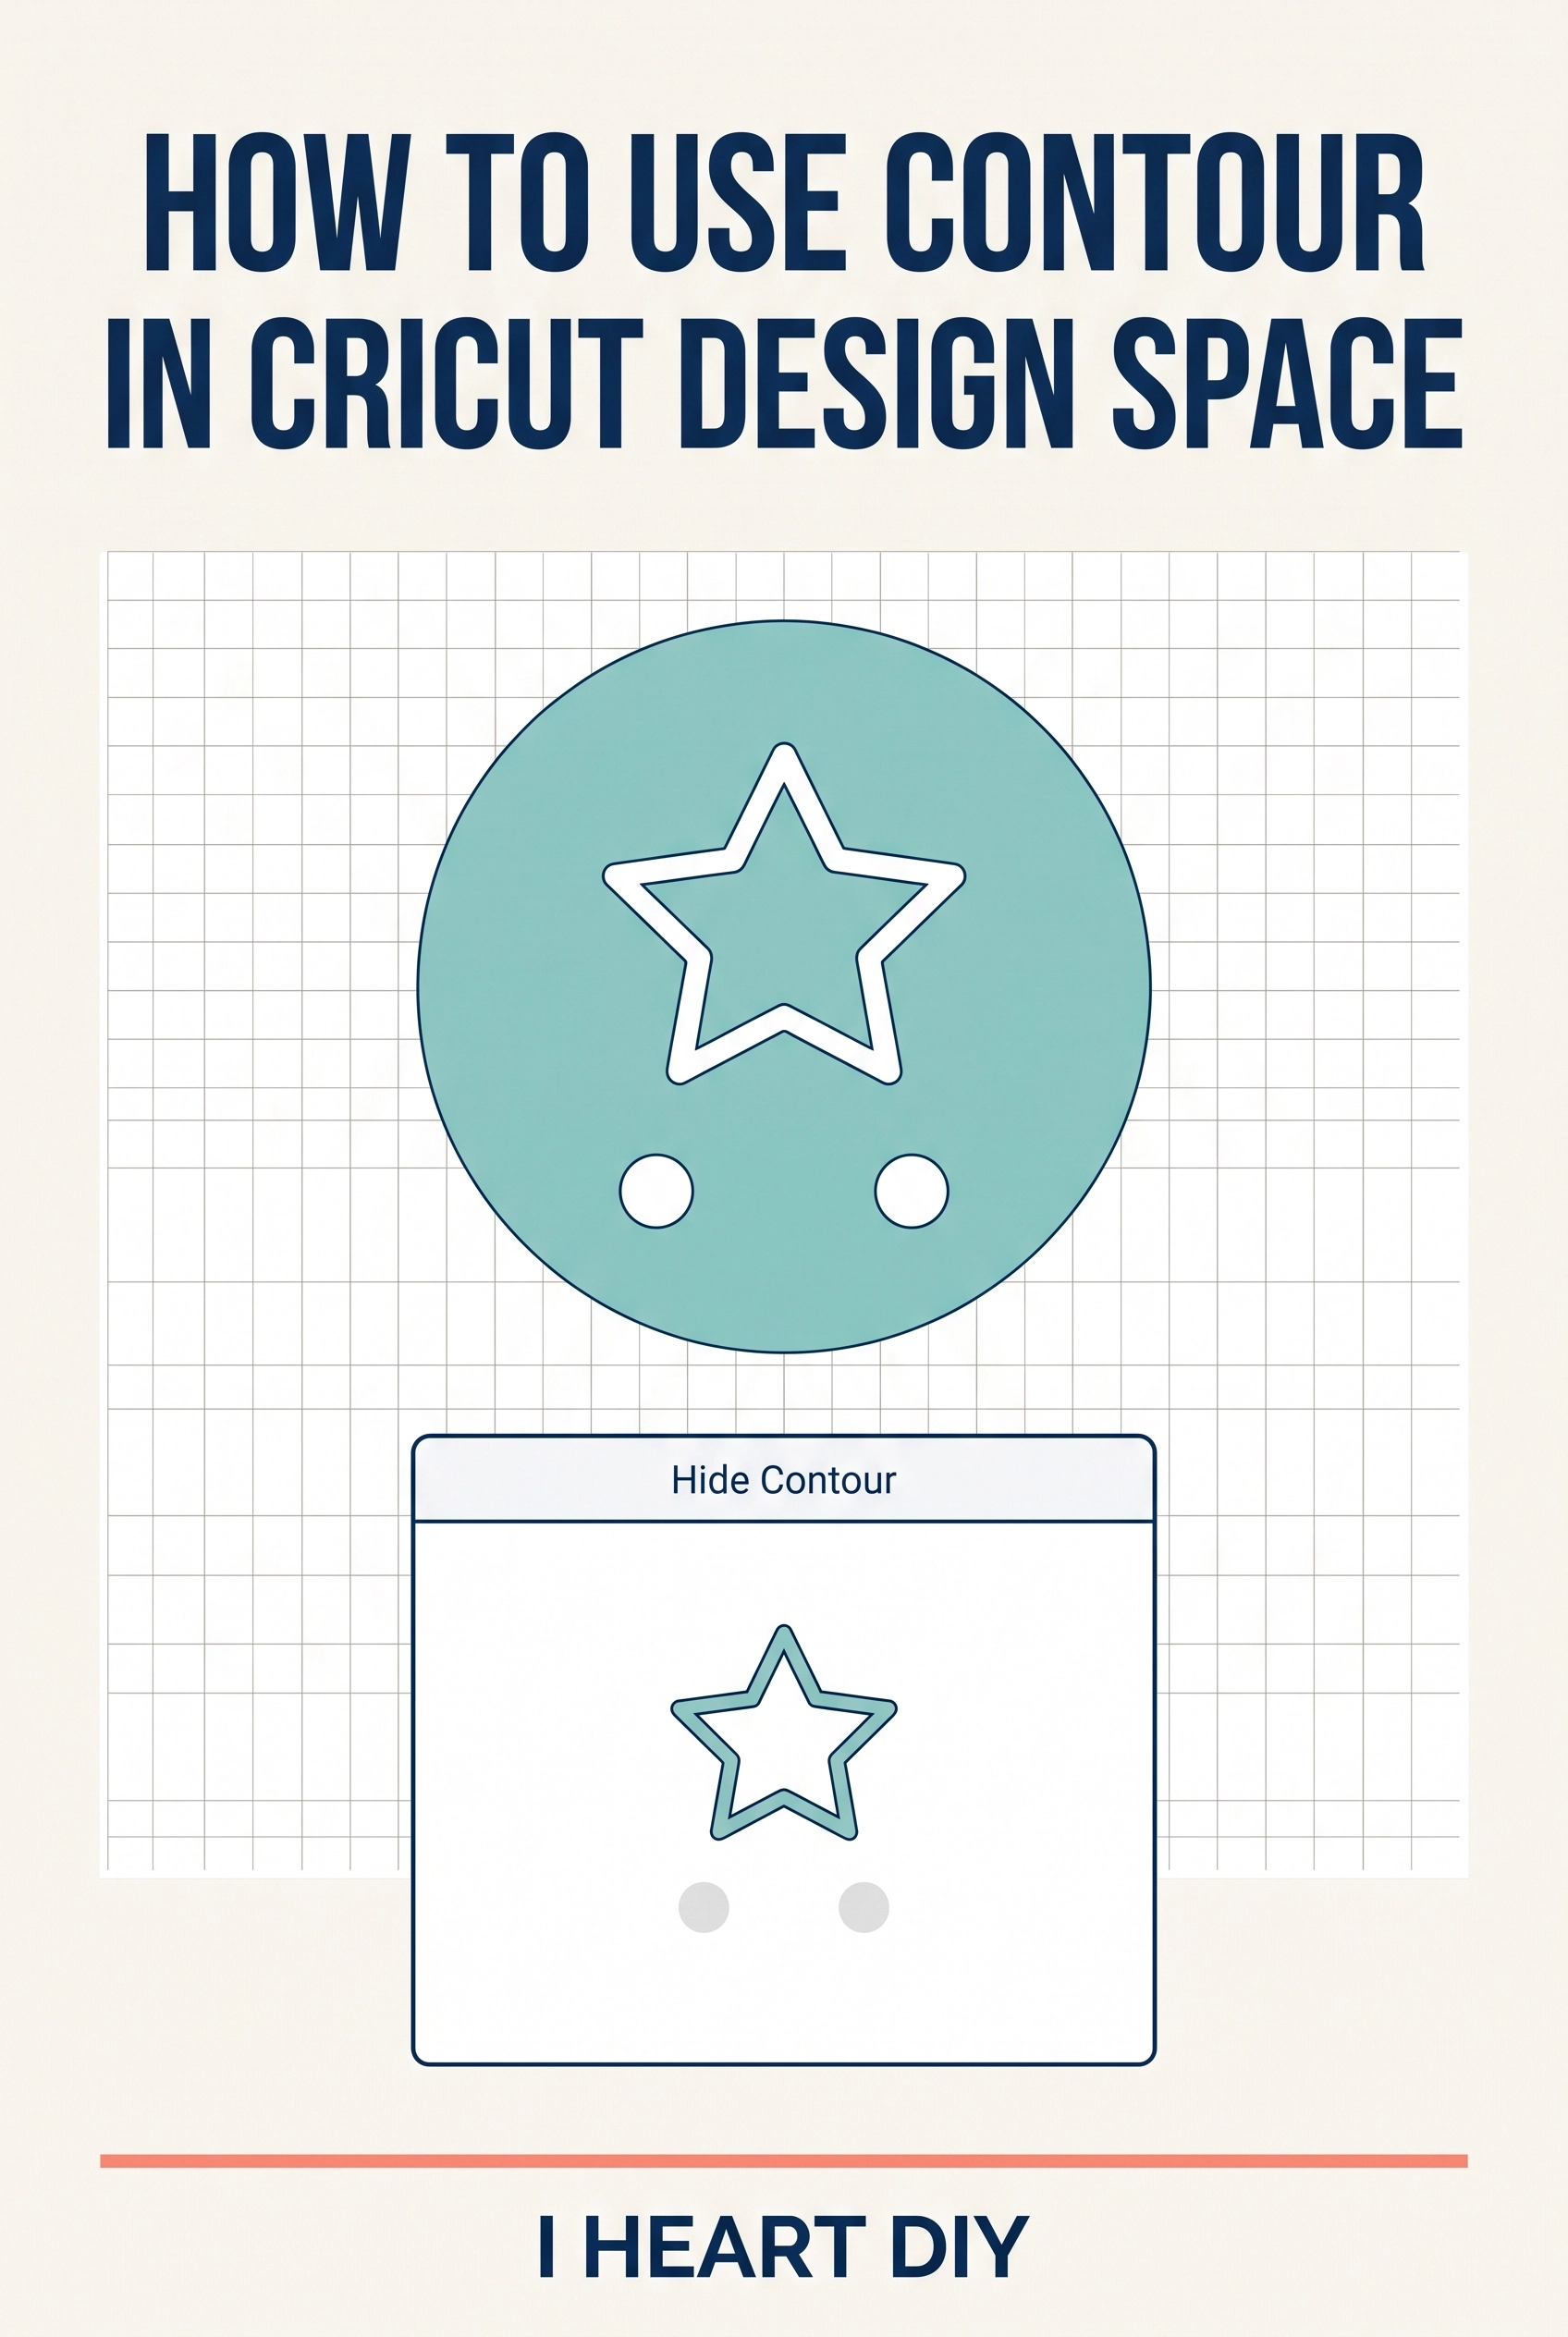
You do not need to connect or power on a cutting machine to practice on the Canvas. Start with a saved copy of your project so you can compare the edited layer with the original while you learn.
If Design Space itself is new to you, begin with our first Cricut project guide. Here, we will stay focused on the cut paths inside one selected layer.
What Contour changes
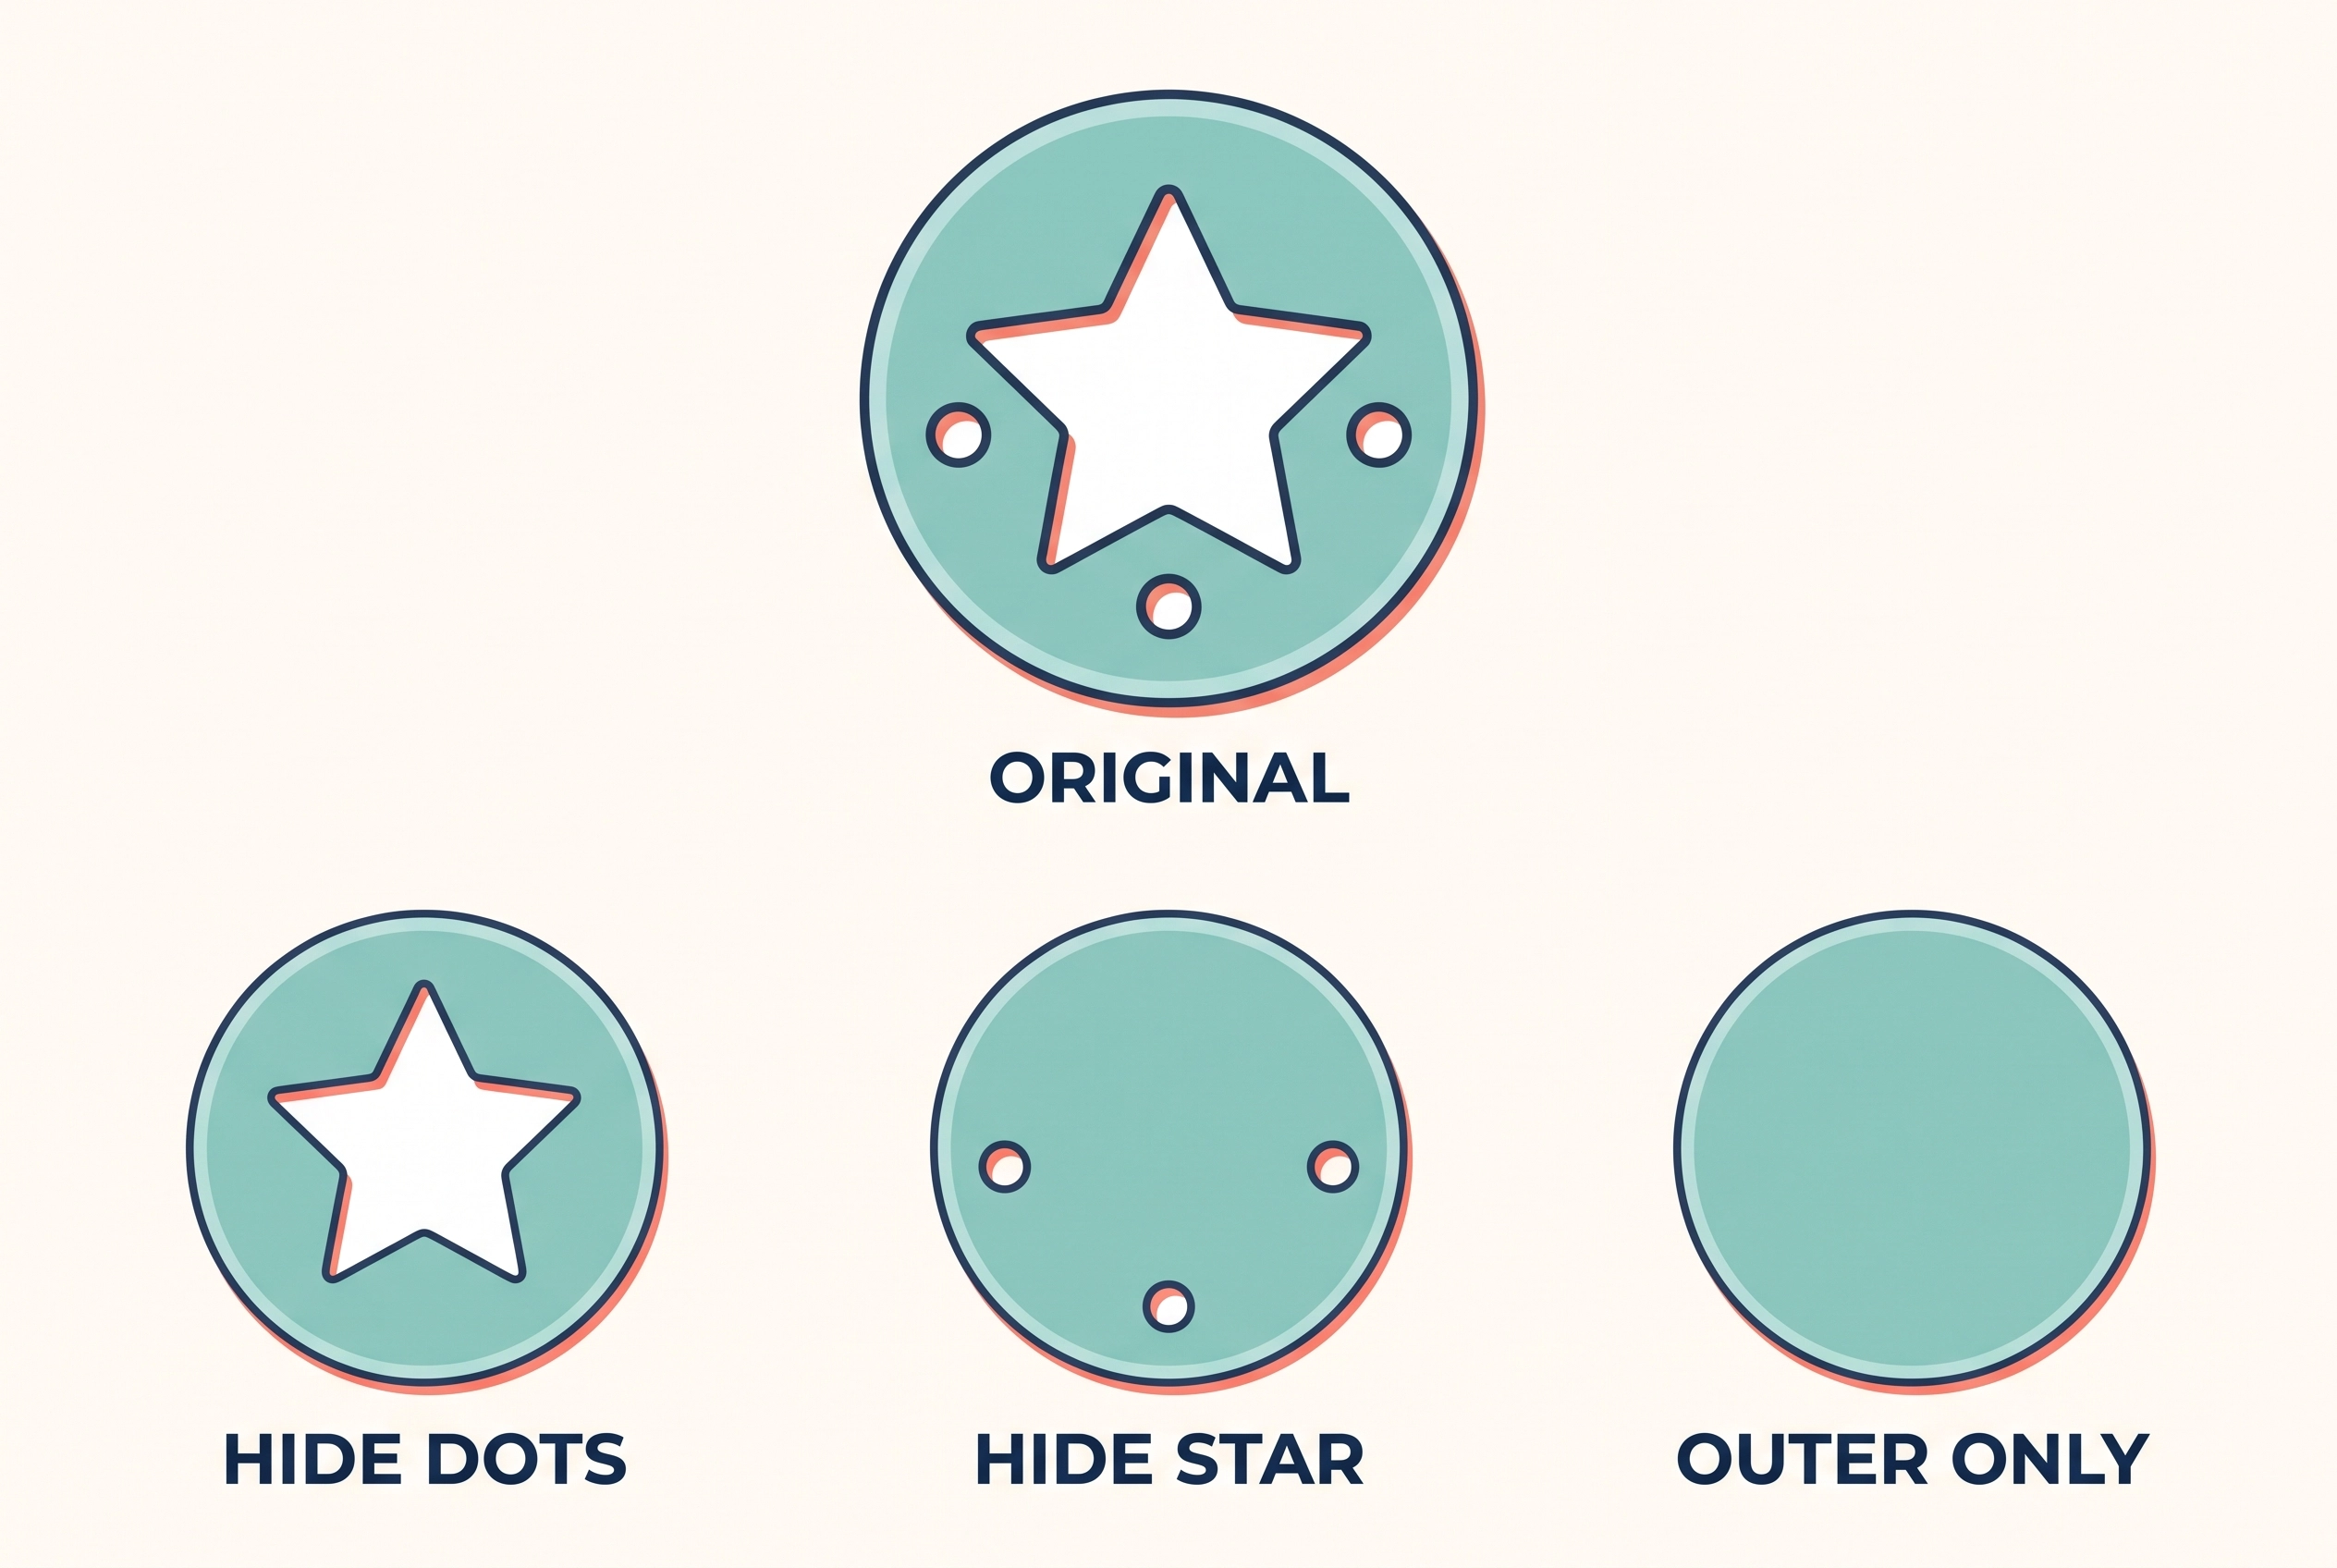
Contour controls which existing cut paths are visible in a selected image layer. When you hide a path, it disappears from the Canvas preview and will not be cut as part of that layer. You can reopen Contour later and show it again.
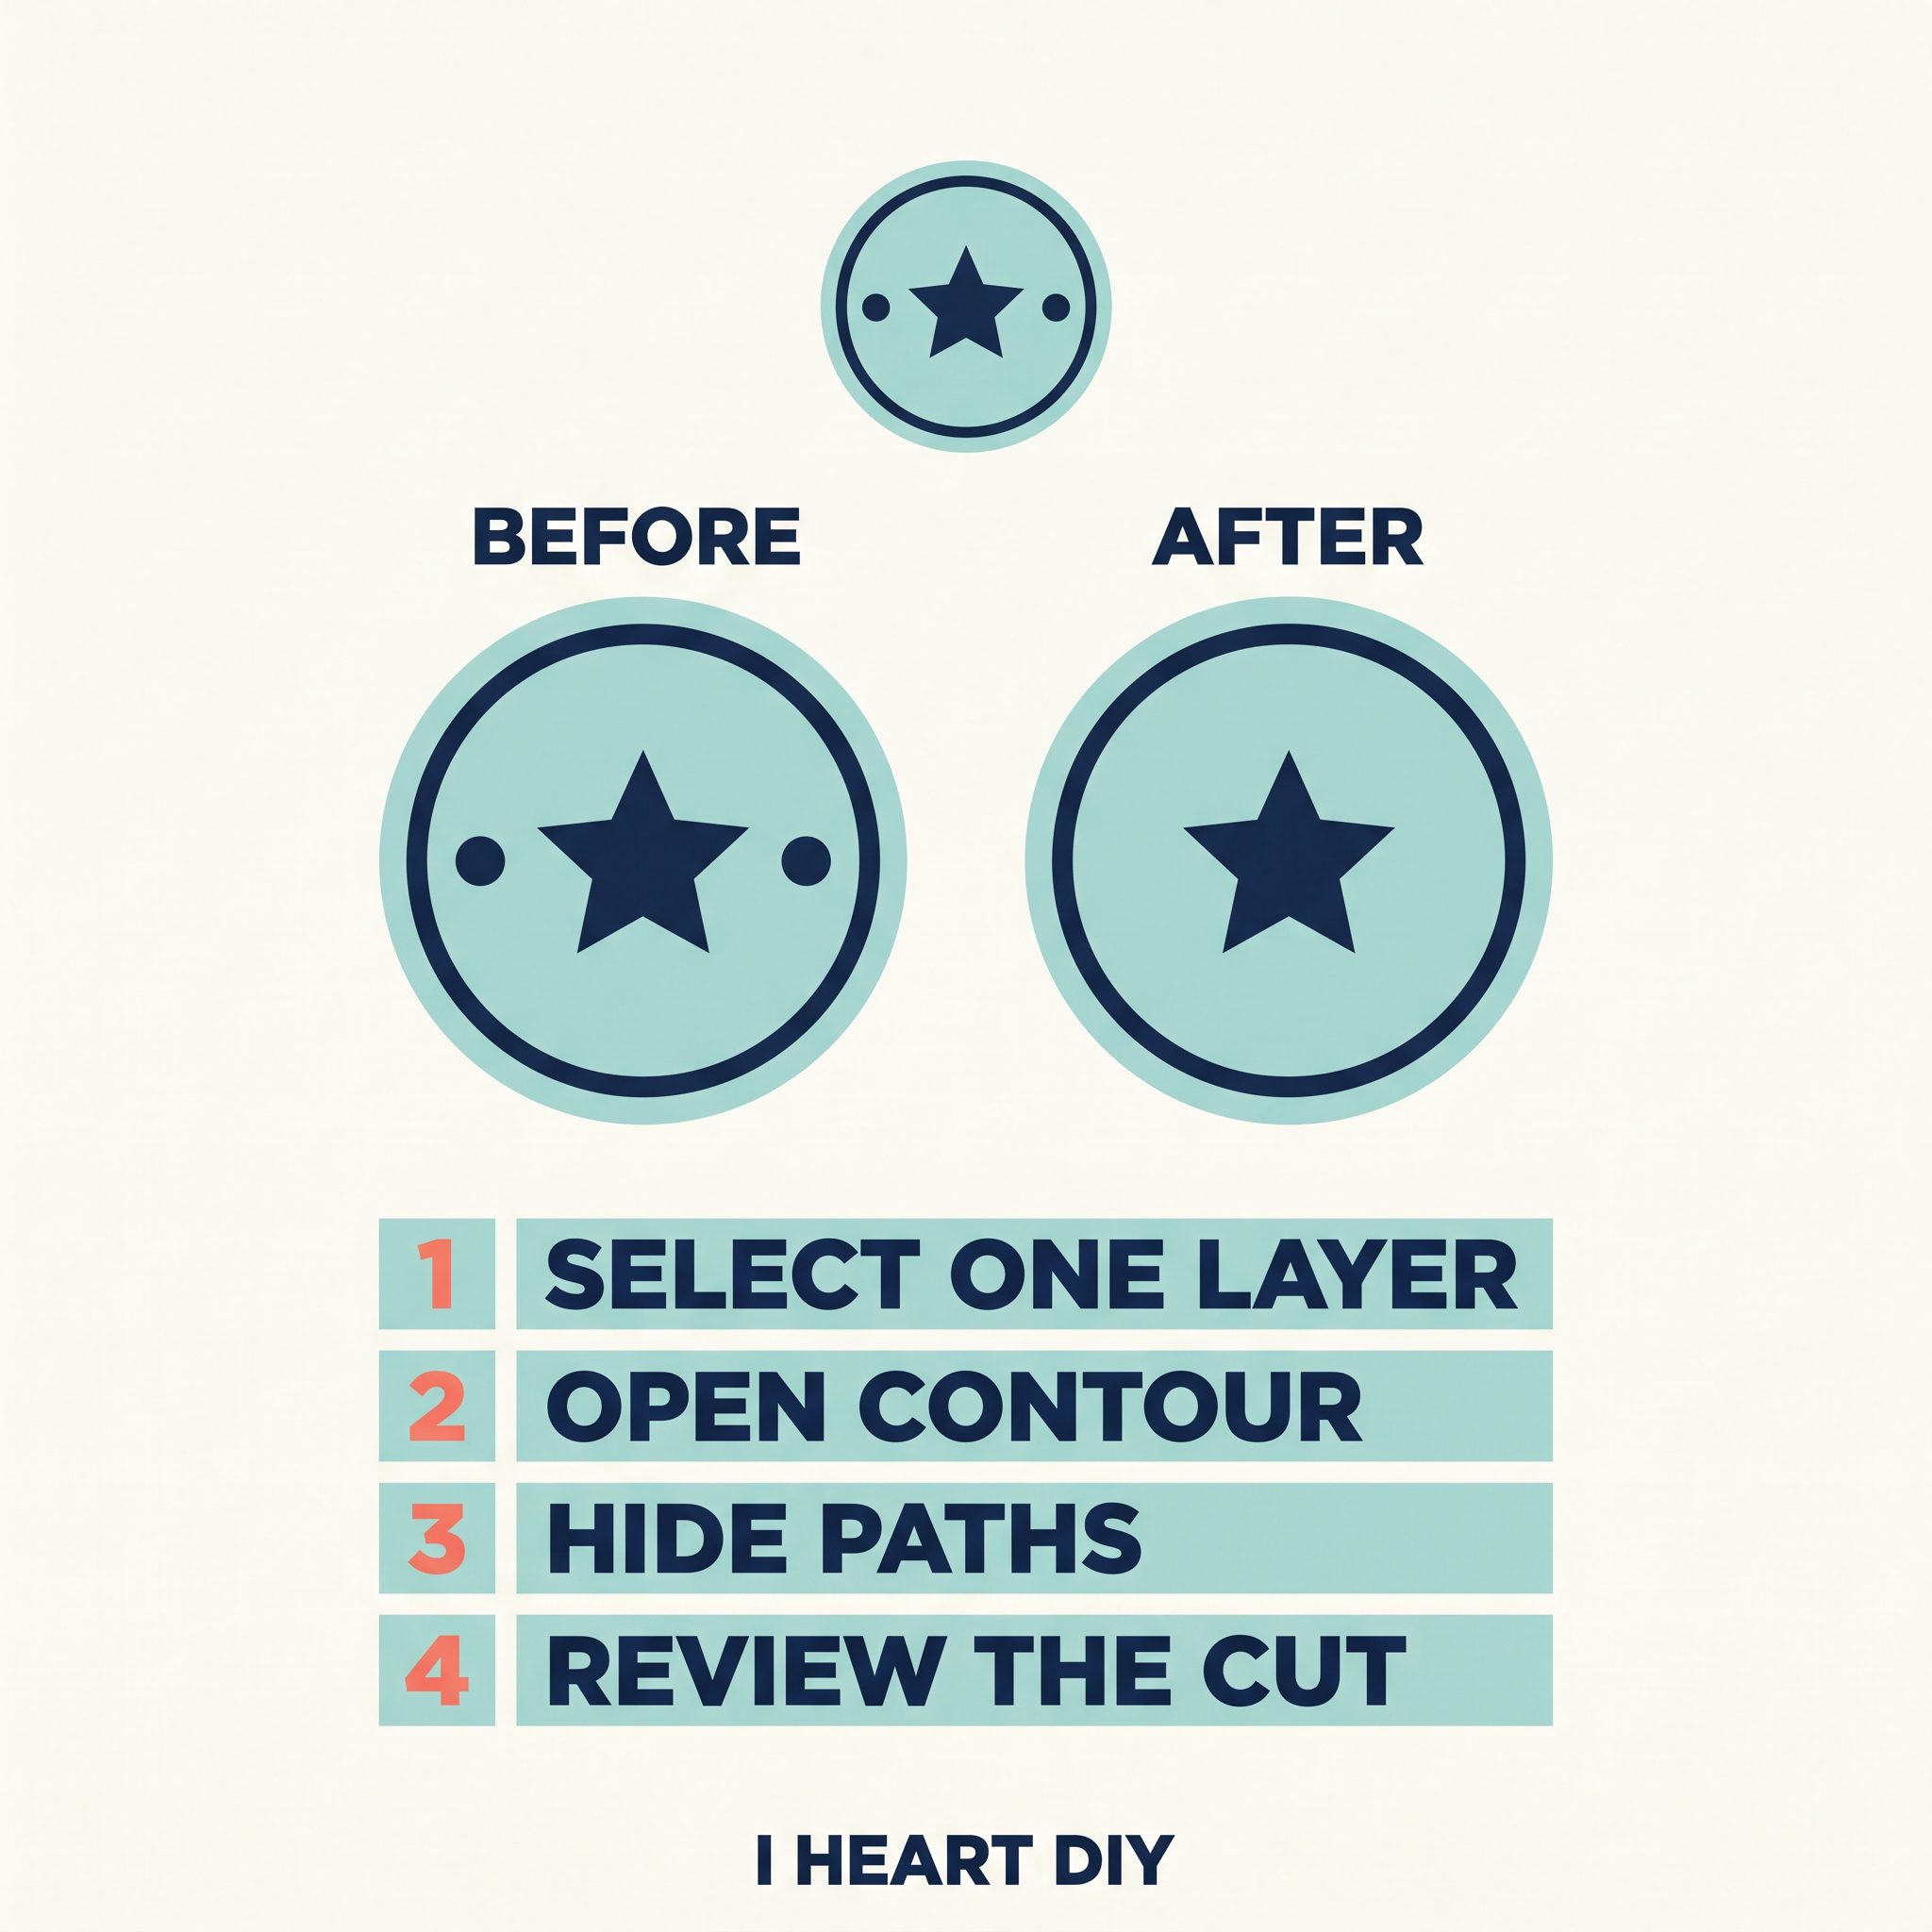
Think of a badge made from an outer circle, a small star, and two decorative dots. If those details are separate paths in the same layer, you can hide the dots while keeping the circle and star. You are editing the layer’s cut paths, not painting over its pixels.
A single plain circle has only one cut path, so there is no second path for Contour to switch off. A ring, a cutout shape, or one layer containing several separate motifs gives the tool something to work with.
Contour is especially handy for removing small details that would be difficult to weed from vinyl. It also helps isolate one part of a larger single-layer design without rebuilding the artwork from scratch.
For a color-separated project, you can duplicate an image layer and reveal a different portion in each copy. Each resulting layer can then receive its own material color. Keep the copies aligned until you have checked the final design.
Where to find the Contour button
On a Windows PC or Mac, open the Canvas and select one eligible image layer. Look at the bottom of the Layers panel for Contour. Cricut identifies the tool there as the control for hiding or unhiding cut paths.
On an iPhone, iPad, or Android device, select one layer on the Canvas, tap Actions, and then choose Contour. Cricut’s mobile instructions place both Ungroup and Contour in that Actions menu.
The exact position of nearby controls can move as Design Space changes. If you do not see Contour, check the selected layer and its available Actions before hunting through unrelated menus.
A multi-layer image may arrive as a group. Ungroup it first, then select only the individual layer whose paths you want to edit. Cricut documents this step for both desktop and mobile.
How to hide a cut line step by step
Open Design Space and place a cut image with at least two paths on the Canvas. For a clear first test, choose a ring or a simple badge with one or two interior shapes. Duplicate the image once and move the spare copy aside.
Select the layer you want to edit. If several layers highlight together, choose Ungroup and click the single image layer again. The Layers panel is a reliable place to check exactly what is selected.
Choose Contour. The Hide Contour window shows a preview of the selected layer and a list of its individual paths. This is the place to decide which pieces should remain in your final cut.
Click a path in the preview, or select its entry in the list at the side. Cricut says a hidden path becomes lighter in the window. Repeat for any other small pieces you want to remove.
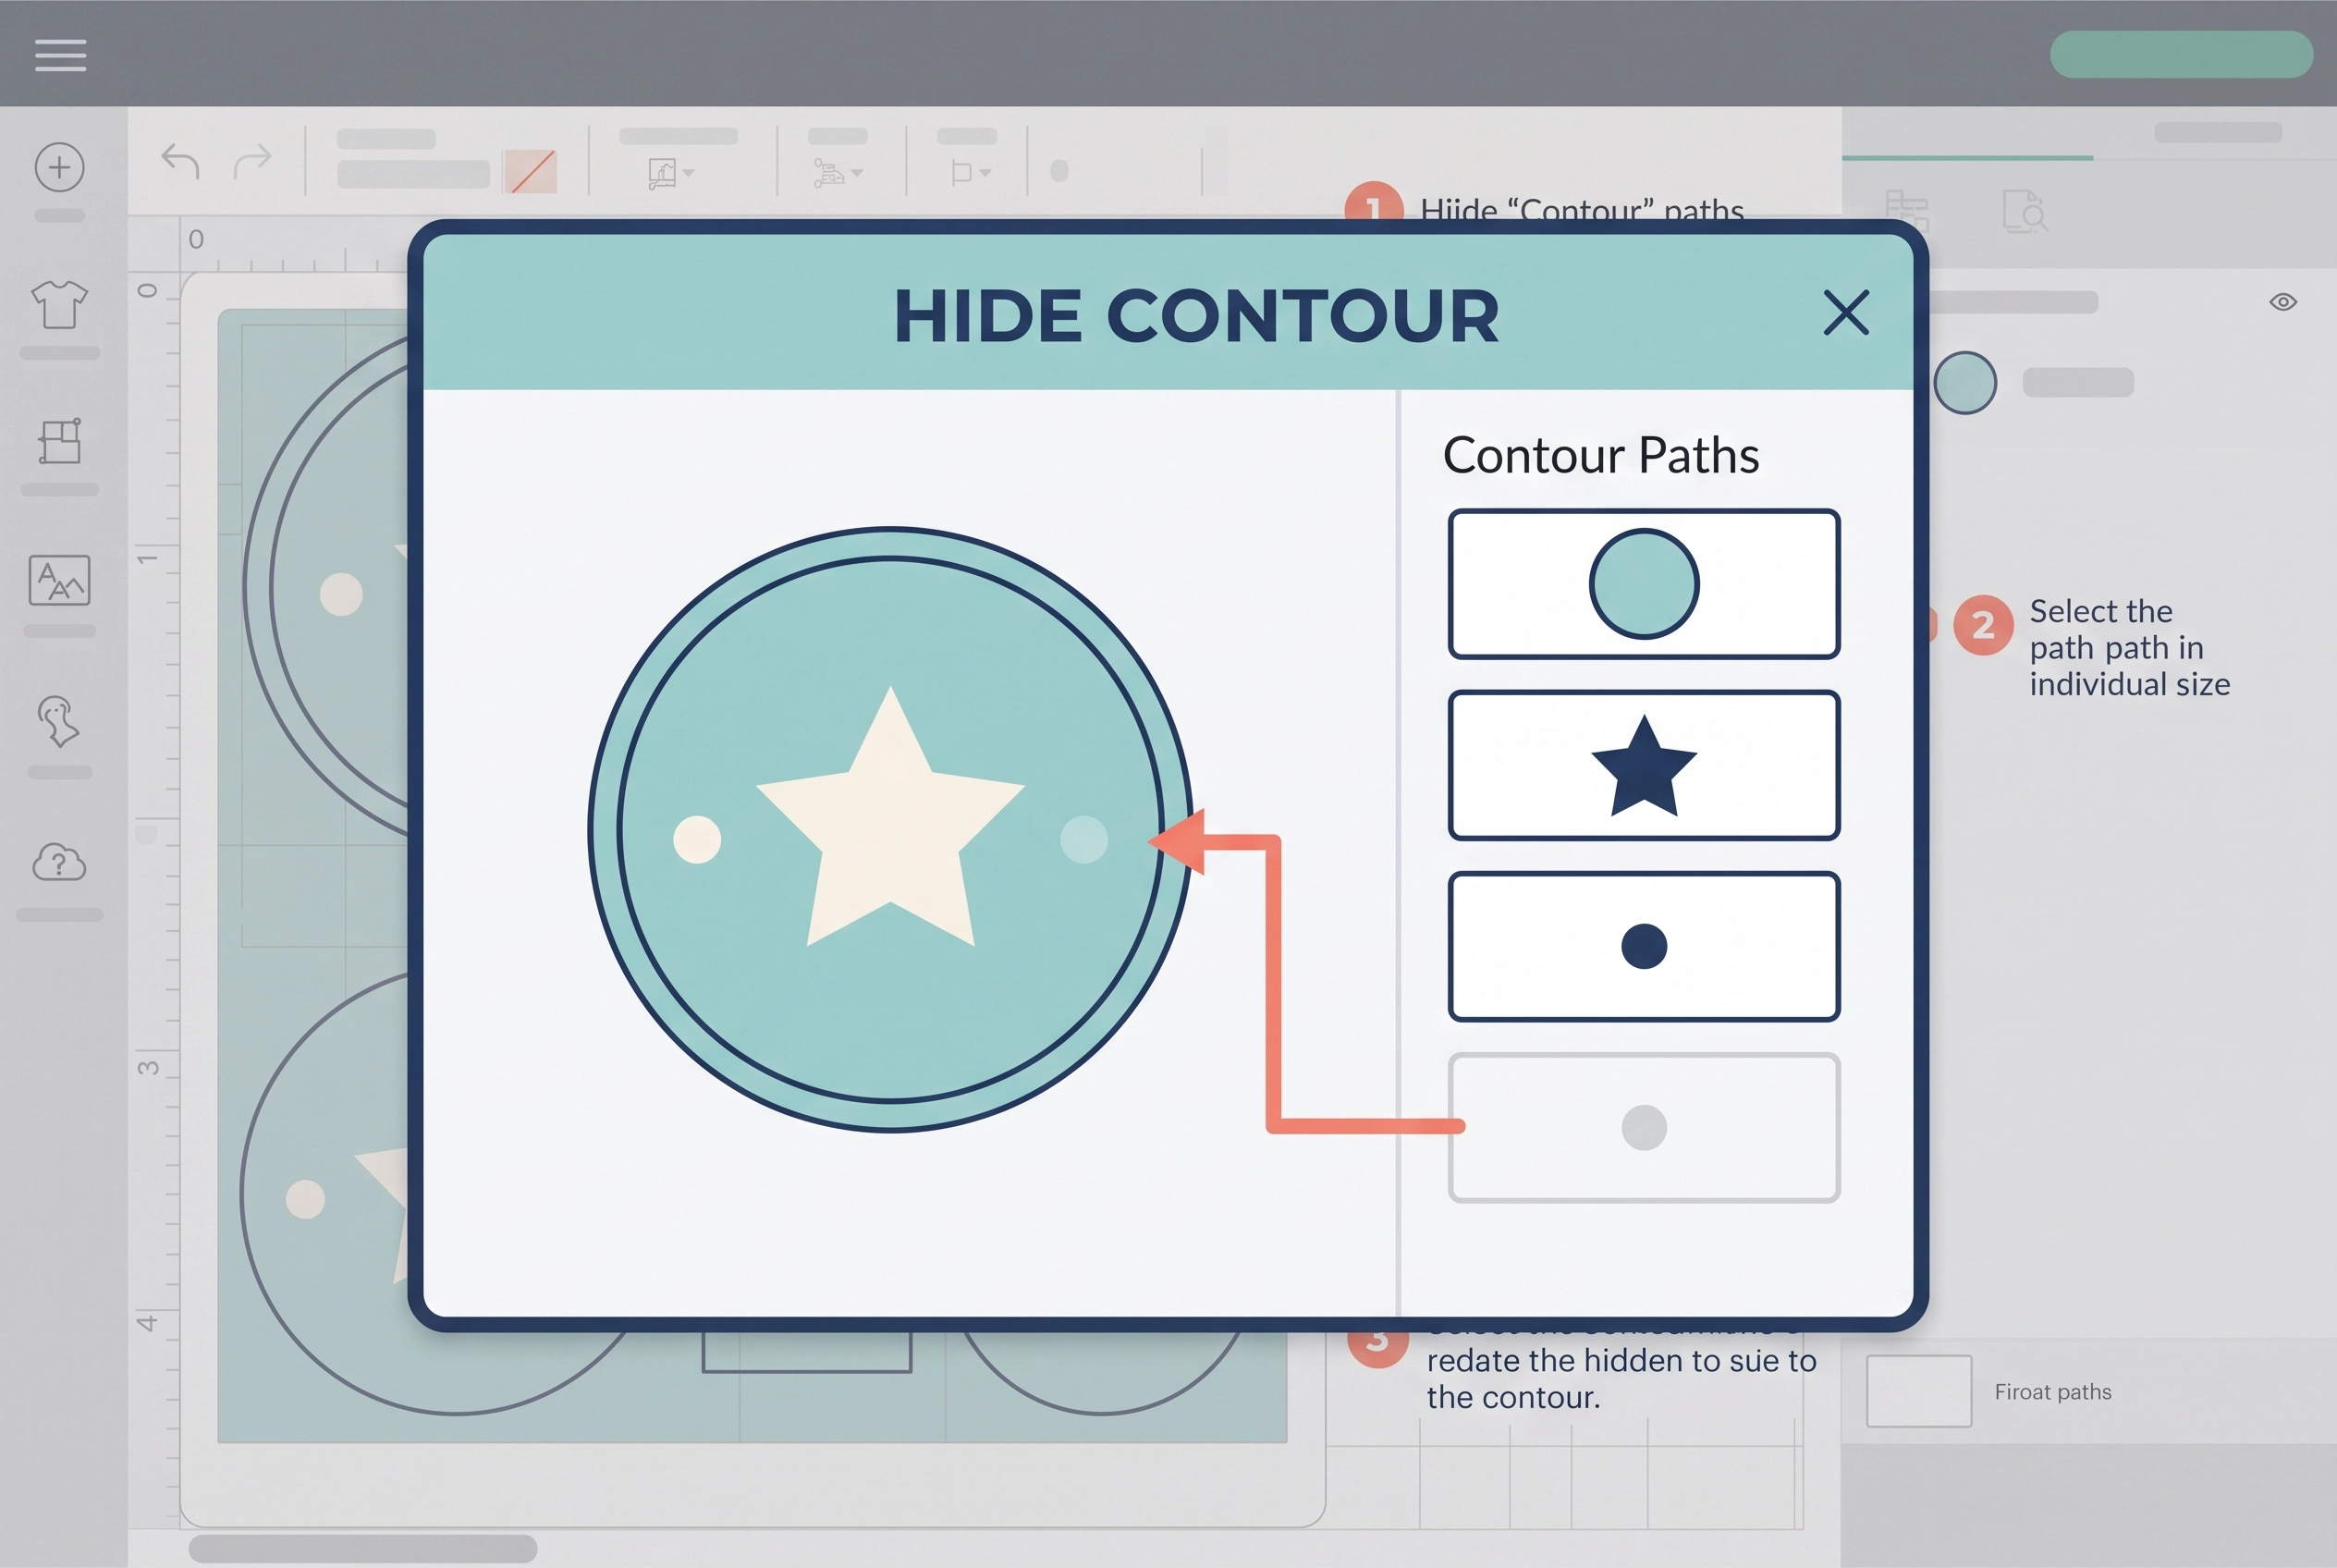
Close the window, or click outside it, to inspect the edited image on the Canvas. Compare it with your untouched duplicate. The missing pieces should no longer appear in the edited layer.
To undo one choice later, select the same layer and open Contour again. Click the hidden path to restore it; Cricut confirms the path will reappear on the Canvas.
Zoom in when a tiny cutout is hard to target. The list of contours is often easier to use than clicking a narrow shape in the preview. Work slowly so you can confirm which path changed color.
Before you cut material, hide or remove your spare practice copy. Then use the project preview to look for surprise interior cuts or missing details. A quick check here is easier than discovering the wrong path after weeding.
Using Contour on the mobile app
The mobile workflow starts the same way: add an image, ungroup a multi-layer design if needed, and select one image layer. Tap Actions → Contour to open the path preview.
Tap the line you want to hide. According to Cricut’s mobile help, the dark gray line changes to light gray, and the hidden line will no longer cut. Tap additional lines if the design needs more cleanup.
Tap Done to return to the Canvas. Reopen Contour and tap a light gray path whenever you want it back. Use the layer preview to confirm the result before making the project.
A few rules that save time
Select one layer at a time. Cricut’s Canvas guide says the mobile Contour control appears only for a single selected layer with more than one contour. A group or multiple highlighted layers is a good first clue when the button stays gray.
Look for actual cut paths, not just colored areas in a picture. A printable image and a cut-path image are different kinds of artwork in Design Space; Contour works on paths within the selected layer.
If you have editable text, decide whether you really need to convert it into a fixed cut shape first. Keep a separate editable copy of the words so you can still correct spelling or change the font later.
Hiding a contour does not erase the whole layer. If your goal is to turn off an entire layer, use its visibility control in the Layers panel instead. Cricut describes that eye icon separately from Contour.
Save a duplicate before experimenting with a busy design. Contour itself can be revisited, but having an untouched copy makes it easy to compare geometry and keep the original proportions.
Example 1: Separate three stars from one layer
Imagine a single cut layer containing three stars spread across the Canvas. You want to cut one star from white vinyl and the other two from different colors. First check that the three stars are paths inside one layer, rather than three already independent layers.
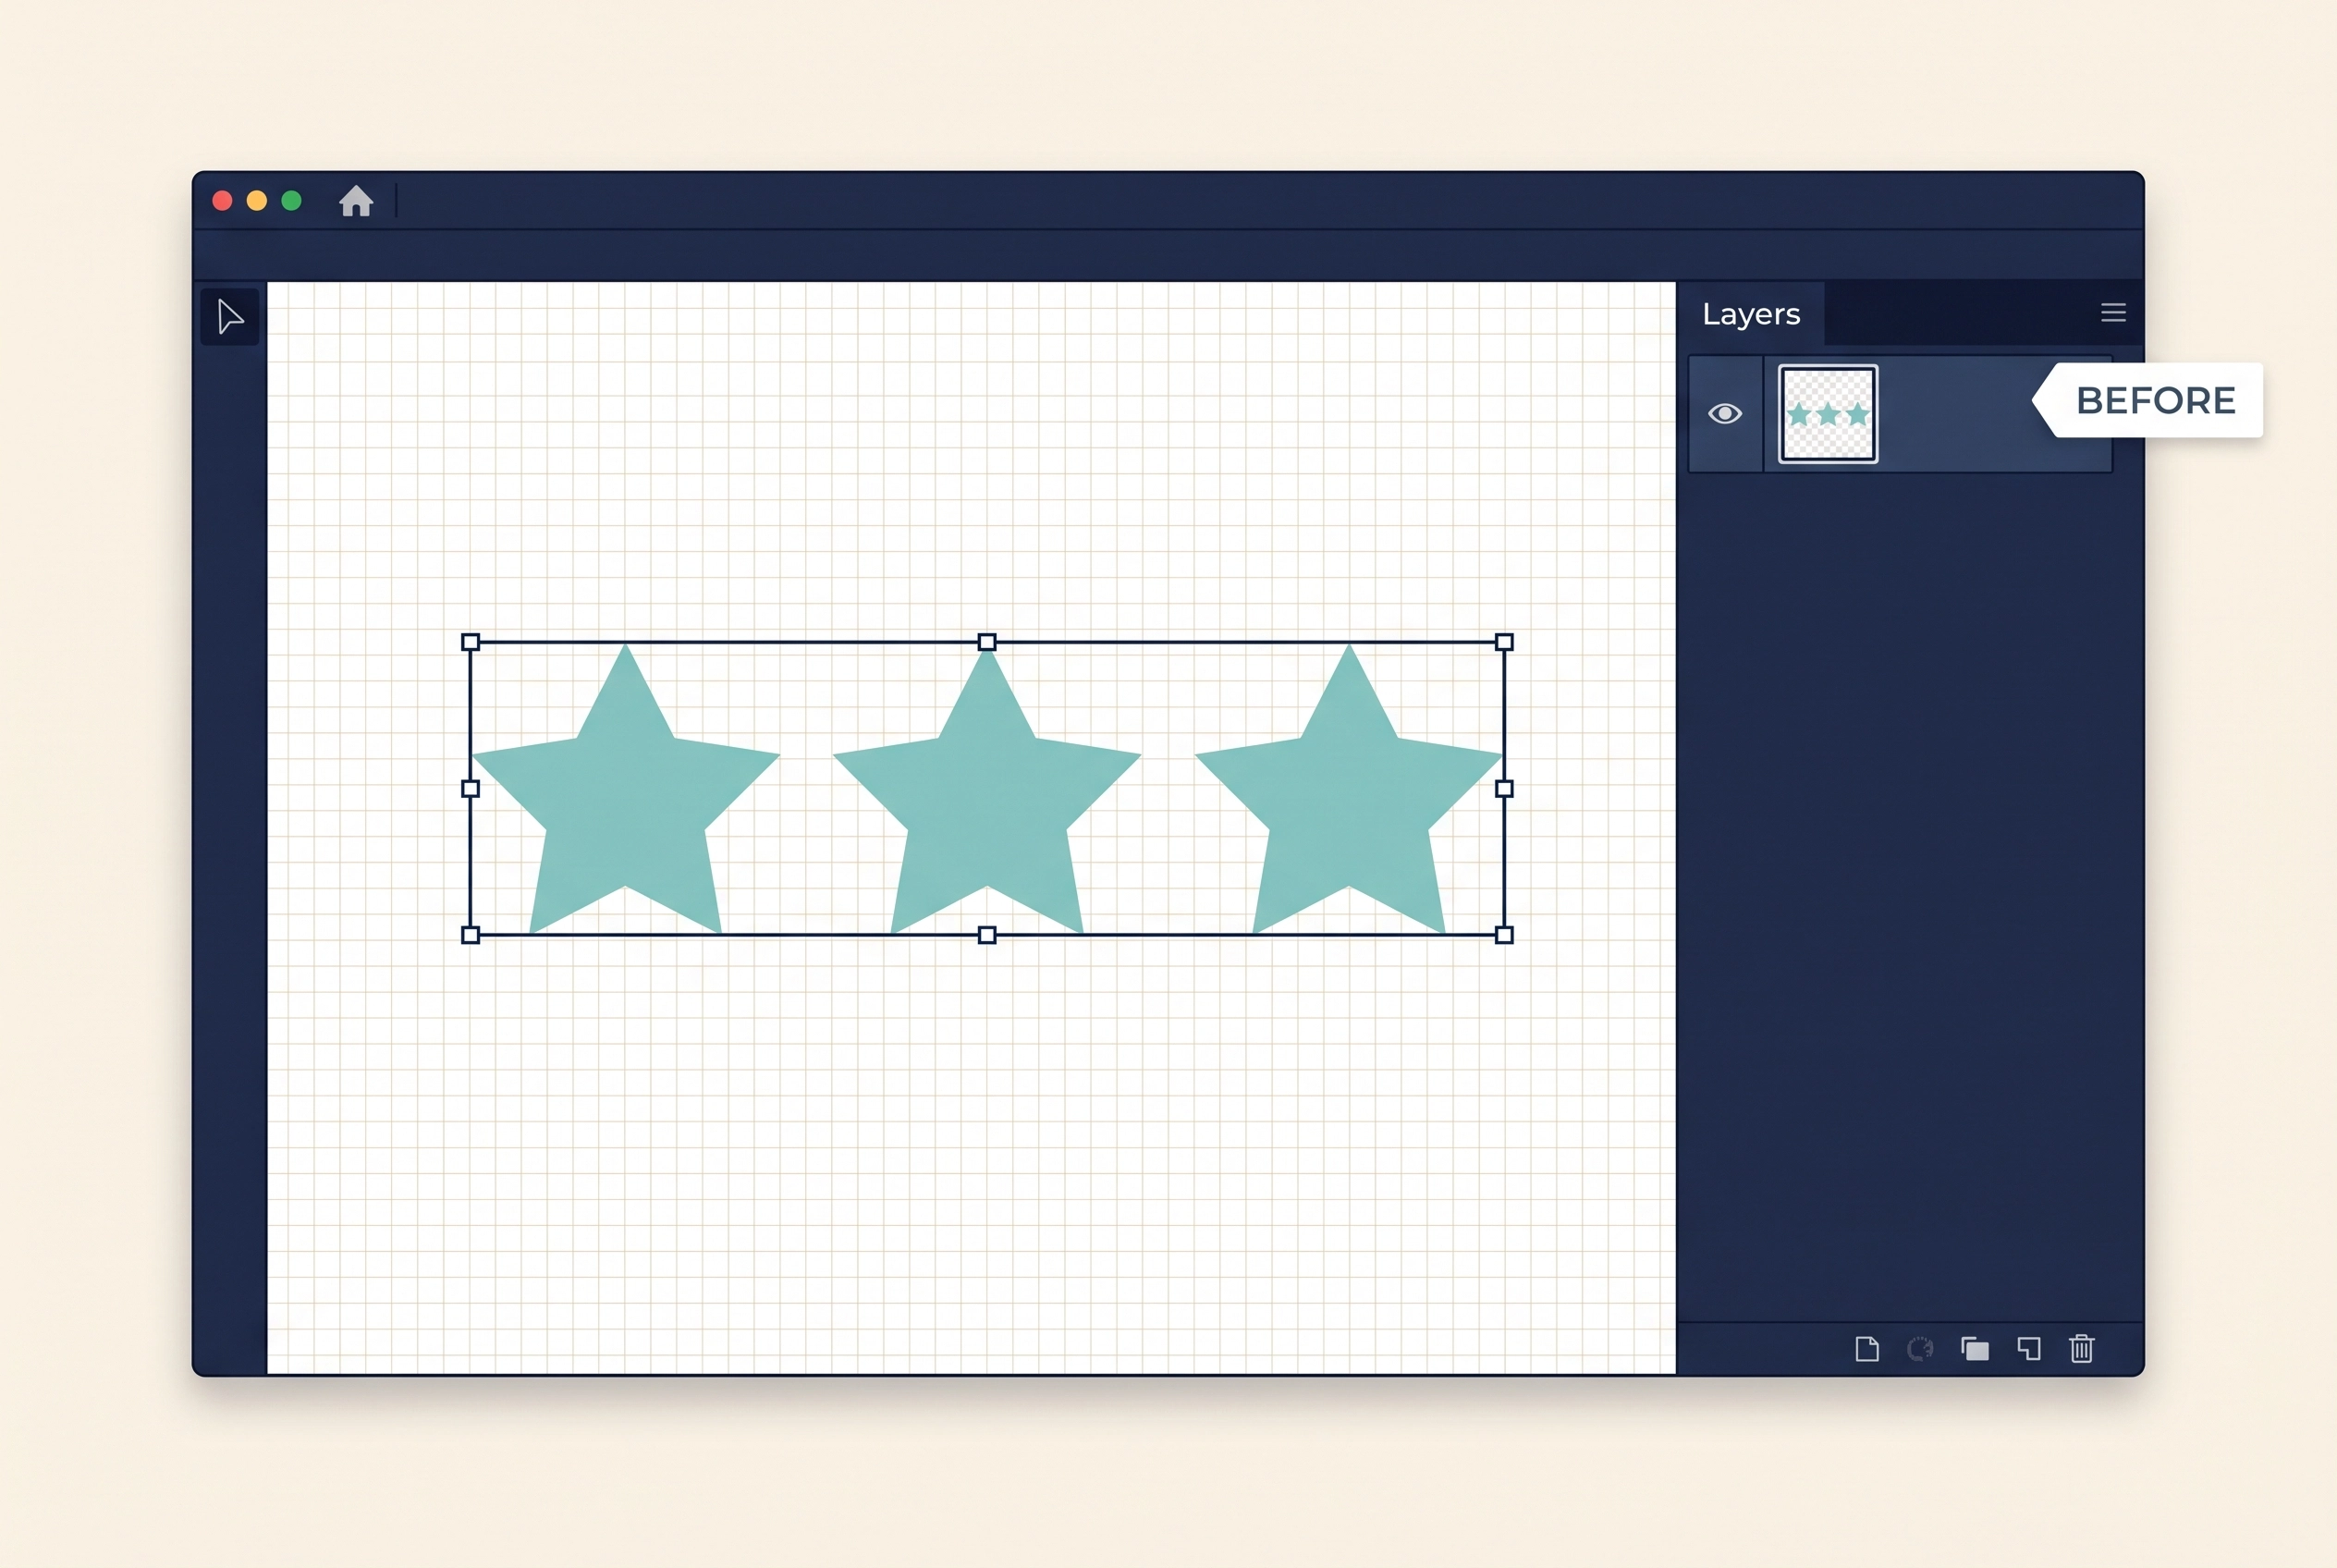
Duplicate the original layer twice so you have three identical copies. Leave them aligned for now. You will use Contour to keep one star visible in each copy.
Select the first copy and open Contour. Hide the middle and right star paths, leaving only the left star visible. Close the window and confirm the left star remains in its original position.
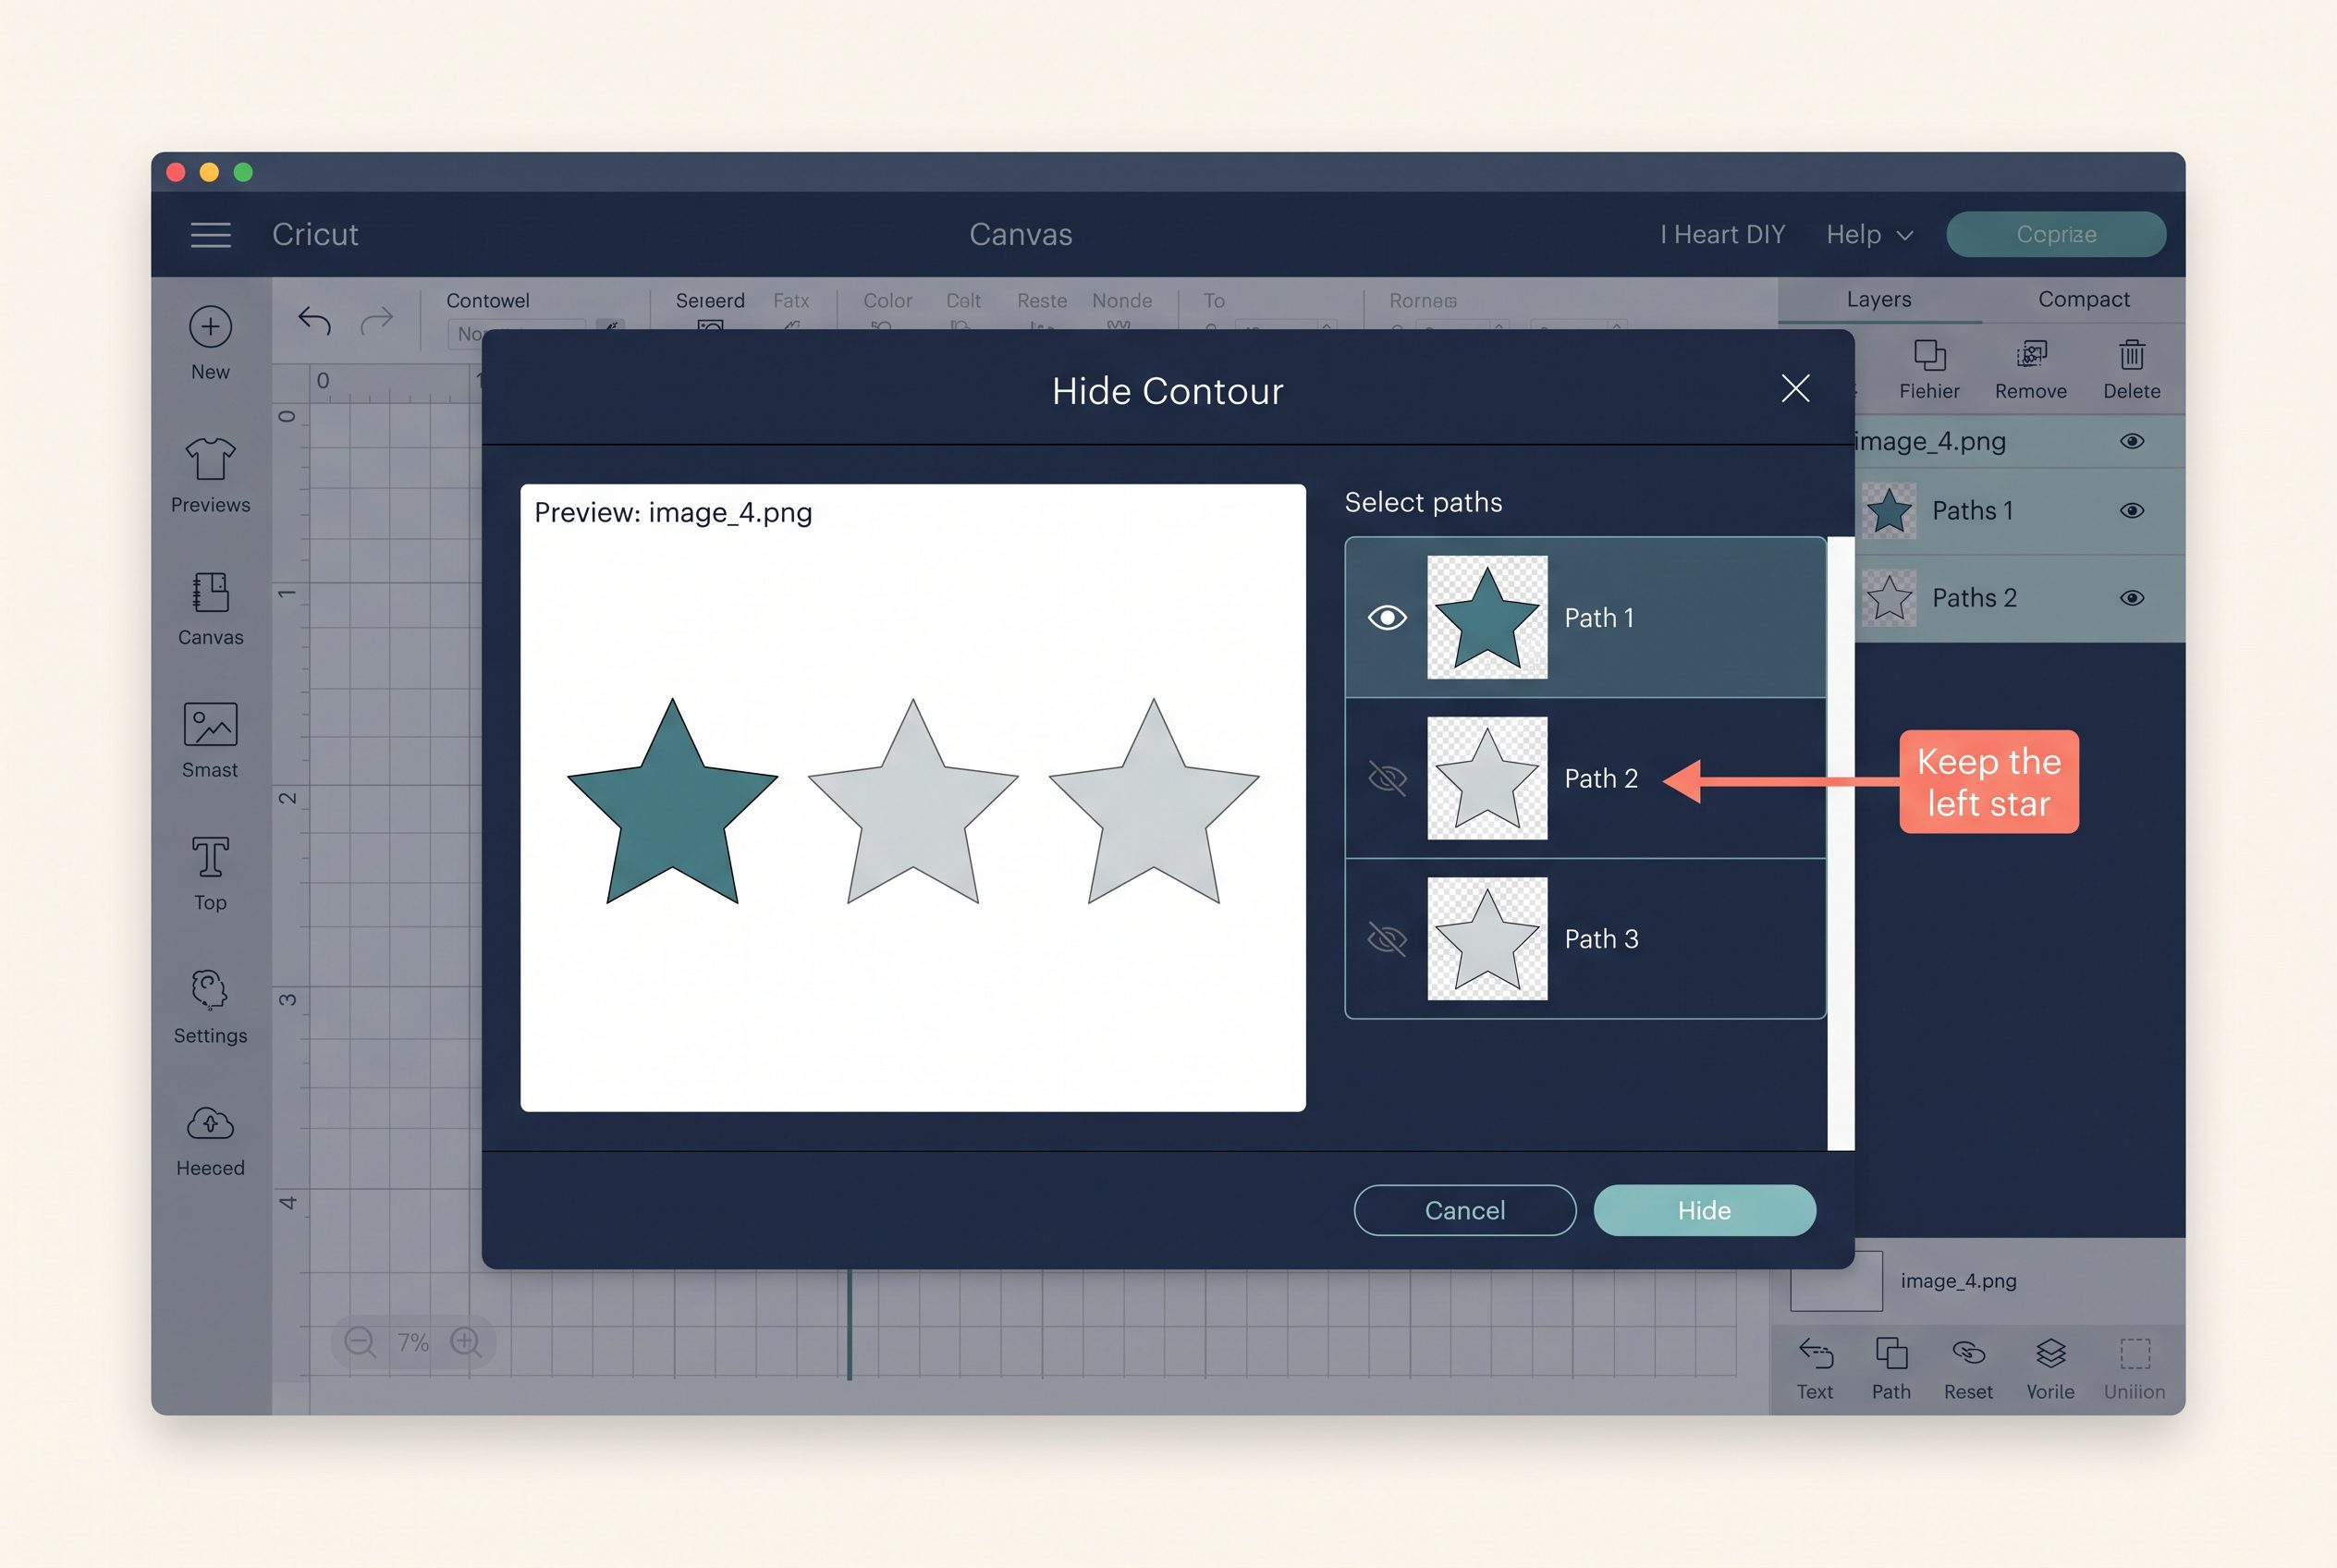
On the second copy, hide the left and right stars. On the third, hide the left and middle stars. If your artwork contains small interior cutouts, check those paths too so each star retains the detail you intended.
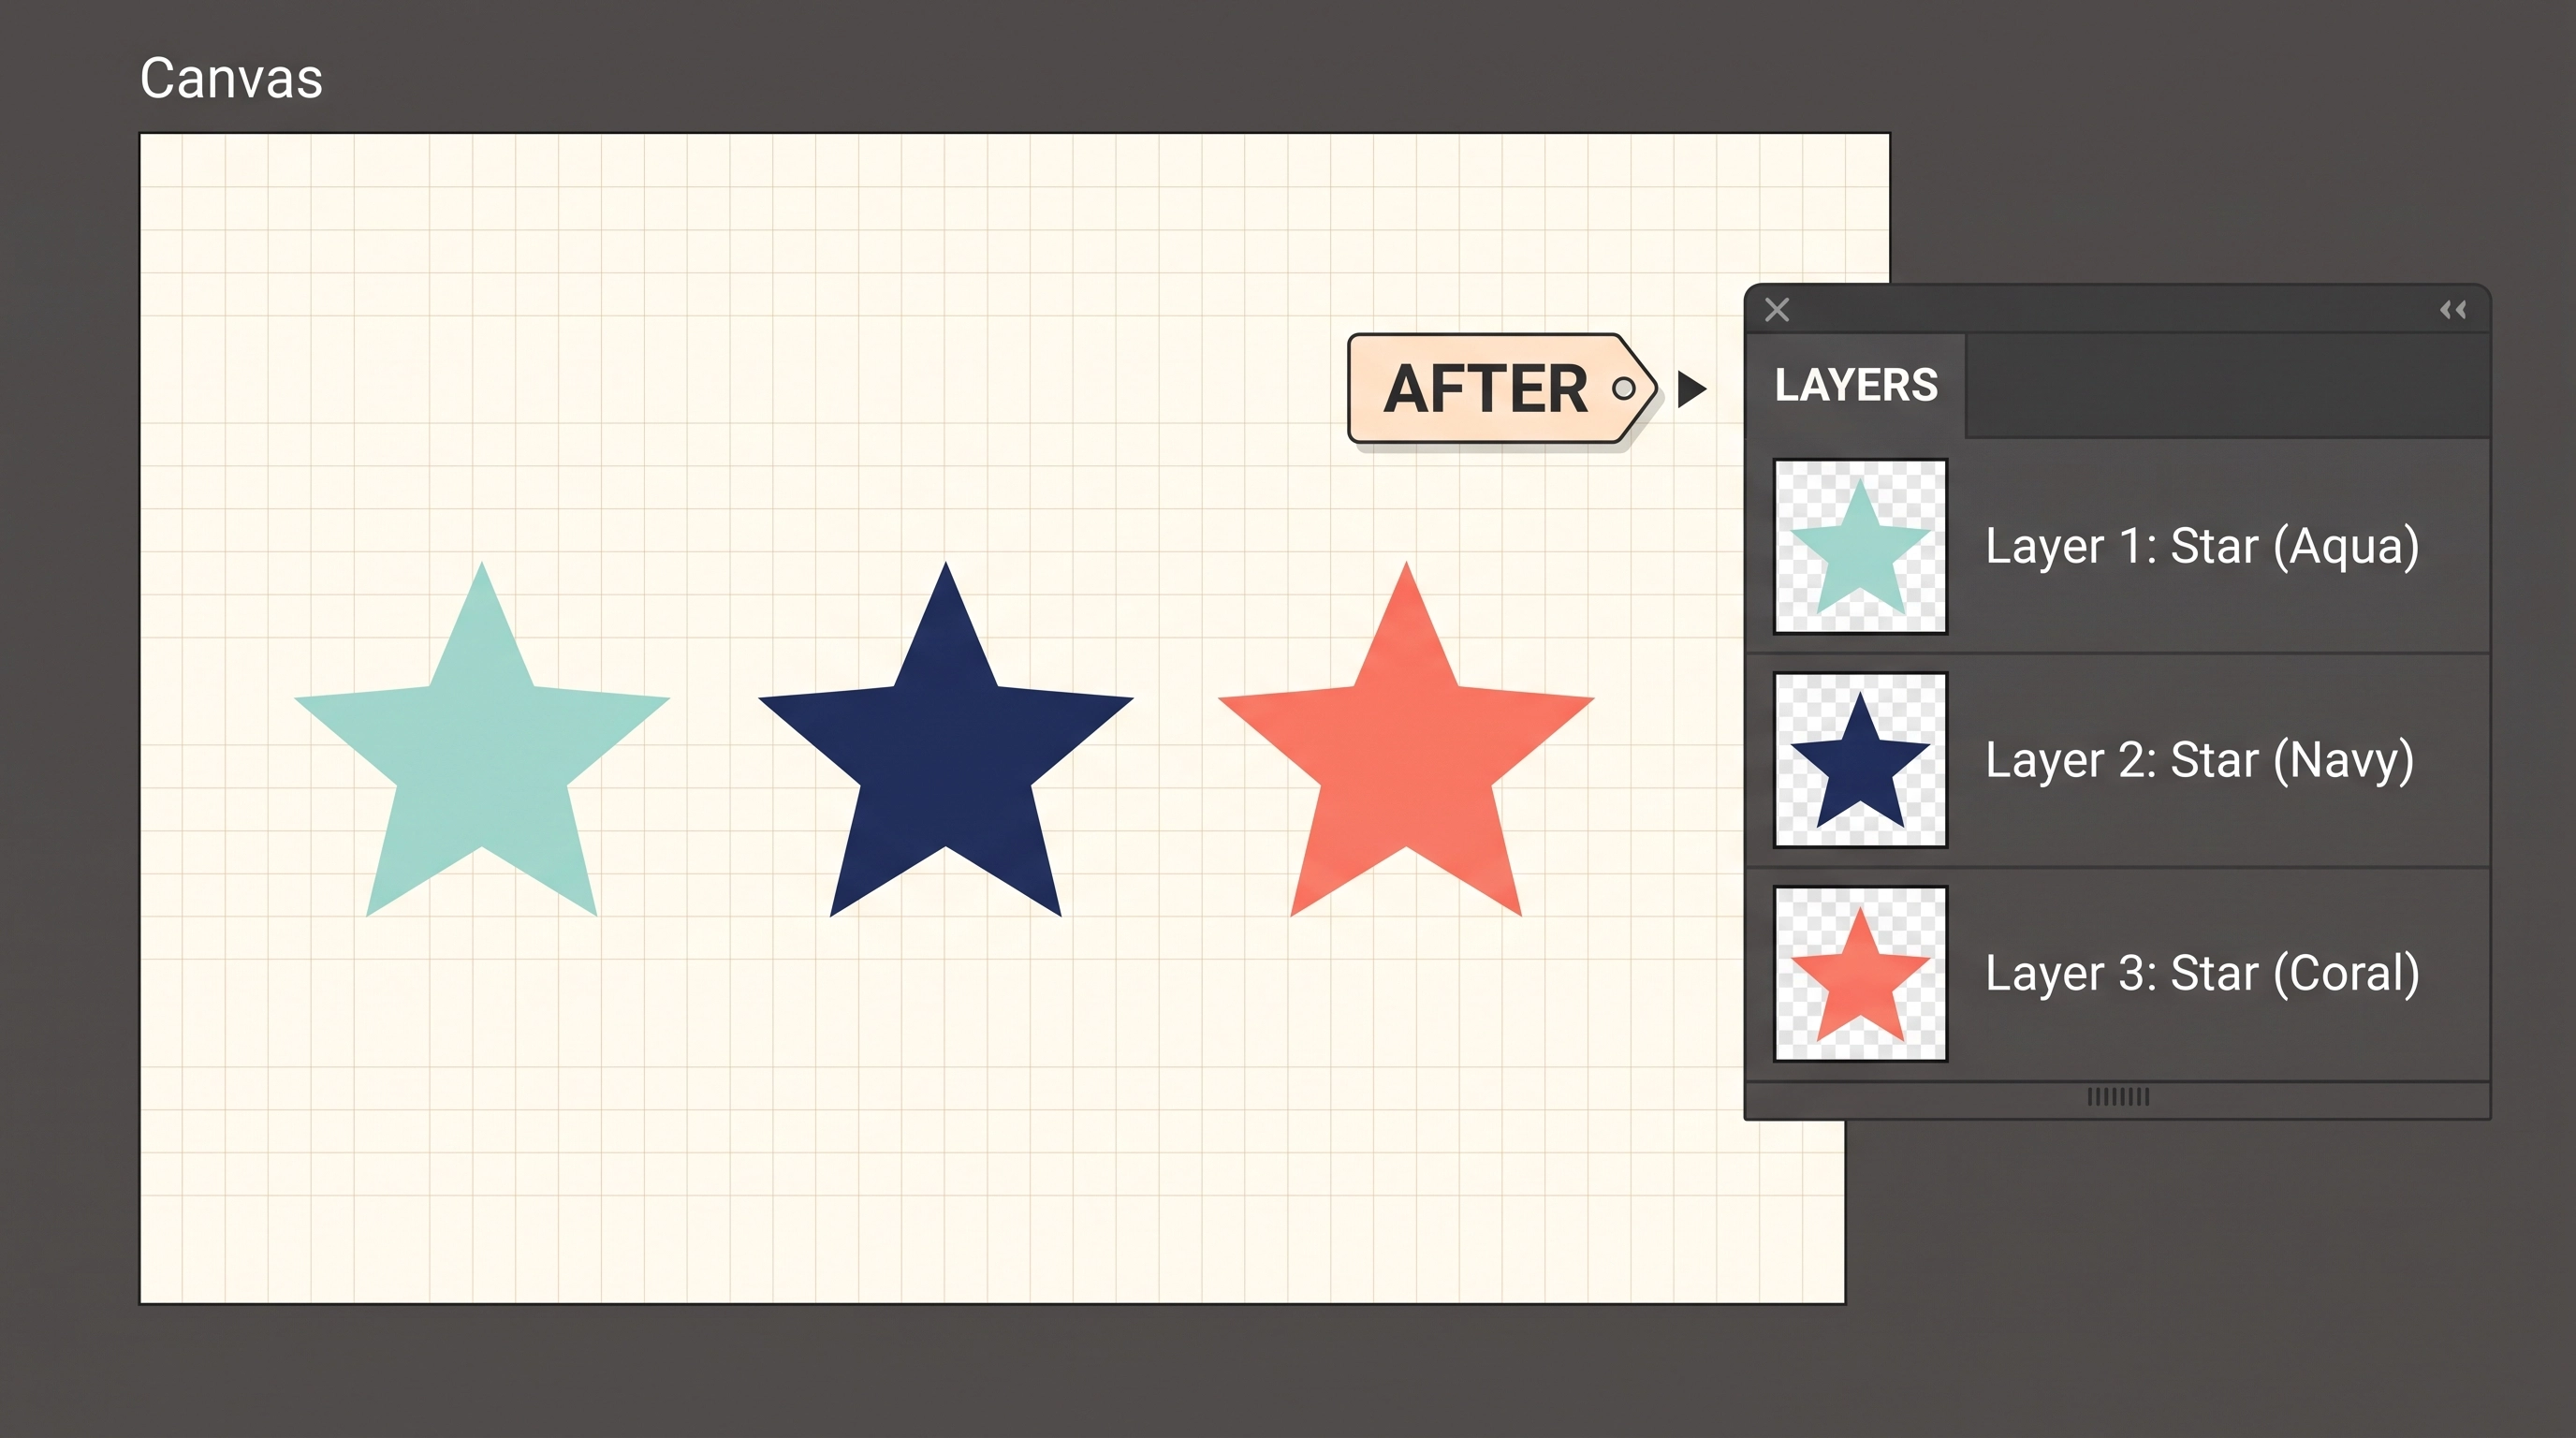
Assign a different cut color to each of the three layers. The Canvas should now show the complete three-star arrangement, while the Layers panel shows three separate colors.
Keep the stars aligned while choosing materials and reviewing mats. This example changes the color of separate pieces without needing to redraw the stars or manually trace their outlines.
If the stars were already three independent layers when you opened the file, skip Contour entirely. Change the color of each existing layer instead; Contour adds value only when the pieces you want to separate are paths within the same layer.
Example 2: Simplify a badge for easier weeding
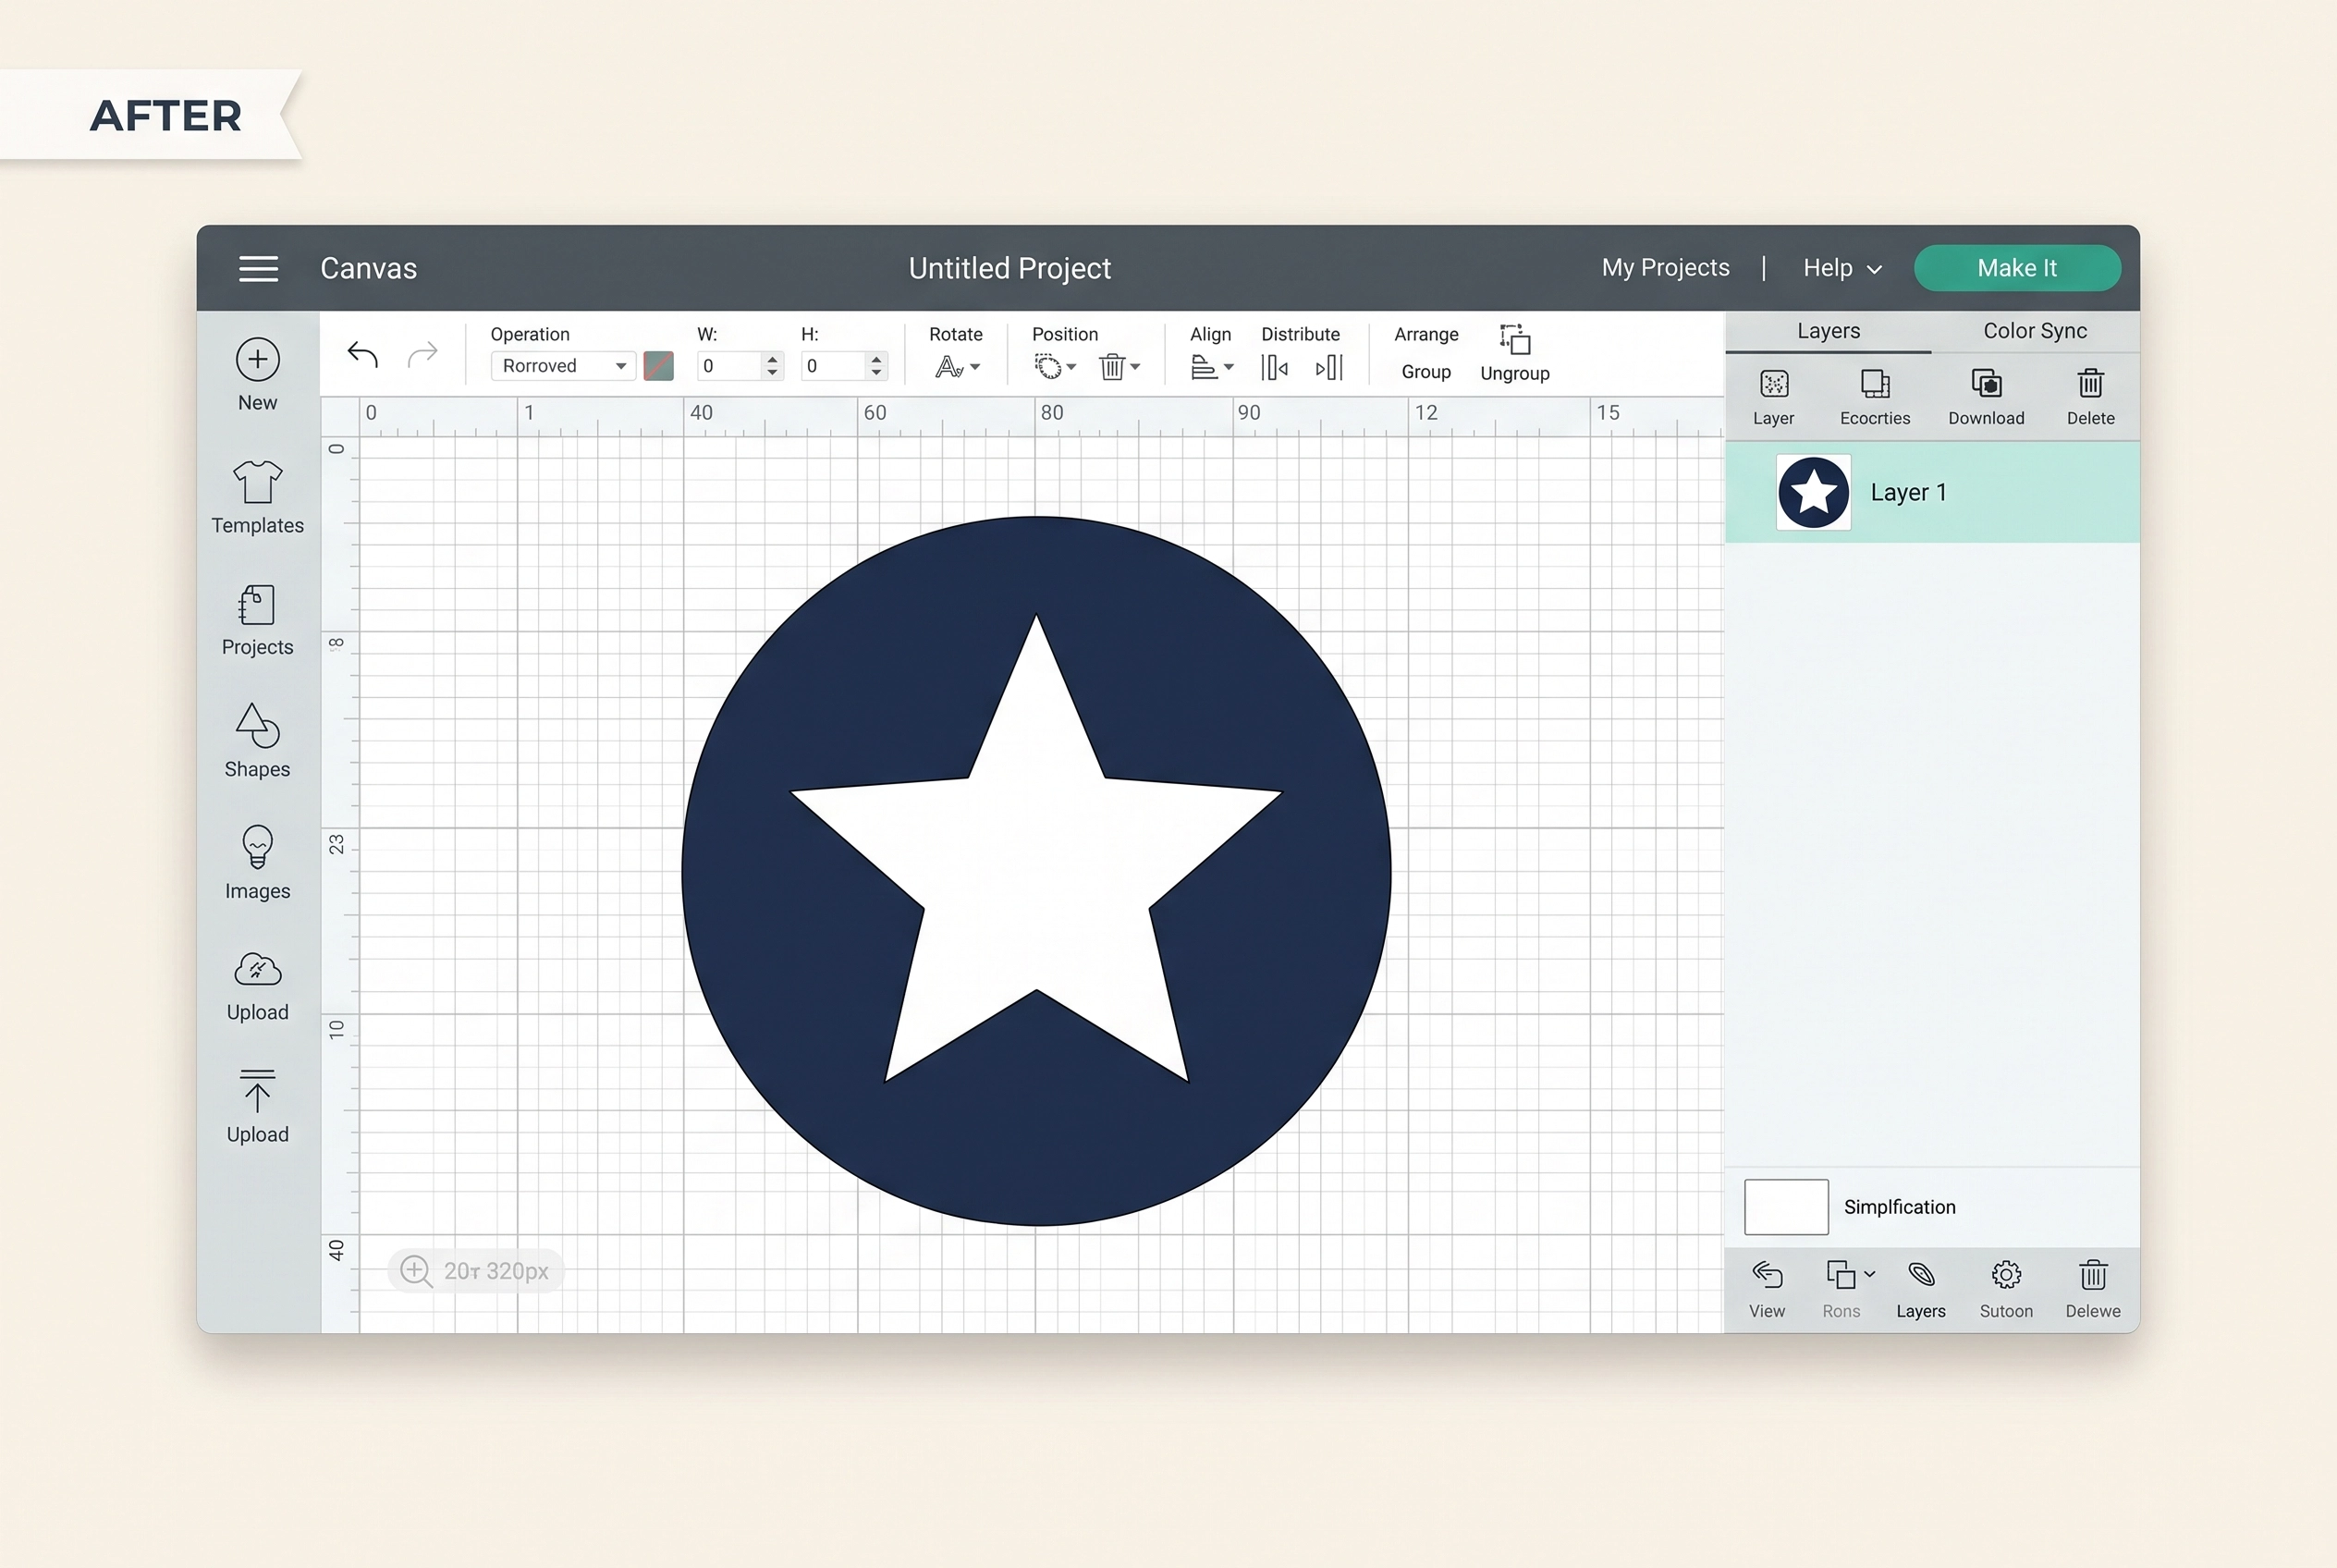
Suppose a round label includes a large center icon plus six tiny accent dots. Those dots may look good on screen but take longer to weed at a small finished size. Contour lets you test a cleaner version before cutting.
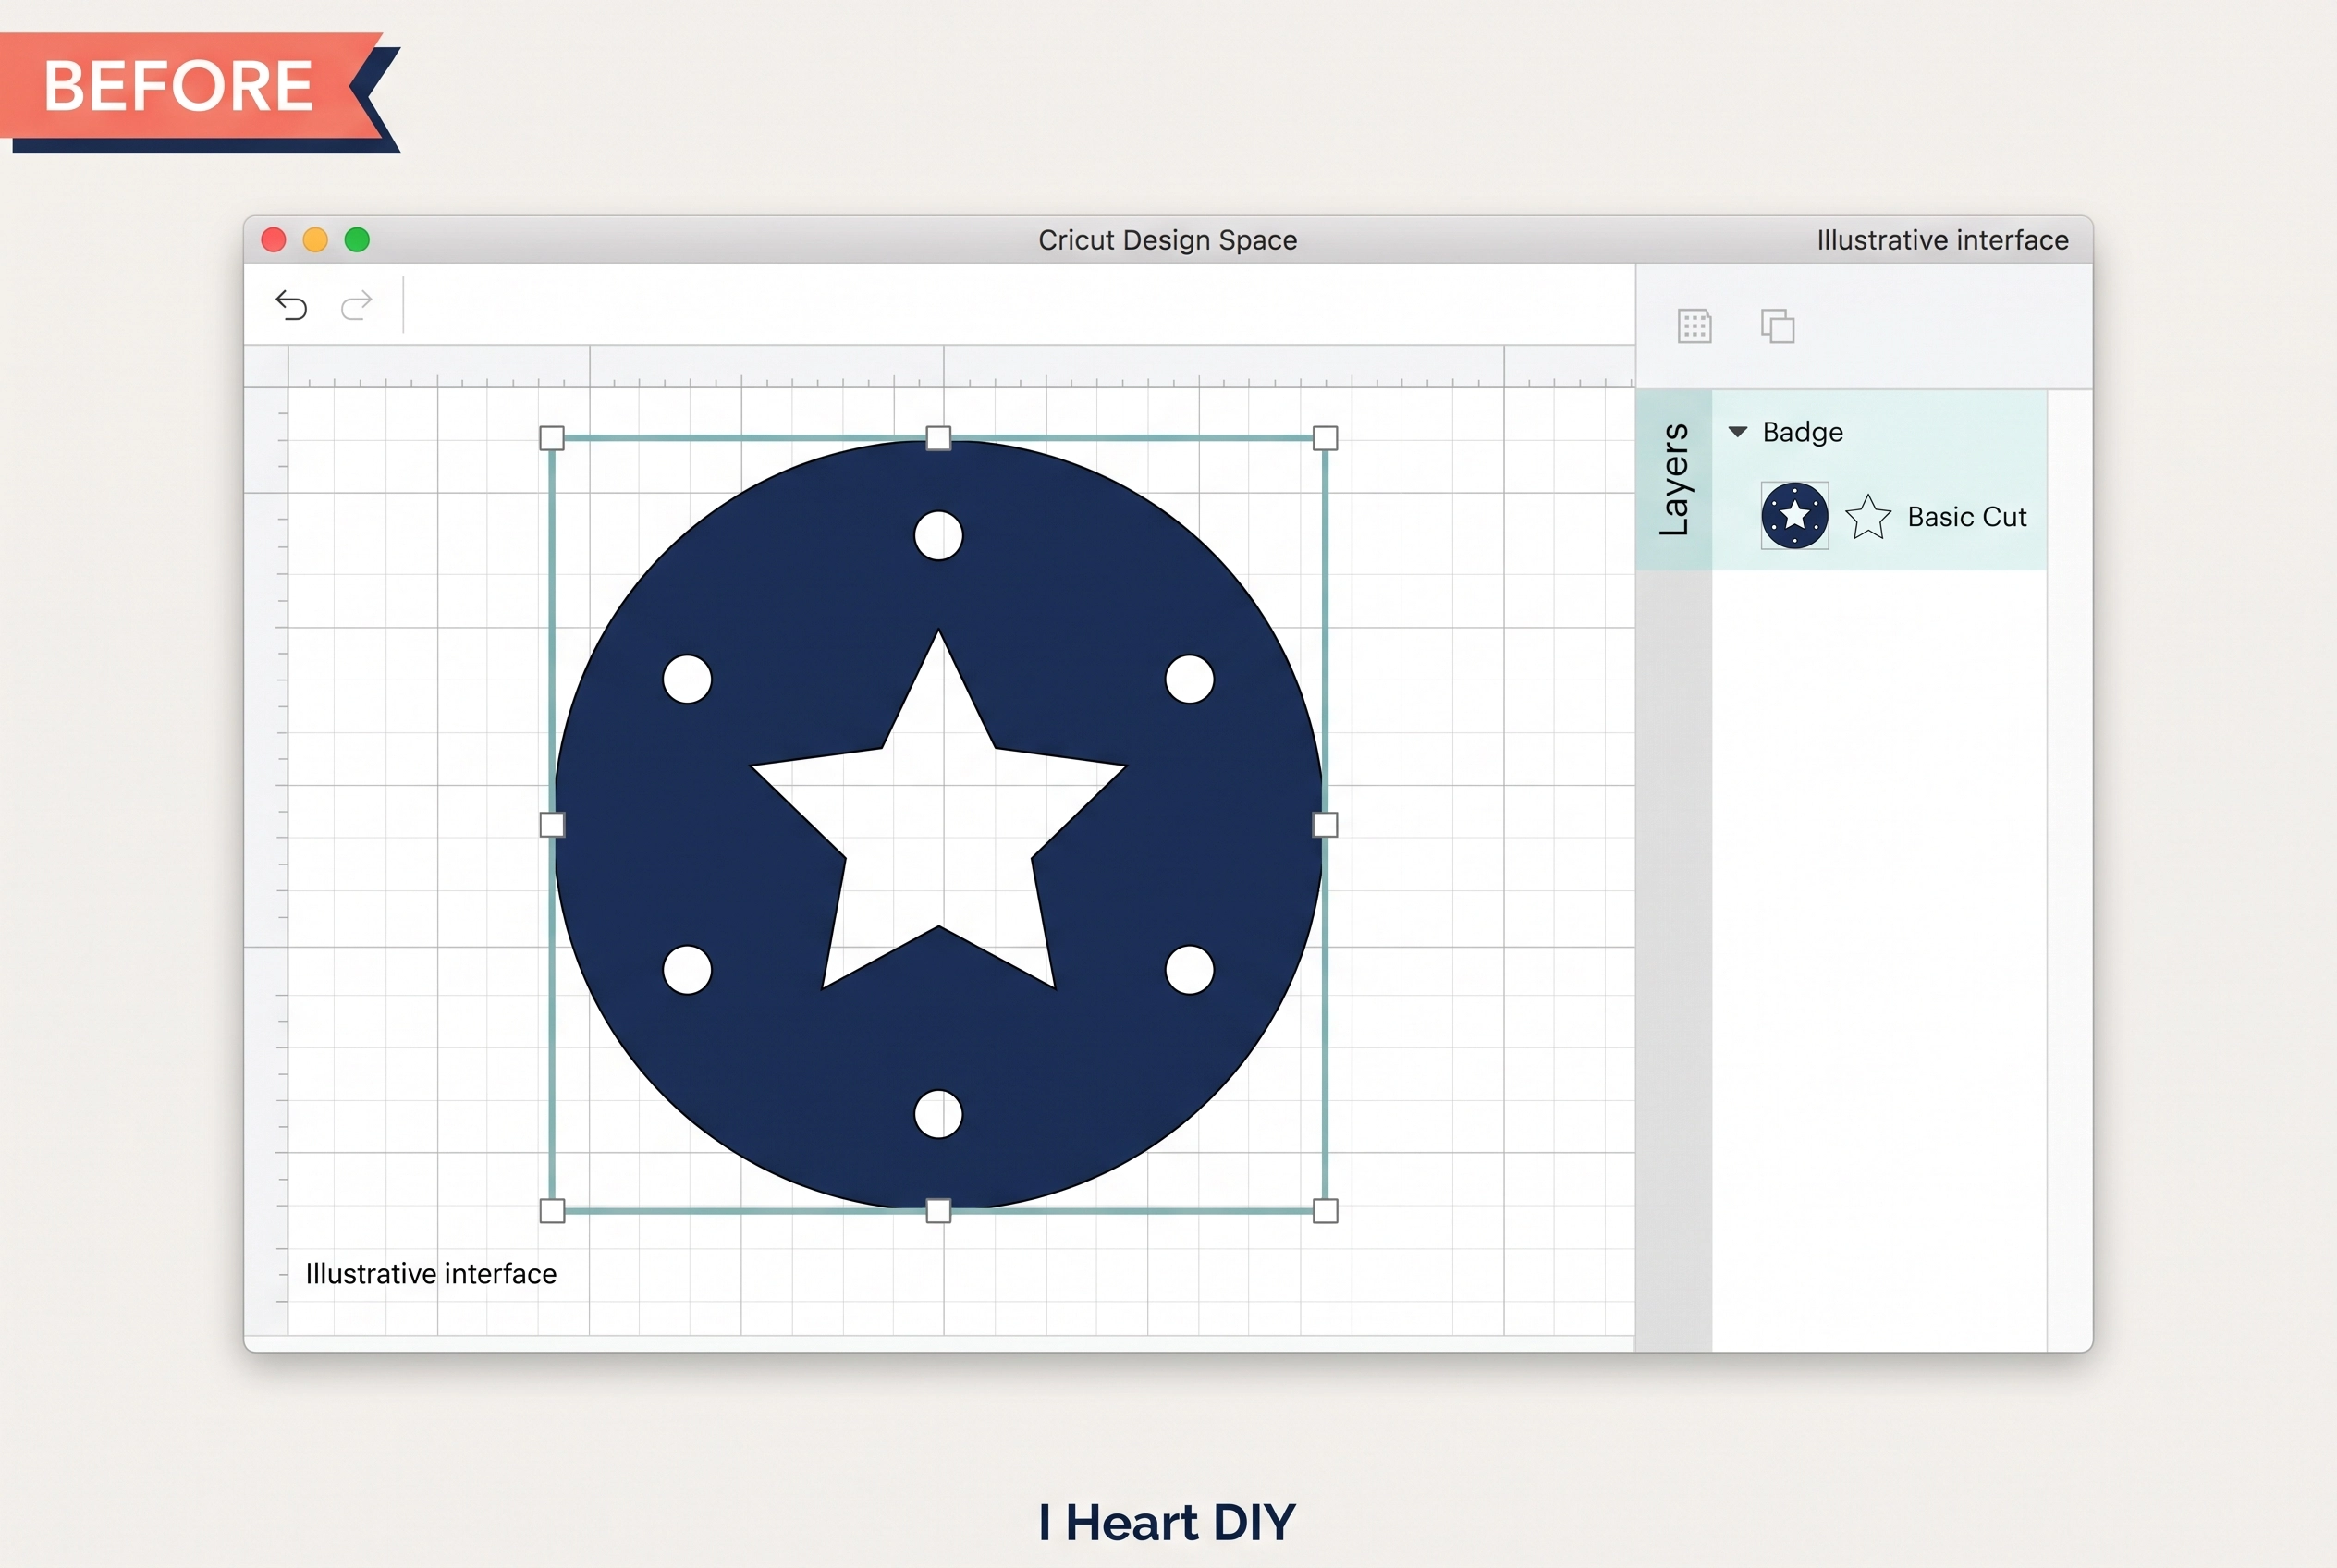
Select the badge’s single cut layer and open Contour. In the path list, hide only the six accent dots. Leave the outer circle and center icon visible so the badge still reads as the same design.
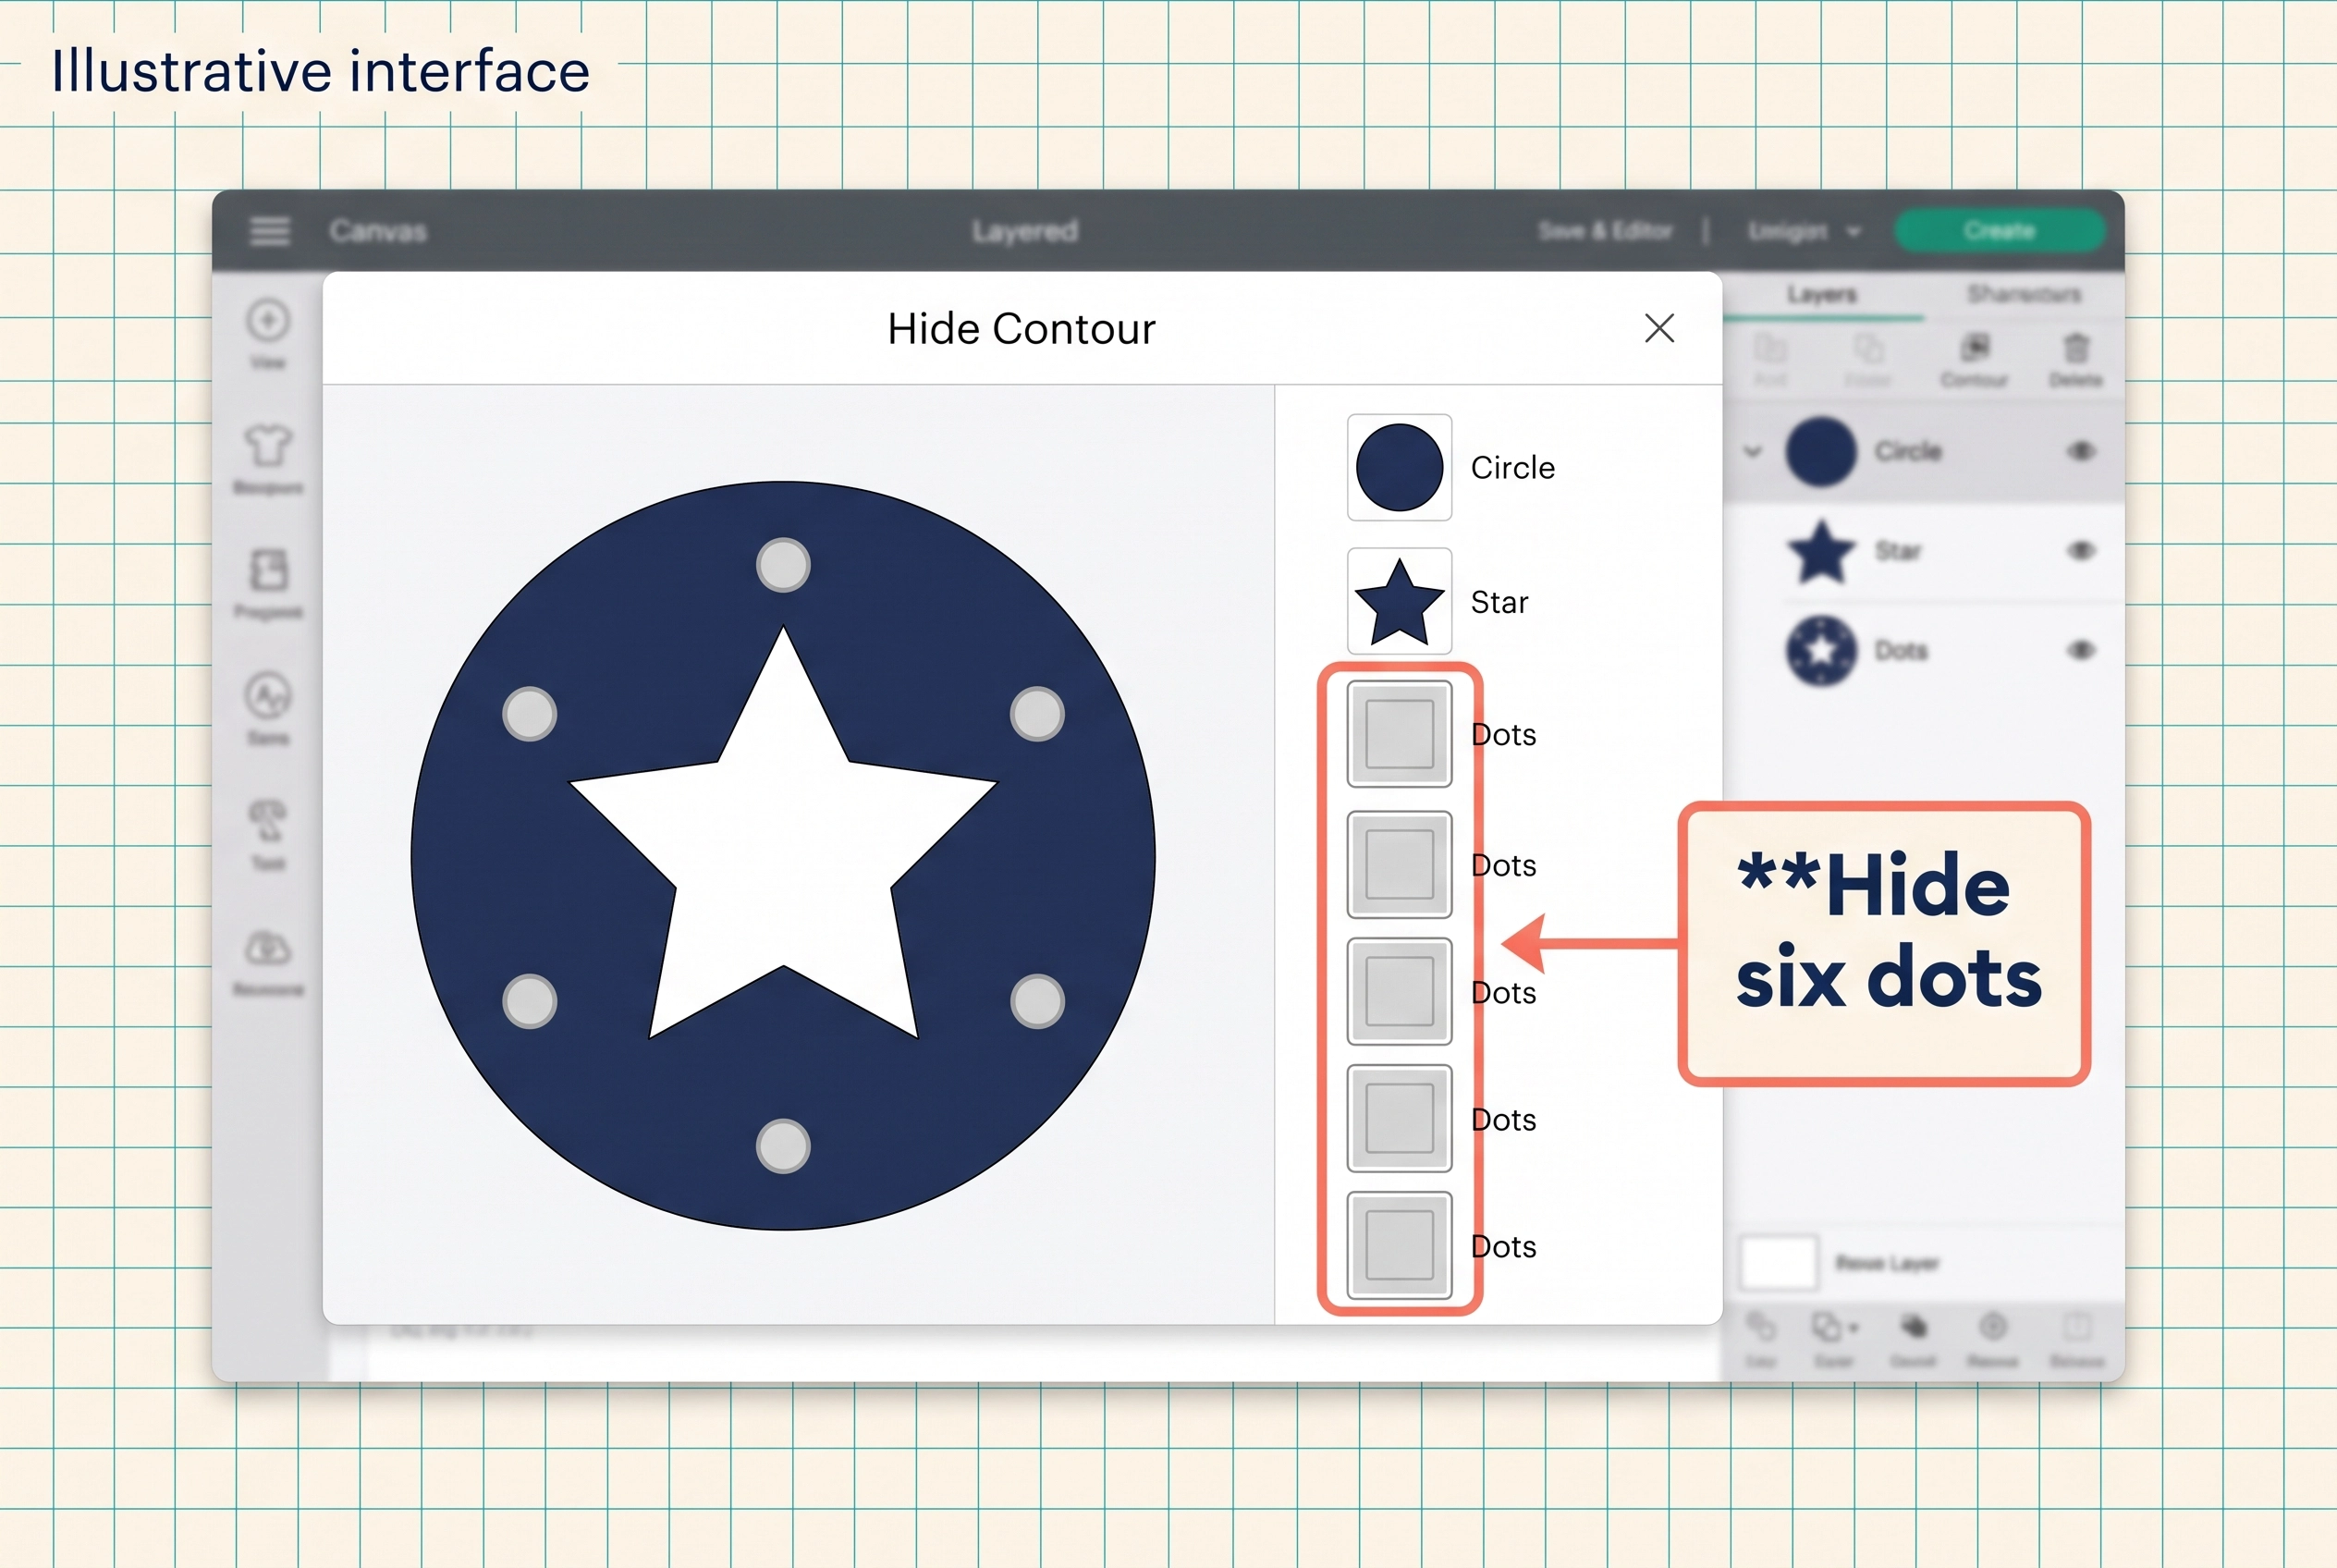
Return to the Canvas and view the badge at the size you plan to cut. If one dot was actually part of a letter or icon, reopen Contour and restore that specific path.
This is a good place to inspect letters with enclosed spaces, such as A, B, or O. Hiding the wrong interior path can change the appearance of the word even when the outside border looks unchanged.
Save the simplified badge as a separate project version if you may want the detailed one later. Compare both in the project preview and choose the version that suits your material and finished size.
Example 3: Make a three-color cut design
For a layered vinyl project, use an image made of three separate leaf shapes in one cut layer. The goal is one leaf per color. This works best when the pieces do not overlap, because each visible path can remain in the same position across duplicated layers.
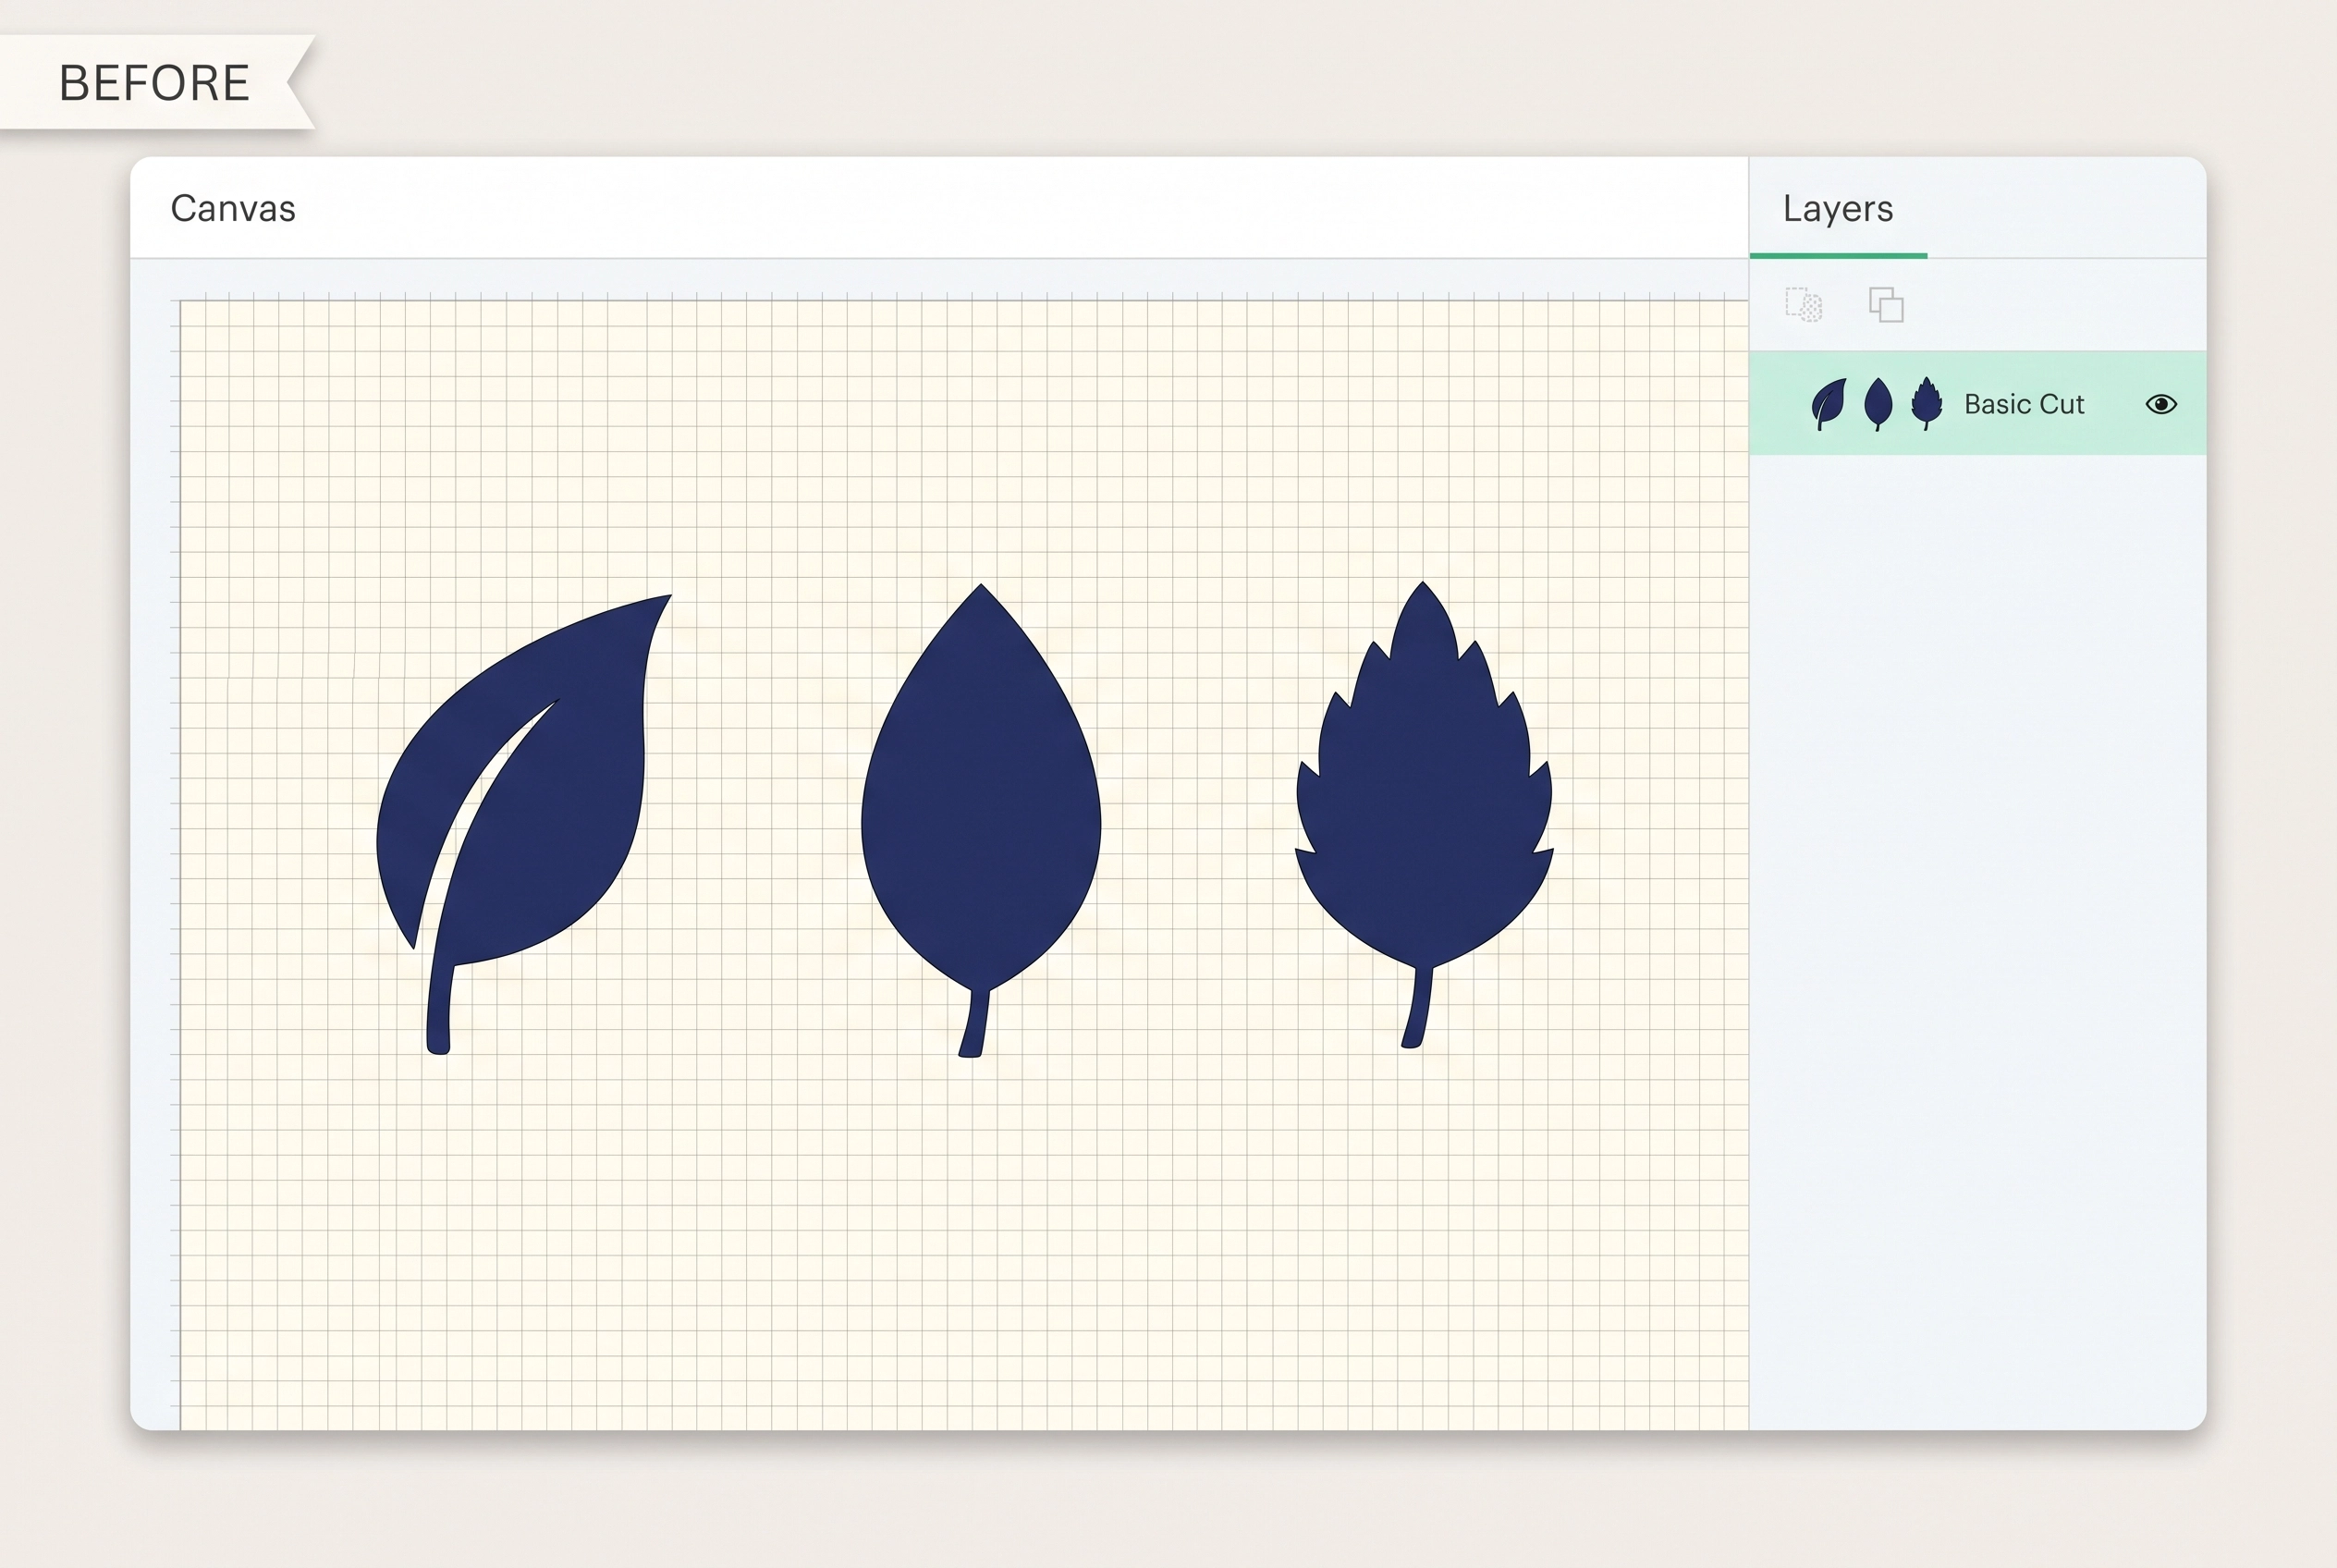
Duplicate the original twice. You now have three matching layers stacked together. Name them by color in the Layers panel if that helps you keep track of which copy you are editing.
Open Contour on the first layer and hide two leaves, keeping only the left leaf. Close the window, then change that layer to your first material color.
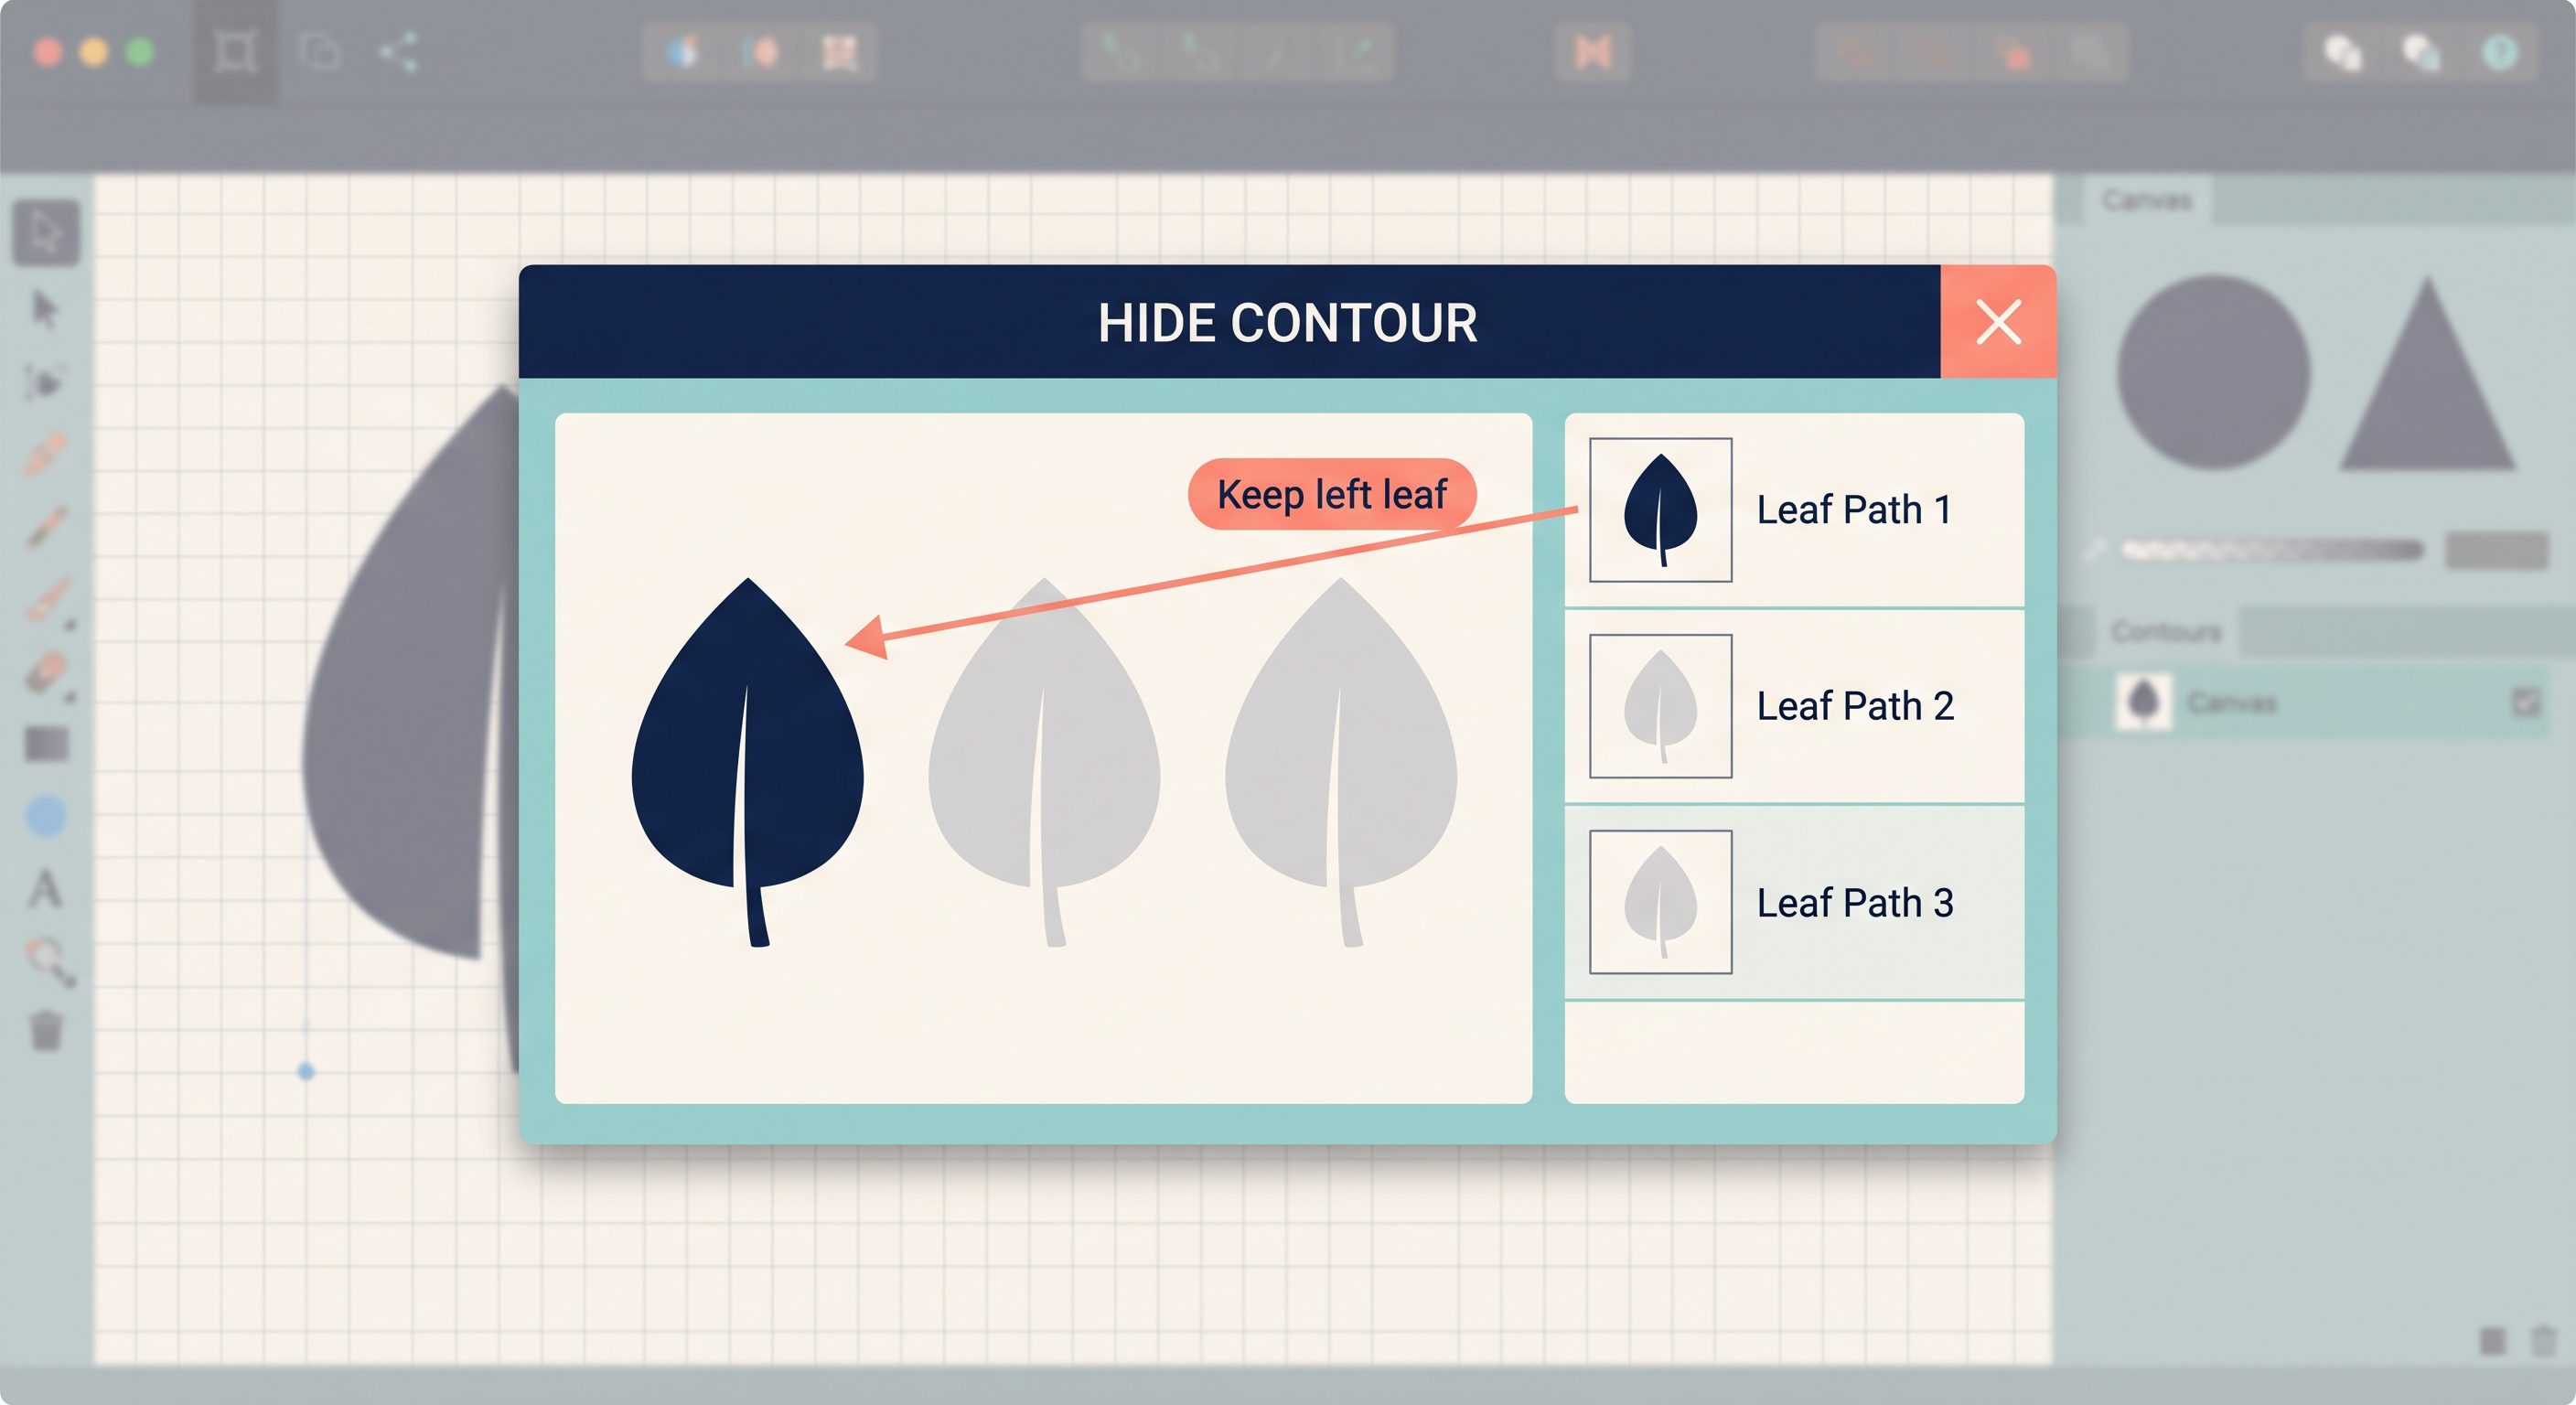
Select the second layer and keep only the center leaf. Use the contour list if the leaves are close together and the preview is hard to click accurately. Give this layer your second color.
On the third layer, keep only the right leaf and assign the third color. Check that the three visible leaves still form the original arrangement on the Canvas.
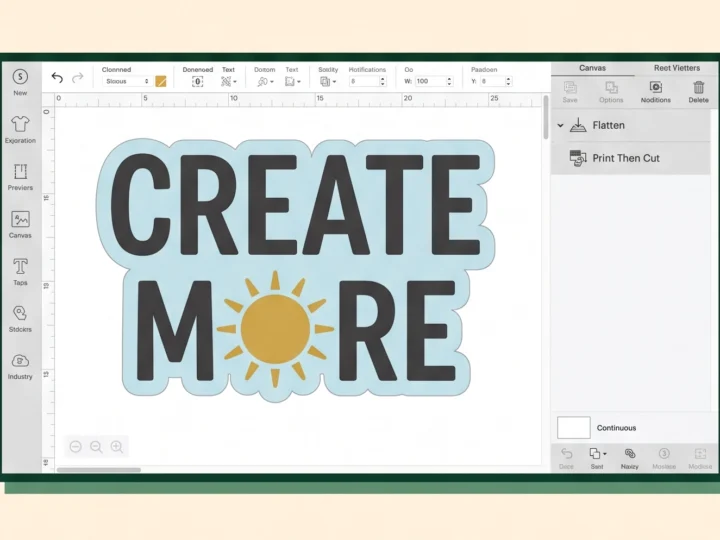
If the project is meant to be cut from colored material, review the separate mats before pressing Make. If your goal is a printable sticker instead, that is a different workflow: Cricut’s Flatten command creates a printable layer from selected artwork.
For more practice arranging a simple project before cutting, visit our Cricut monogram guide. Contour is most useful once you know which pieces should stay on each cut layer.
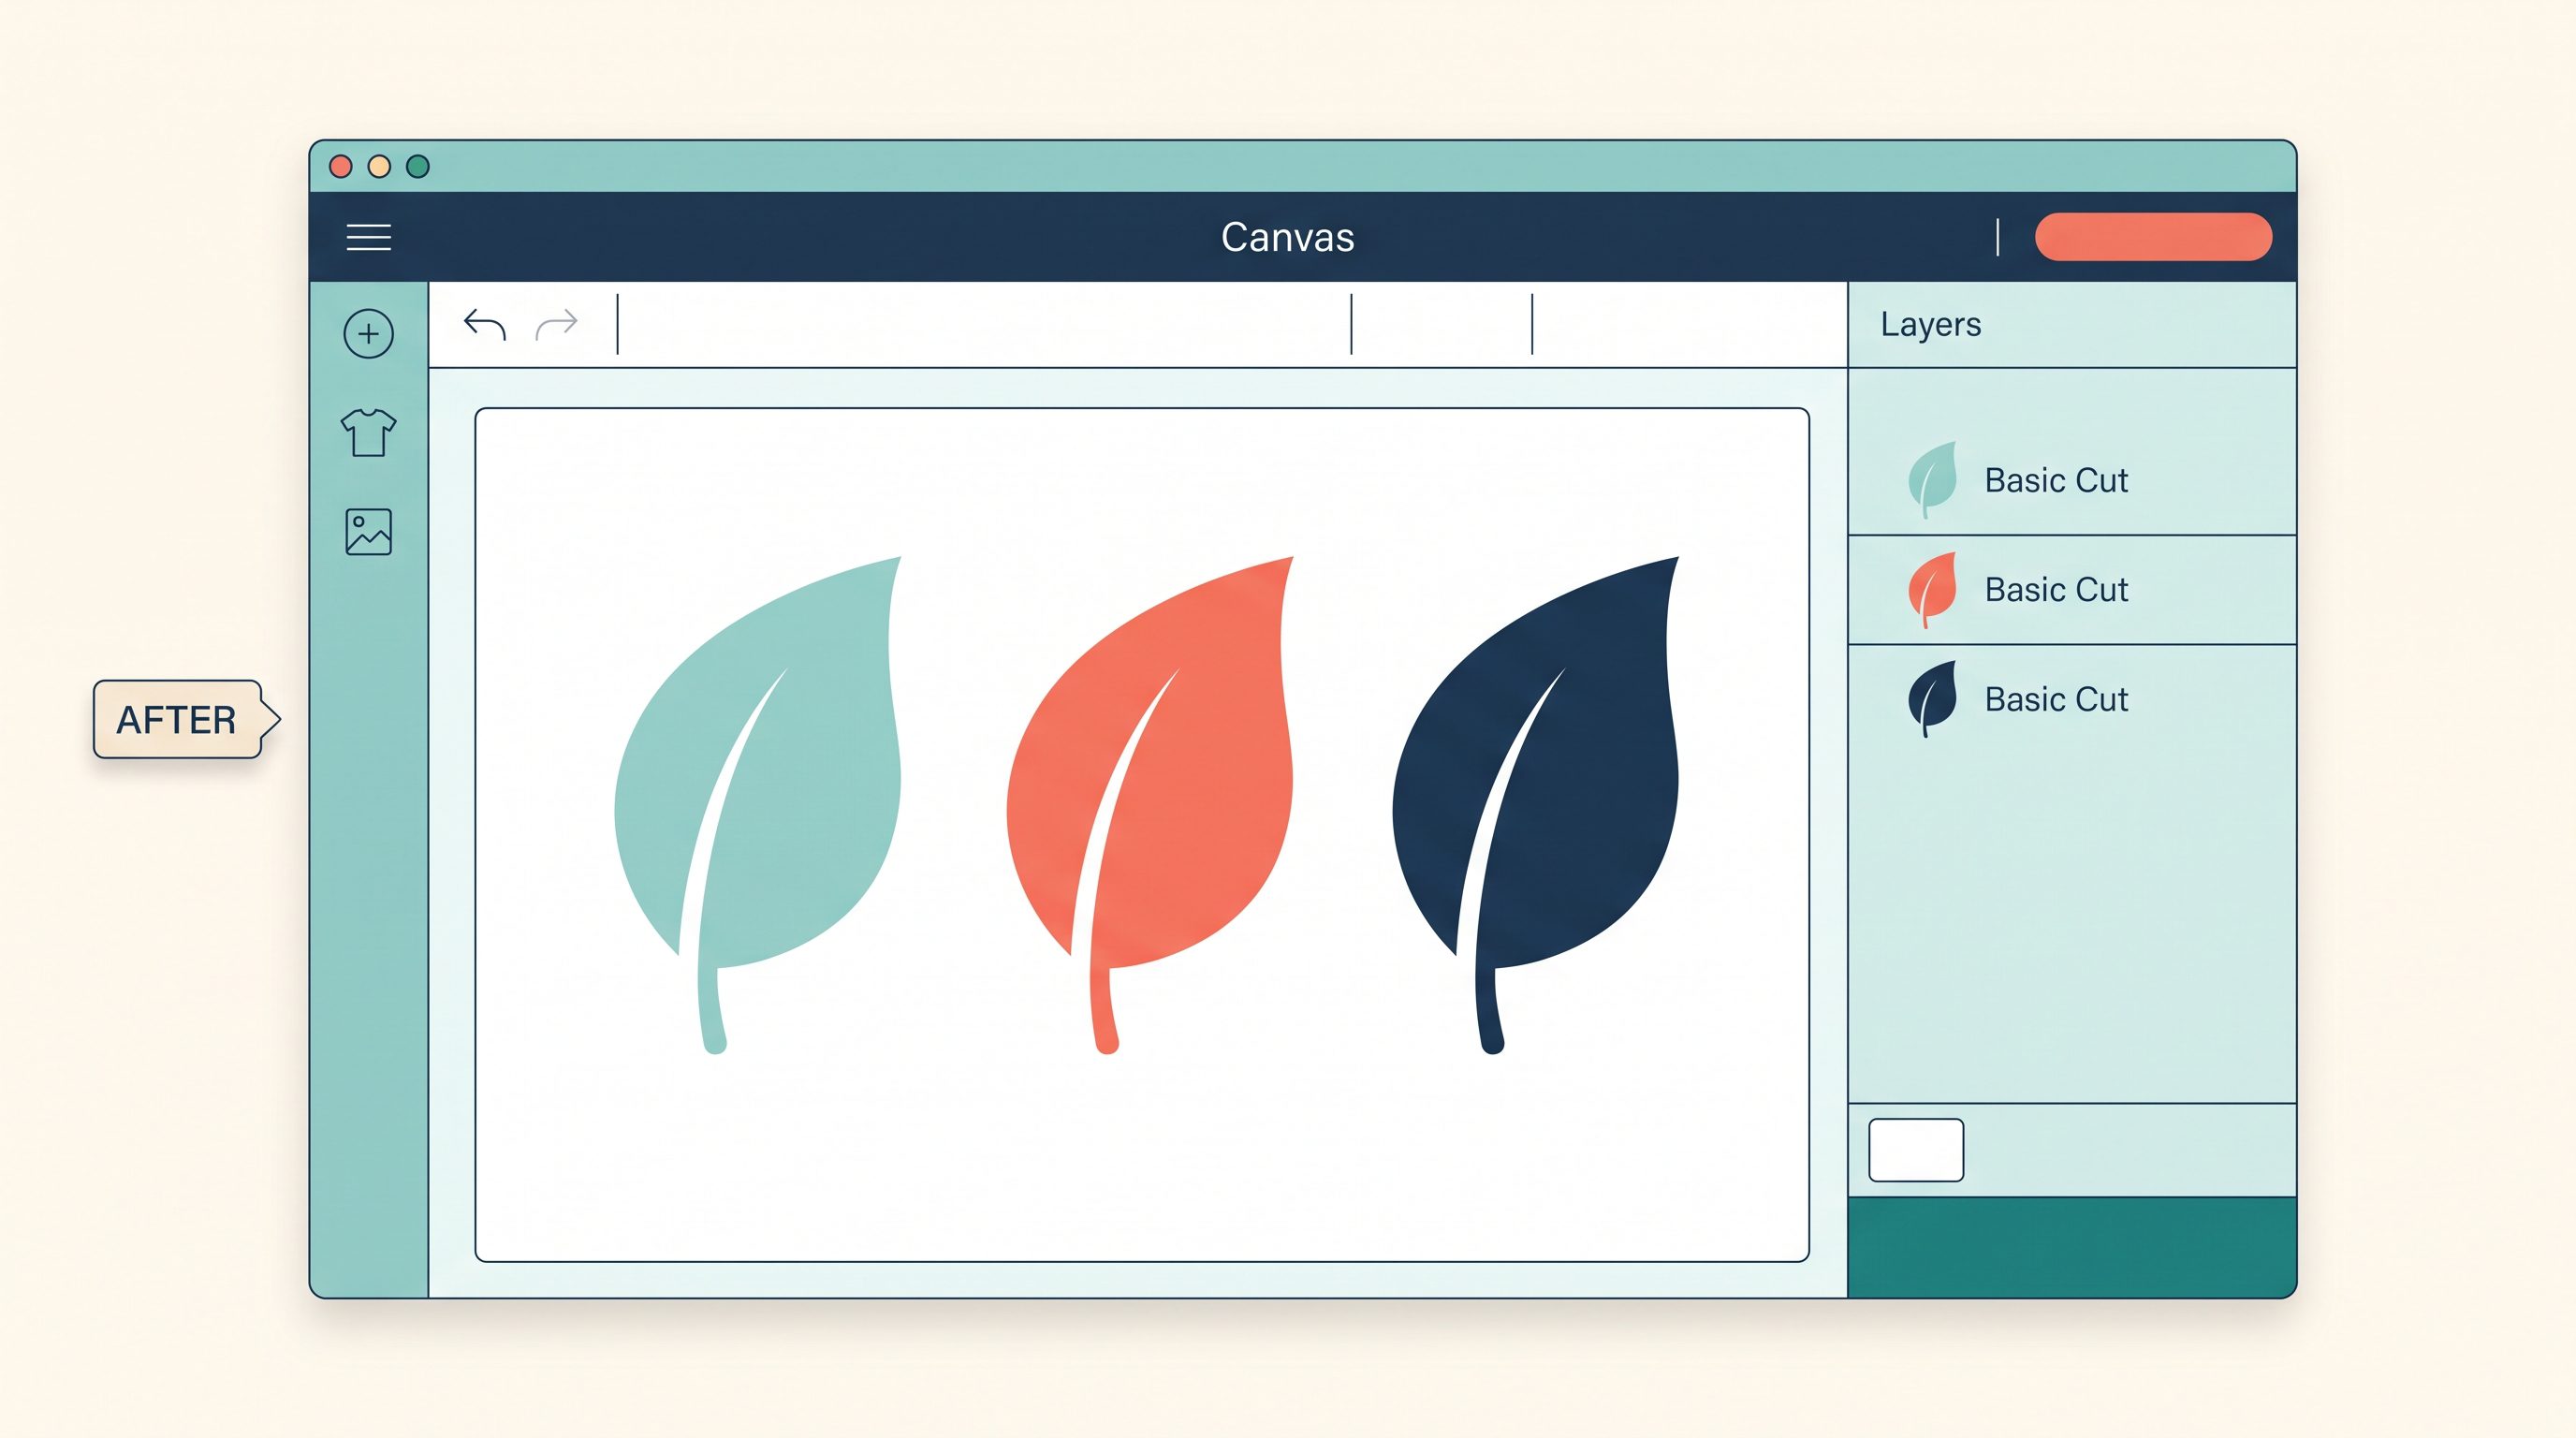
Keep one unedited copy at the side while you compare the design. It lets you check that no leaf disappeared; hide or delete that spare copy before pressing Make, or it will be included in the cut.
Why is Contour grayed out?
First, select exactly one visible image layer. If you selected a group, ungroup it and choose the layer with the paths you want. Cricut’s own guide lists a single layer with more than one contour as the condition for the mobile tool to appear.
Next, inspect the artwork itself. A shape with only one cut path has nothing else to hide. Try a ring or a badge with an interior cutout to confirm that the Contour control works on a suitable image.
If you are looking at a printable or flattened layer, check its operation and the underlying artwork. Cricut distinguishes Print Then Cut from cut layers, and Flatten merges selected artwork into a printable image; return to the cut-path version when you need to edit separate contours.
If the problem is a live text box, preserve an editable copy before converting anything. Use an image or a prepared cut layer with separate paths for this tutorial, then test Contour again.
When a detailed design responds slowly or the wrong tiny piece changes, zoom the preview and use the contour list. Confirm each lightened path before closing the window, then compare the Canvas with your saved original.
The quick takeaway
Contour is a precise way to hide or restore cut paths inside one selected image layer. Start with a duplicate, choose the paths in the Hide Contour window, and inspect the result on the Canvas before you cut.
Cricut’s official Contour walkthrough shows the current desktop and mobile controls. Keep it handy if a future Design Space update moves a button or changes how the panel looks.
Have a question? Use the form above to submit your question or comment.
I love hearing from you and seeing what you made!