


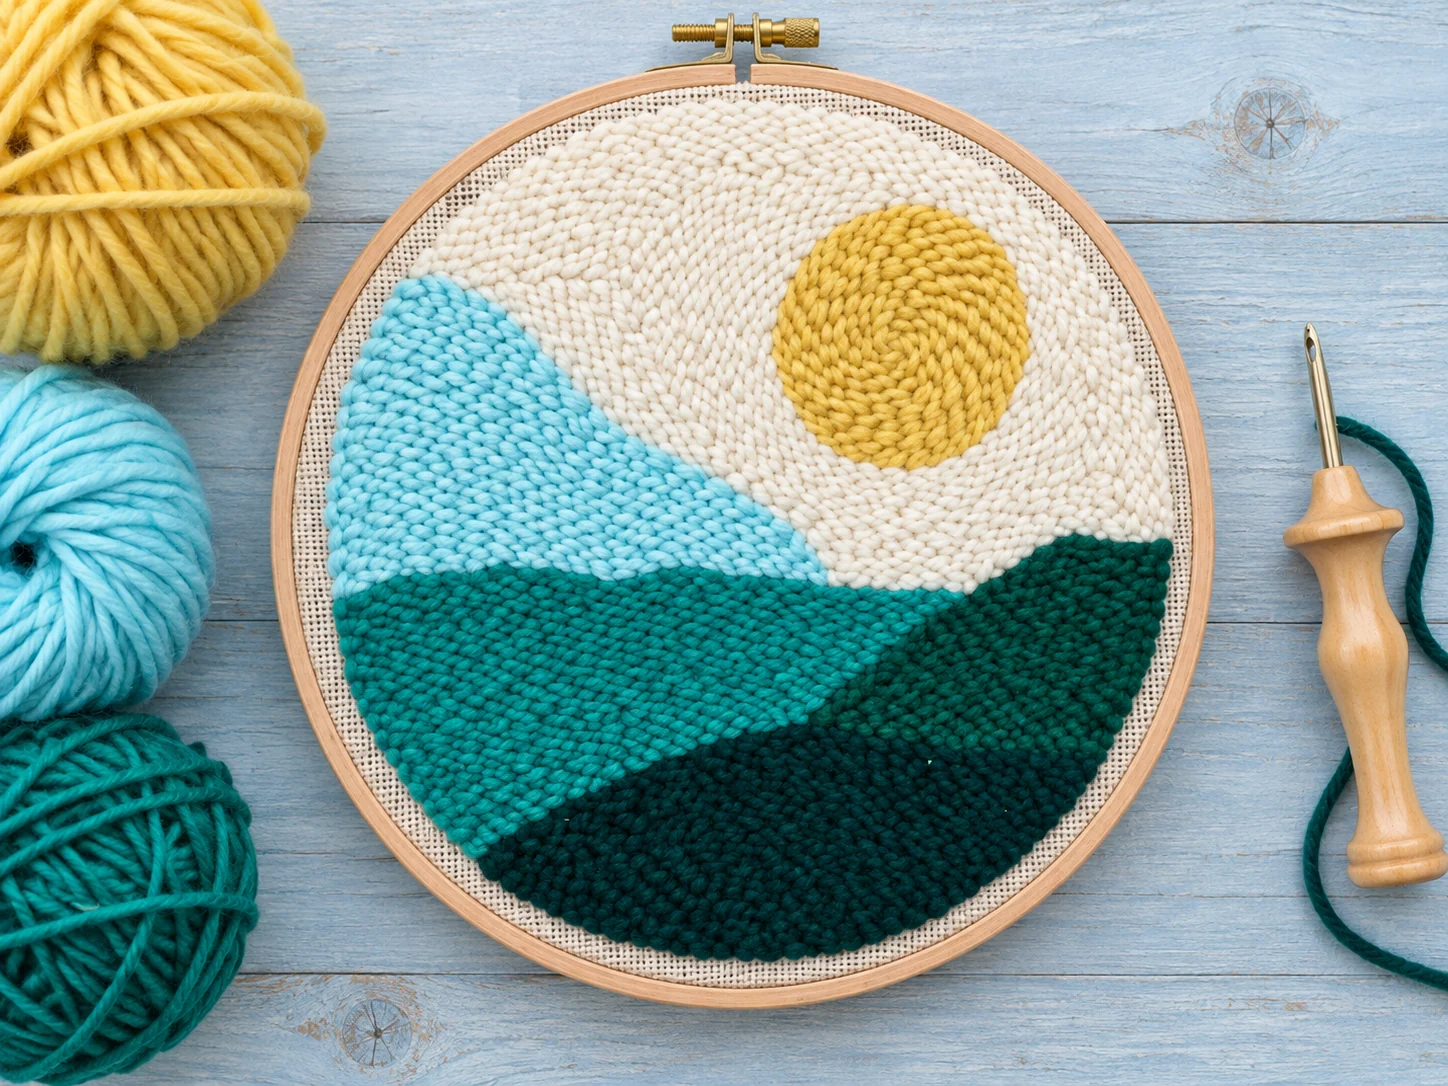
This free punch needle pattern makes a small mountain scene using only straight lines and broad color areas. The instructions include measured points so you can draw the design directly on foundation cloth without downloading a picture or tracing someone else’s artwork.
The punched design is 10 inches square. A wide border of cloth around it becomes a folded finish and a sleeve for a dowel, so the project can hang on a wall when you are done.
The design at a glance
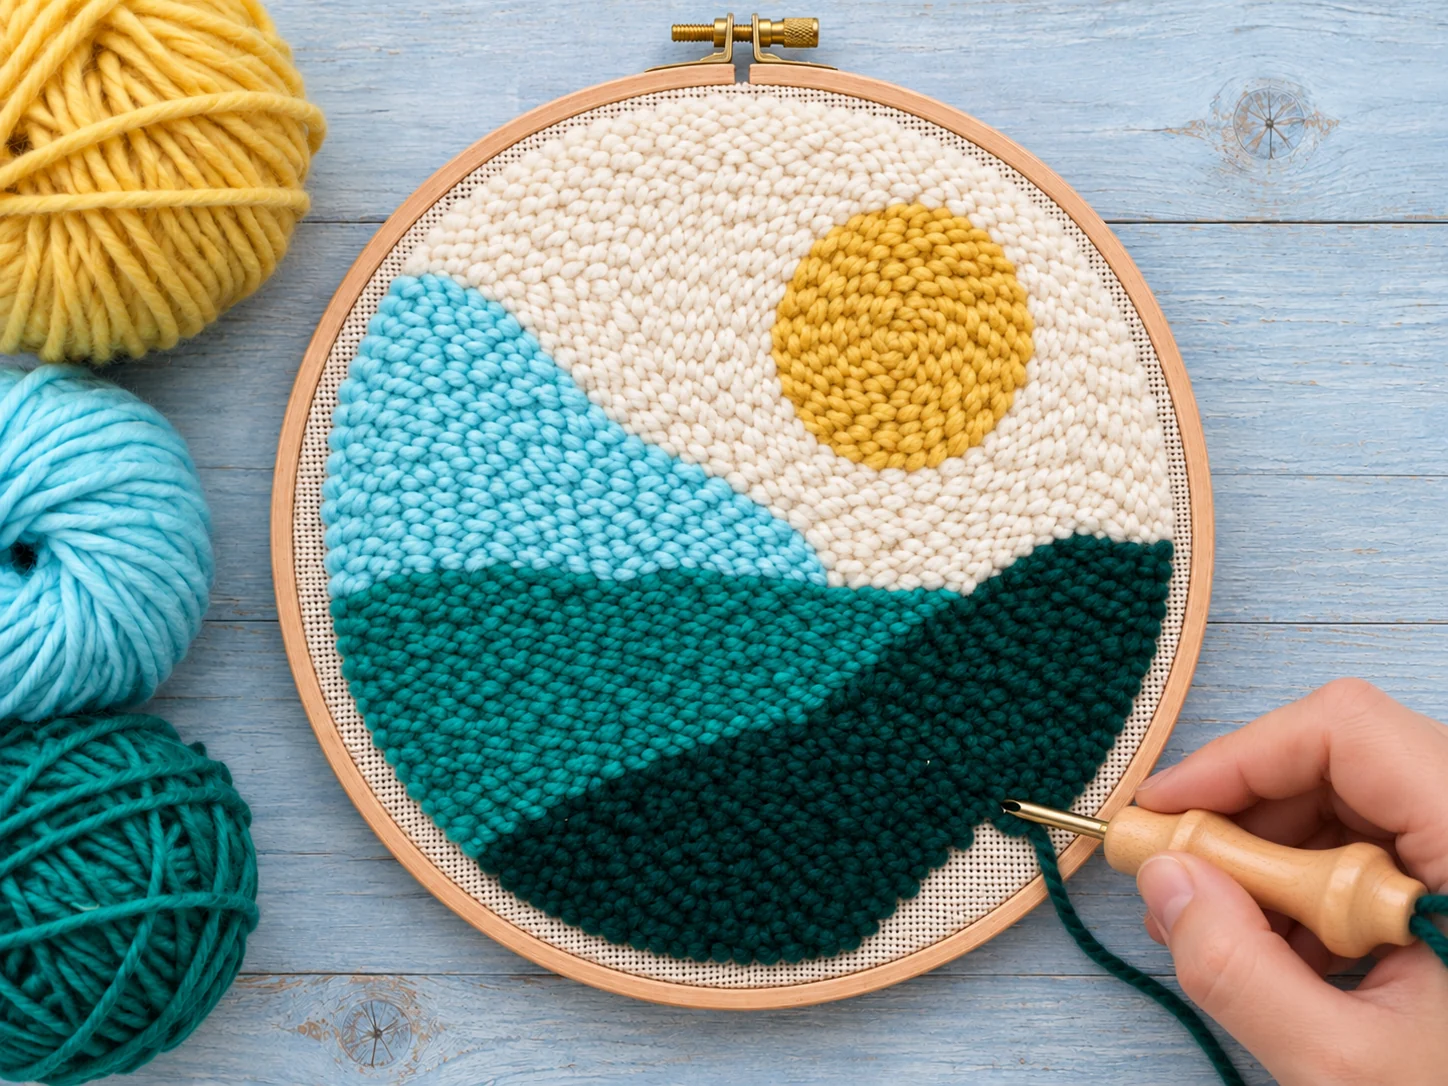
Picture a pale sky, a warm circular sun, a tall mountain on the left, and a lower mountain on the right. A dark ground band anchors the bottom of the scene.
Use five yarn colors if you like: sky, sun, front mountain, back mountain, and ground. A high-contrast palette helps the shapes remain clear after the loops soften their outlines.
The design uses a 10-by-10-inch square. Make a paper grid or work directly on the fabric with a ruler; the measurements below are from the top-left corner of the 10-inch design square on the side you will punch. The loop side will mirror the arrangement, so reverse the drawing first if its direction matters to you.
Materials and sizing
Use a punch needle sized for your yarn, compatible monk’s cloth, a frame that holds the cloth taut, scissors, a washable or fabric-safe marker, a ruler, a tapestry needle, and a 12-inch dowel. Choose yarn that feeds freely through the tool and remains held by the cloth weave.
Cut at least an 18-by-18-inch piece of foundation cloth so you have room to grip it on the frame and fold its edges later. If your frame needs wider margins, cut a larger piece.
Read our punch needle supplies guide if you need to pair a tool, fabric, yarn, and frame. A fine floss tool and rug-weight yarn are not interchangeable parts of the same setup.




Draw the free mountain pattern
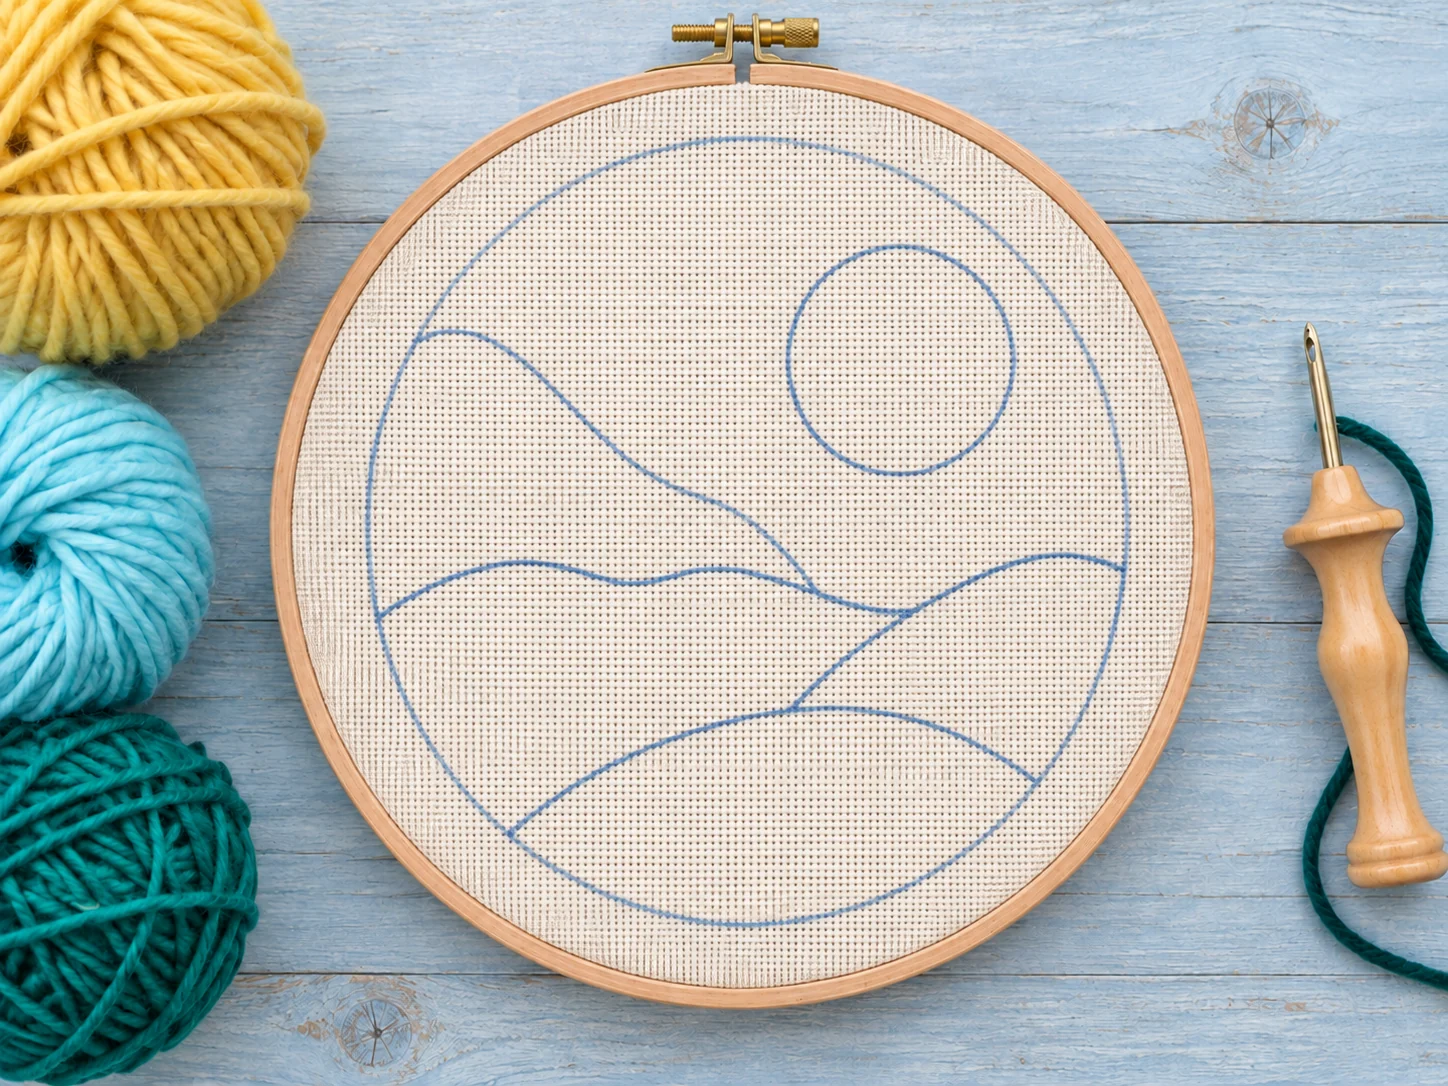
Mark a 10-inch square centered on the cloth. Lightly rule the square at each whole inch so you can place the design points; erase or cover these guides after drawing the final lines.
Draw the sun as a circle 2 inches in diameter, centered 5 inches from the left edge and 2½ inches from the top. A drinking glass or circular template can help keep the outline smooth.
Draw the back mountain as a triangle with corners at (3, 8), (7, 3½), and (10, 8), measured in inches from the square’s top-left corner. Its peak sits to the right of the sun.
Draw the front mountain with corners at (0, 8), (3, 4), and (7, 8). Where the two triangles overlap, keep the front mountain’s upper outline and let it cover the back mountain beneath it.
Draw a level ground line from (0, 8) to (10, 8). The band between that line and the bottom edge belongs to the ground color; the space above the mountains is sky except for the sun.


Transfer and punch the design
If you marked directly on the cloth, reinforce only the final shape lines and stretch the fabric firmly on the frame. Keep the outer 10-inch square inside the working area rather than at the frame edge.
Thread the needle according to its maker’s instructions. Leave enough free yarn between the ball and the tool that each punch can form a loop without pulling on the previous one.
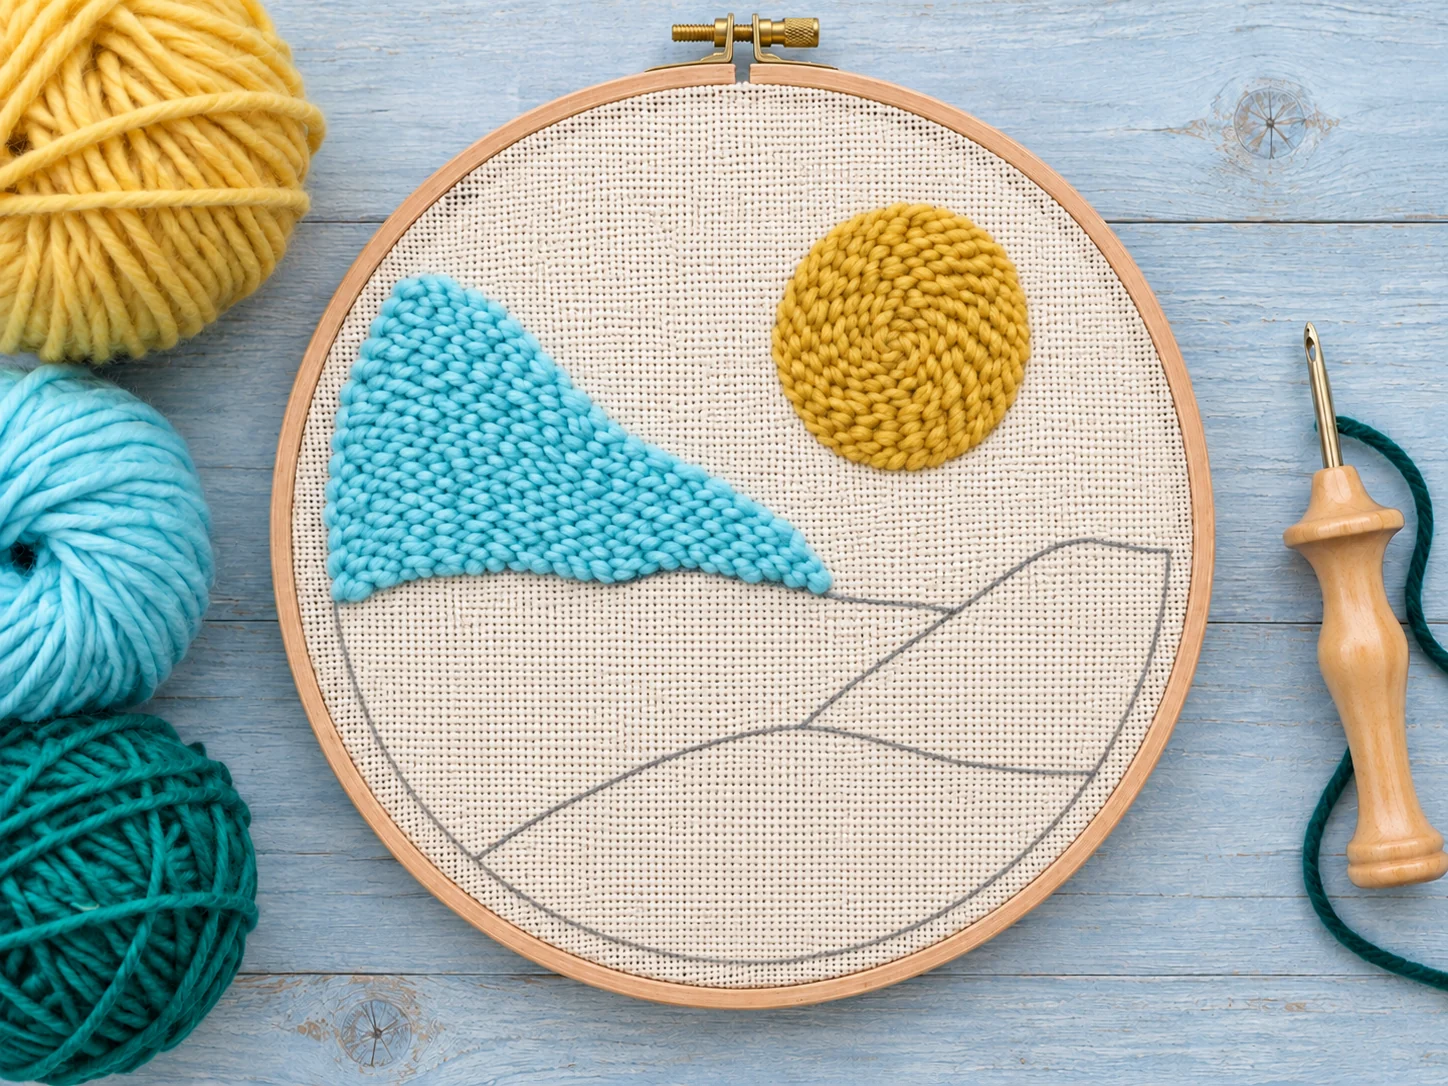
Outline the sun first, then the visible mountain lines and ground band. Work slowly around corners and rotate the tool or frame so the needle’s channel points in the direction you travel.
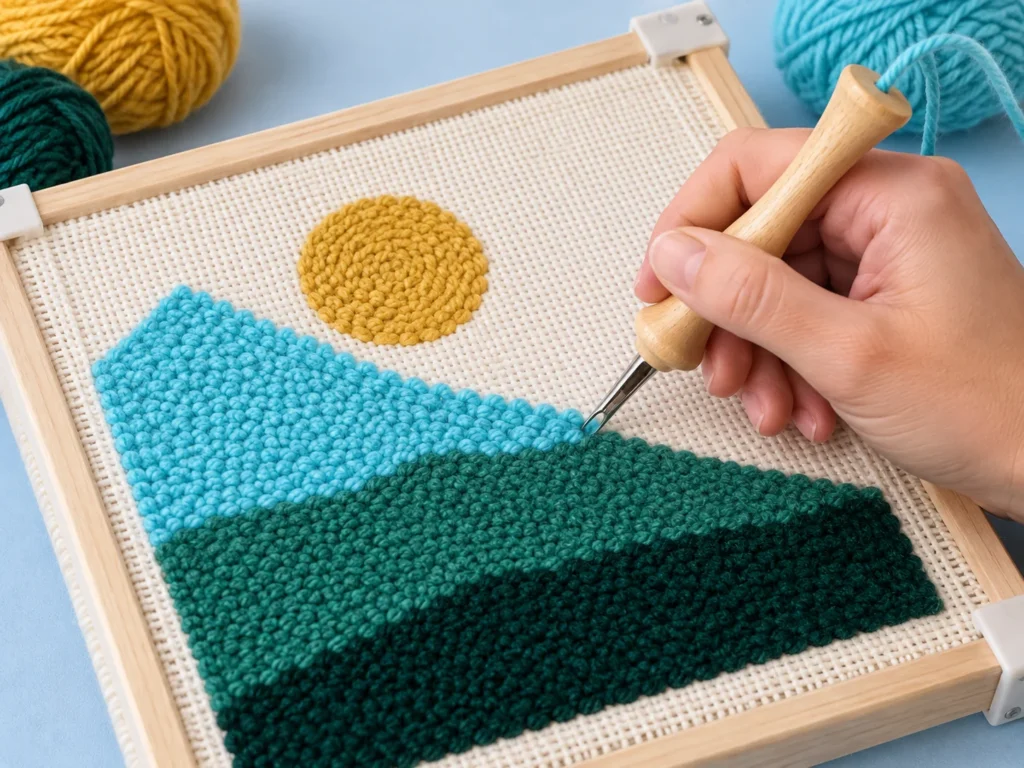
Fill the sun and the two mountains with their chosen colors. Fill the sky around them, then fill the ground band; check the loop side occasionally for gaps before changing colors.
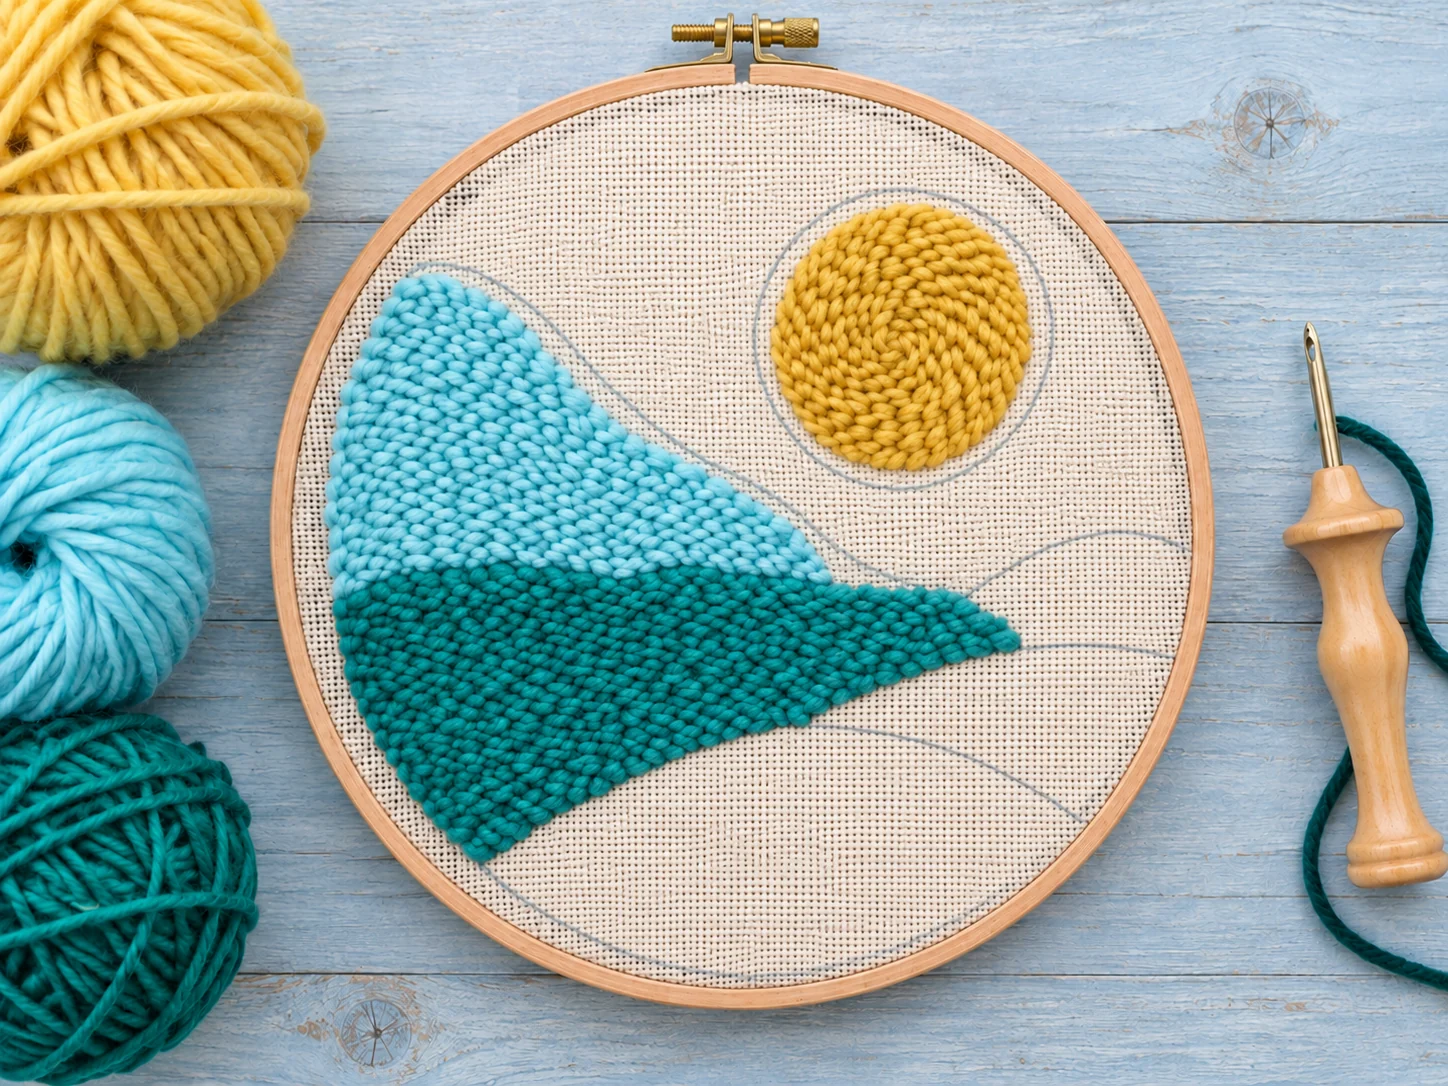
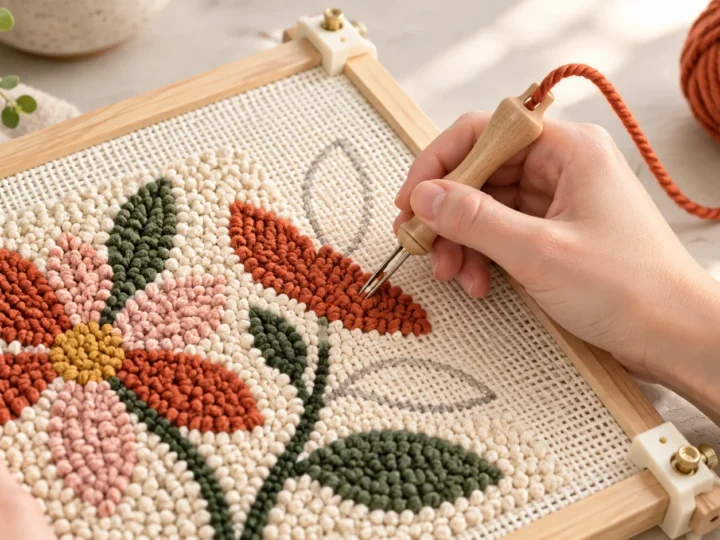
Keep the needle depth consistent and skim its tip along the cloth between punches. The beginner technique guide explains the motion if this is your first project.
When the square is fully punched, snip the working yarn, turn the frame over, and trim stray tails to the height of nearby loops. Use a blunt tool to nudge a few misplaced loops back into a clear shape boundary.


Finish it as a wall hanging
Remove the piece from the frame and measure the punched square. Trim the cloth to leave at least 2 inches beyond the left, right, and bottom edges and 3 inches beyond the top edge.
On the back, fold each side edge toward the punched area twice to hide the raw threads, stopping short of the loops. Sew the folds down with small hand stitches that do not show through the front.
Fold and secure the bottom edge in the same way. If the cloth frays heavily, overcast or zigzag the raw cut edge before making the folds.
At the top, fold the extra fabric into a sleeve wide enough for your dowel. Stitch the lower edge of that fold to the back of the hanging, keeping the sleeve open at both ends.
Slide the dowel through and tie a hanging cord to its ends. Check that the weight hangs level before knotting the cord firmly.
Make the pattern your own
Change only the color palette for a second version, or swap the sun for a moon while keeping the same measured shapes. The placement grid will still guide the punching order.
If you resize the square, multiply every coordinate and the sun diameter by the same factor. For example, a 20-inch design doubles each 10-inch measurement; also enlarge the foundation fabric and frame margin.
Before starting a larger version, punch a small test area in your chosen cloth. A balanced needle, yarn, and backing combination will matter more than the exact colors of the mountain scene.
What’s Next?
Pin this post: Save this tutorial to your Pinterest boards so that you can come back to it later.
Leave a comment: We love to hear your feedback. Tell me in the comments below!
Share on Instagram or Facebook: When you make this project, share it on social media and tag me @iheartdiybystacy. We love to see what you make!
Have questions? Join the Facebook Group!
We hope this article was useful for you! If you have any additional questions, feel free to join my Facebook Group. We created this group for you to share pictures, ask questions, and help each other out.
I hope this article was useful for you! If you have any additional questions, feel free to join my Facebook Group.
Join the group to share pictures, ask questions, and help each other out.


Have a question? Use the form above to submit your question or comment.
I love hearing from you and seeing what you made!