

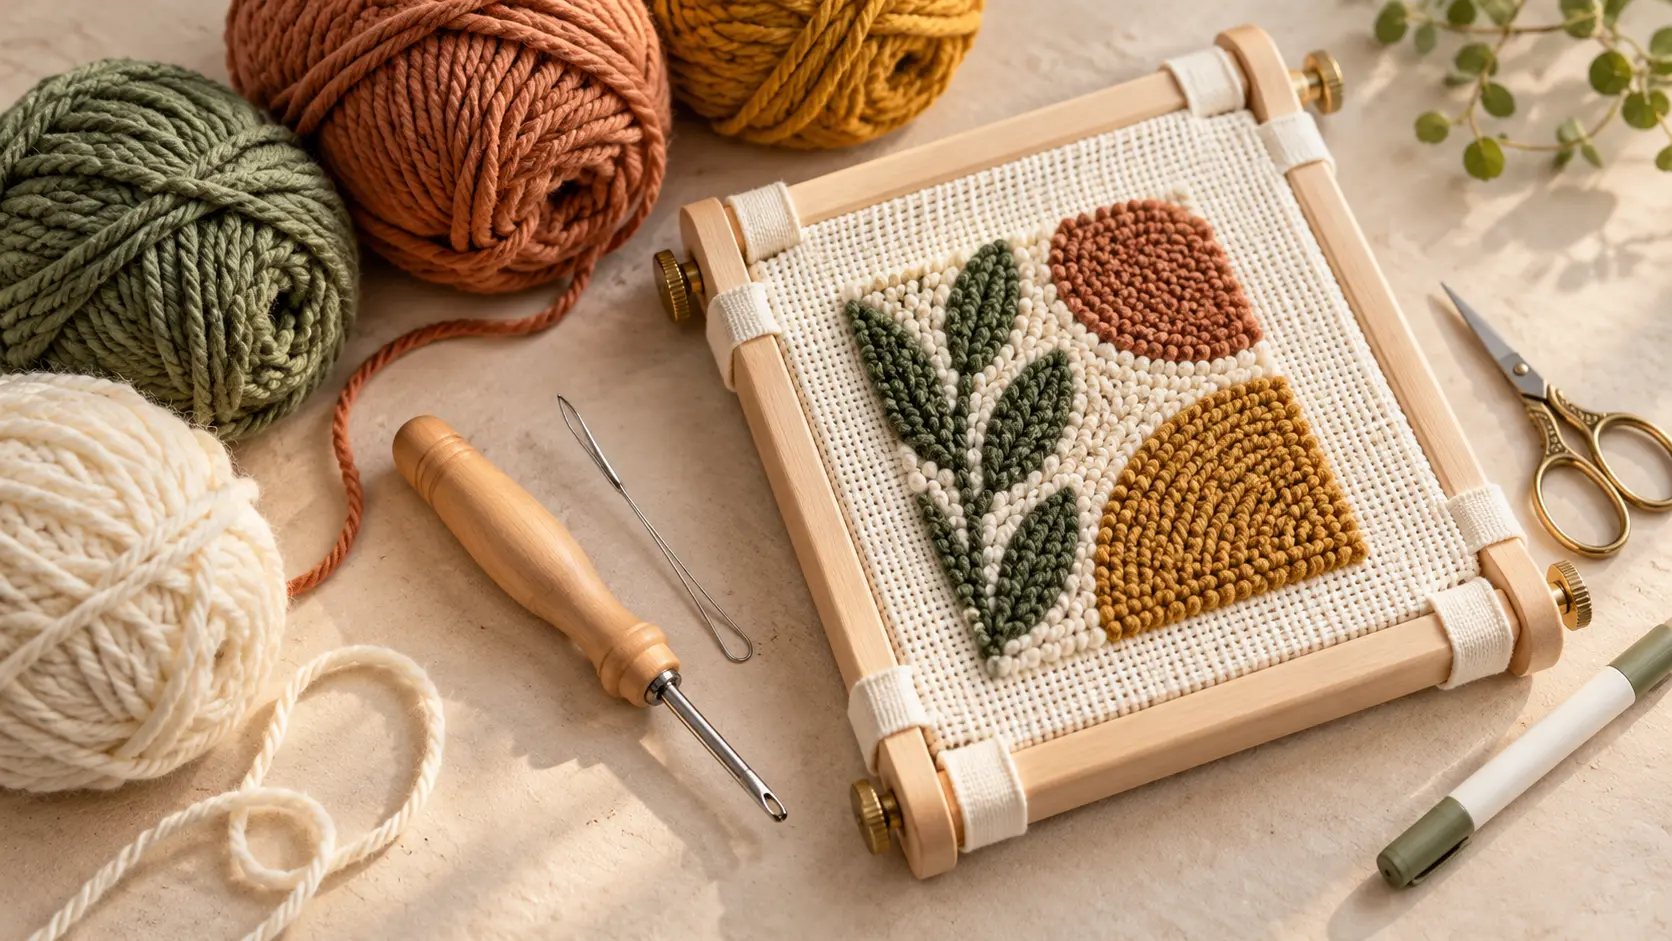
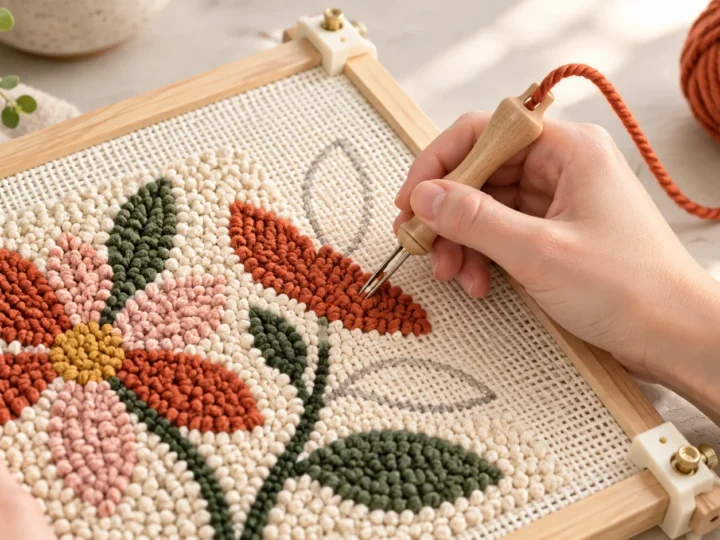
A workable punch needle setup has four linked parts: the needle, yarn, foundation fabric, and frame. Choosing one without the others is a common reason loops pull out or the tool jams.
This guide focuses on yarn punch needle for wall hangings, pillows, and similar projects. Fine punch needle embroidery with floss uses a smaller tool and often a different fabric, so keep the two systems separate while shopping.
The four essentials
Start with a punch needle suited to the fiber thickness you want to use. Add yarn that slides through its shaft, woven foundation cloth that grips the loops, and a frame that keeps that cloth taut.
Scissors, a marker, and a simple design are helpful additions. You can buy these pieces separately or check a kit’s contents, but a kit still needs the needle, yarn, cloth, and frame to work as a matched set.
Our beginner punch needle guide explains how the four parts work together once you have them on the table.
Choose a punch needle tool
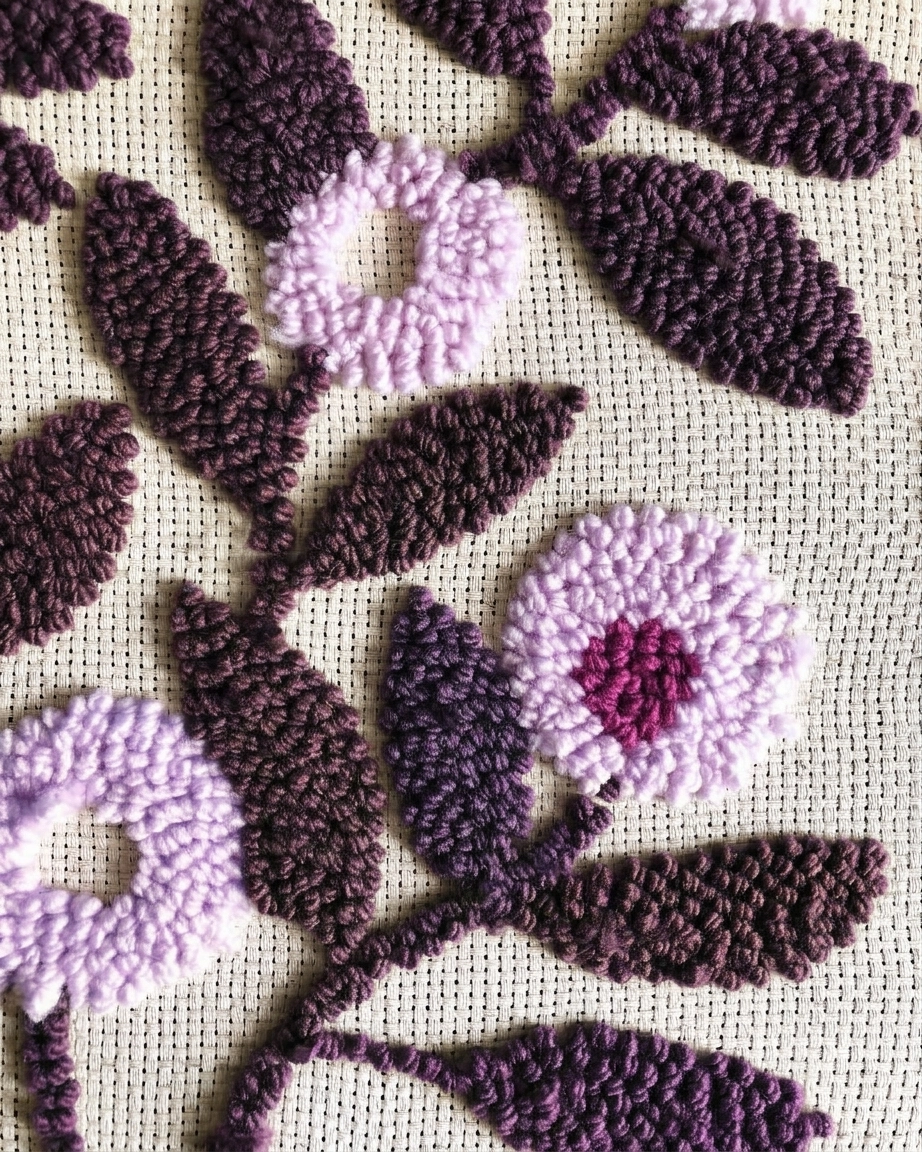
A punch needle has a hollow shaft and an eye near the tip. Yarn enters the tool and feeds through the cloth as you punch, leaving loops on the opposite side.
Needles vary in width. A wider point suits bulky or rug-weight yarn, while a narrower point suits thinner yarn. Use the maker’s size guide rather than assuming every brand’s labels mean the same thing.
For example, Oxford distinguishes Regular Point needles for bulkier yarn and Fine Point needles for finer yarn. That describes the tool width, while the number in its size range controls the intended loop height.
Handle shape also matters. Choose one you can hold comfortably through repeated strokes and whose channel direction is easy to see when you turn around a curve.
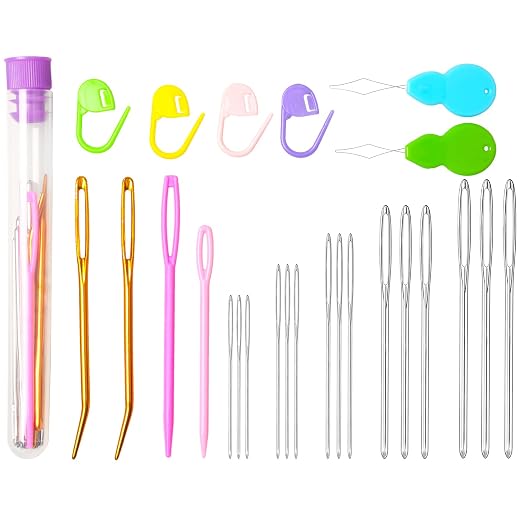
Some tools have an open channel that lets you load yarn by hand. Others need a wire threader to bring the yarn through a closed shaft; check the package before you start.
An adjustable-depth tool offers different pile heights, but it adds one setting to keep consistent. A fixed-depth tool may be simpler for a first project if its yarn size suits your plan.
Do not force thick yarn through a narrow needle. If you need to tug the strand continuously, try a wider tool or a thinner yarn.
If a tool arrives with a threader, keep it with the needle. Replacement threaders are easy to misplace, and a closed-shaft needle can be difficult to load without the correct one.




Select foundation fabric by the needle system
Foundation cloth is not just a surface to draw on. Its weave stretches as the needle enters and grips the yarn as the tool leaves, helping the loops stay in place.
For Oxford-style yarn punch needle, its monk’s cloth specification is roughly 13 double threads per inch. That is a useful example of a cloth designed for this type of tool, not a universal count for every punch needle system.
Products sold as monk’s cloth can have different thread spacing. Read the seller’s count and intended use; a very open weave may let loops slip out, even when the package name sounds right.
Buy enough fabric to extend well beyond the marked design. The extra border lets you grip the frame and leaves material for a hem, backing, or seam later.
If you are using a miniature floss punch needle, ask for a fabric recommended for that smaller point and thread. A rug-yarn backing recommendation does not automatically suit the fine technique.
Primitive linen or other rug backing can also work with certain tools, but their feel and grip differ. Test the exact yarn and tool on a small piece before buying yardage for a large project.
Avoid a cloth whose threads break when the needle passes. Repeated punching into damaged fabric will not create a stable base.
Consider the final treatment of the project as well. A pillow cover needs a fabric that can be sewn at the edges, while a wall hanging may only need a tidy folded border.
Match the yarn to the tool and project
The yarn should travel through the needle with little resistance yet be substantial enough for the foundation weave to hold the new loops. Pull a short length through the tool before committing to a full color palette.
Rug wool is a practical choice for a pillow or other item that will be touched frequently. Decorative wall art can invite more experimentation with fibers, provided the yarn feeds and the loops remain secure.
Oxford’s needle guide describes regular-point tools for bulky and rug yarn and fine-point tools for finer options. Use those pairings as maker guidance for Oxford tools, then check your own tool’s specification.
Multiple strands of a thinner yarn may fit a larger needle, but keep them feeding evenly. A strand that hangs back can create uneven loops or a jam.
Very fuzzy, knotted, or textured yarn can catch in the shaft or obscure the design boundaries. Smooth, visible yarn is easier for a first sample.
Color is a design choice rather than a technical rule. For learning, use a light or mid-tone yarn against the fabric so you can see where each stroke lands.


Use a frame that stays taut
The frame’s job is to hold the backing firmly while the point enters and exits. If the cloth sags under the needle, loop height and stitch placement become harder to control.
A gripper-strip frame, a frame intended for punch needle, or a genuinely non-slip hoop can provide useful tension. The right choice depends on the project size and how much cloth margin you have left around the design.
Oxford’s frame guidance describes a taut backing as important for smooth punching and even loops. Check that the frame is large enough for the active design area or plan how to reposition safely.
A basic hoop may loosen with repeated strokes. If it does, retighten the cloth frequently or switch to a frame that grips more securely.
Keep your hands clear of exposed tacks or gripper strips. A frame cover or folded cloth can protect your fingers and stop the yarn from catching while you work.
Do not stretch the fabric so hard that you distort or break the weave. Firm, even tension is the goal.
For a larger design, check whether the frame’s usable inner opening is at least as wide as the area you plan to punch. The outer frame dimensions can be larger than the space available to the needle.


Useful extras, not essential purchases
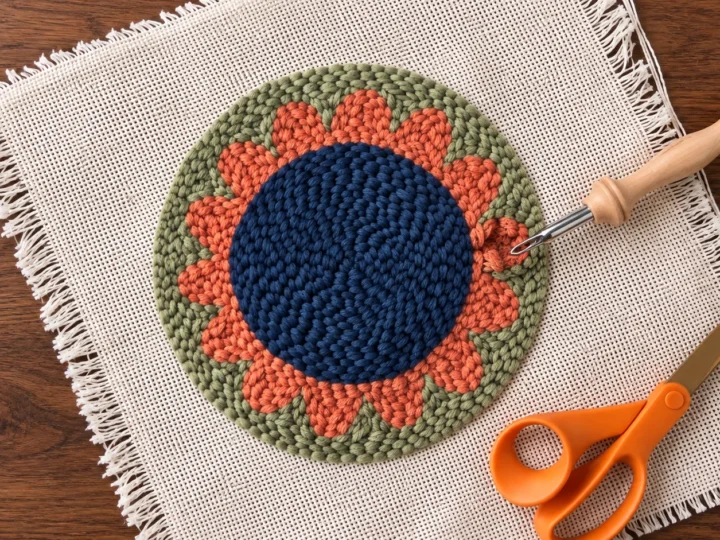
Small sharp scissors help trim tails without cutting neighboring loops. A blunt needle or smooth stick can push a few stray loops back into a crisp boundary.
A fabric-safe marker and ruler are enough for a simple original pattern. Trace or mark before stretching if your frame makes a flat drawing surface hard to reach.
For finishing, you may want a sewing needle, backing fabric, and a dowel or pillow insert. Buy these after deciding whether the punched piece will hang or be sewn into something used by hand.
Keep a small scrap of your cloth for testing yarn colors and needle settings. It can prevent a whole project’s worth of loose loops.
A simple first-shopping checklist
Choose the project first: wall art, pillow, or another item. Then select one yarn and a tool size the maker says will carry it.
Select foundation cloth recommended for that tool, cut enough for frame grip and finishing, and choose a frame that holds the working area taut. Add scissors and a pattern you have permission to use.
Before buying every color, punch a small test patch. If it holds, finish the palette; if it fails, the punch needle troubleshooting guide will help you identify which part of the setup needs changing.
What’s Next?
Pin this post: Save this tutorial to your Pinterest boards so that you can come back to it later.
Leave a comment: We love to hear your feedback. Tell me in the comments below!
Share on Instagram or Facebook: When you make this project, share it on social media and tag me @iheartdiybystacy. We love to see what you make!
Have questions? Join the Facebook Group!
We hope this article was useful for you! If you have any additional questions, feel free to join my Facebook Group. We created this group for you to share pictures, ask questions, and help each other out.
I hope this article was useful for you! If you have any additional questions, feel free to join my Facebook Group.
Join the group to share pictures, ask questions, and help each other out.

Have a question? Use the form above to submit your question or comment.
I love hearing from you and seeing what you made!