

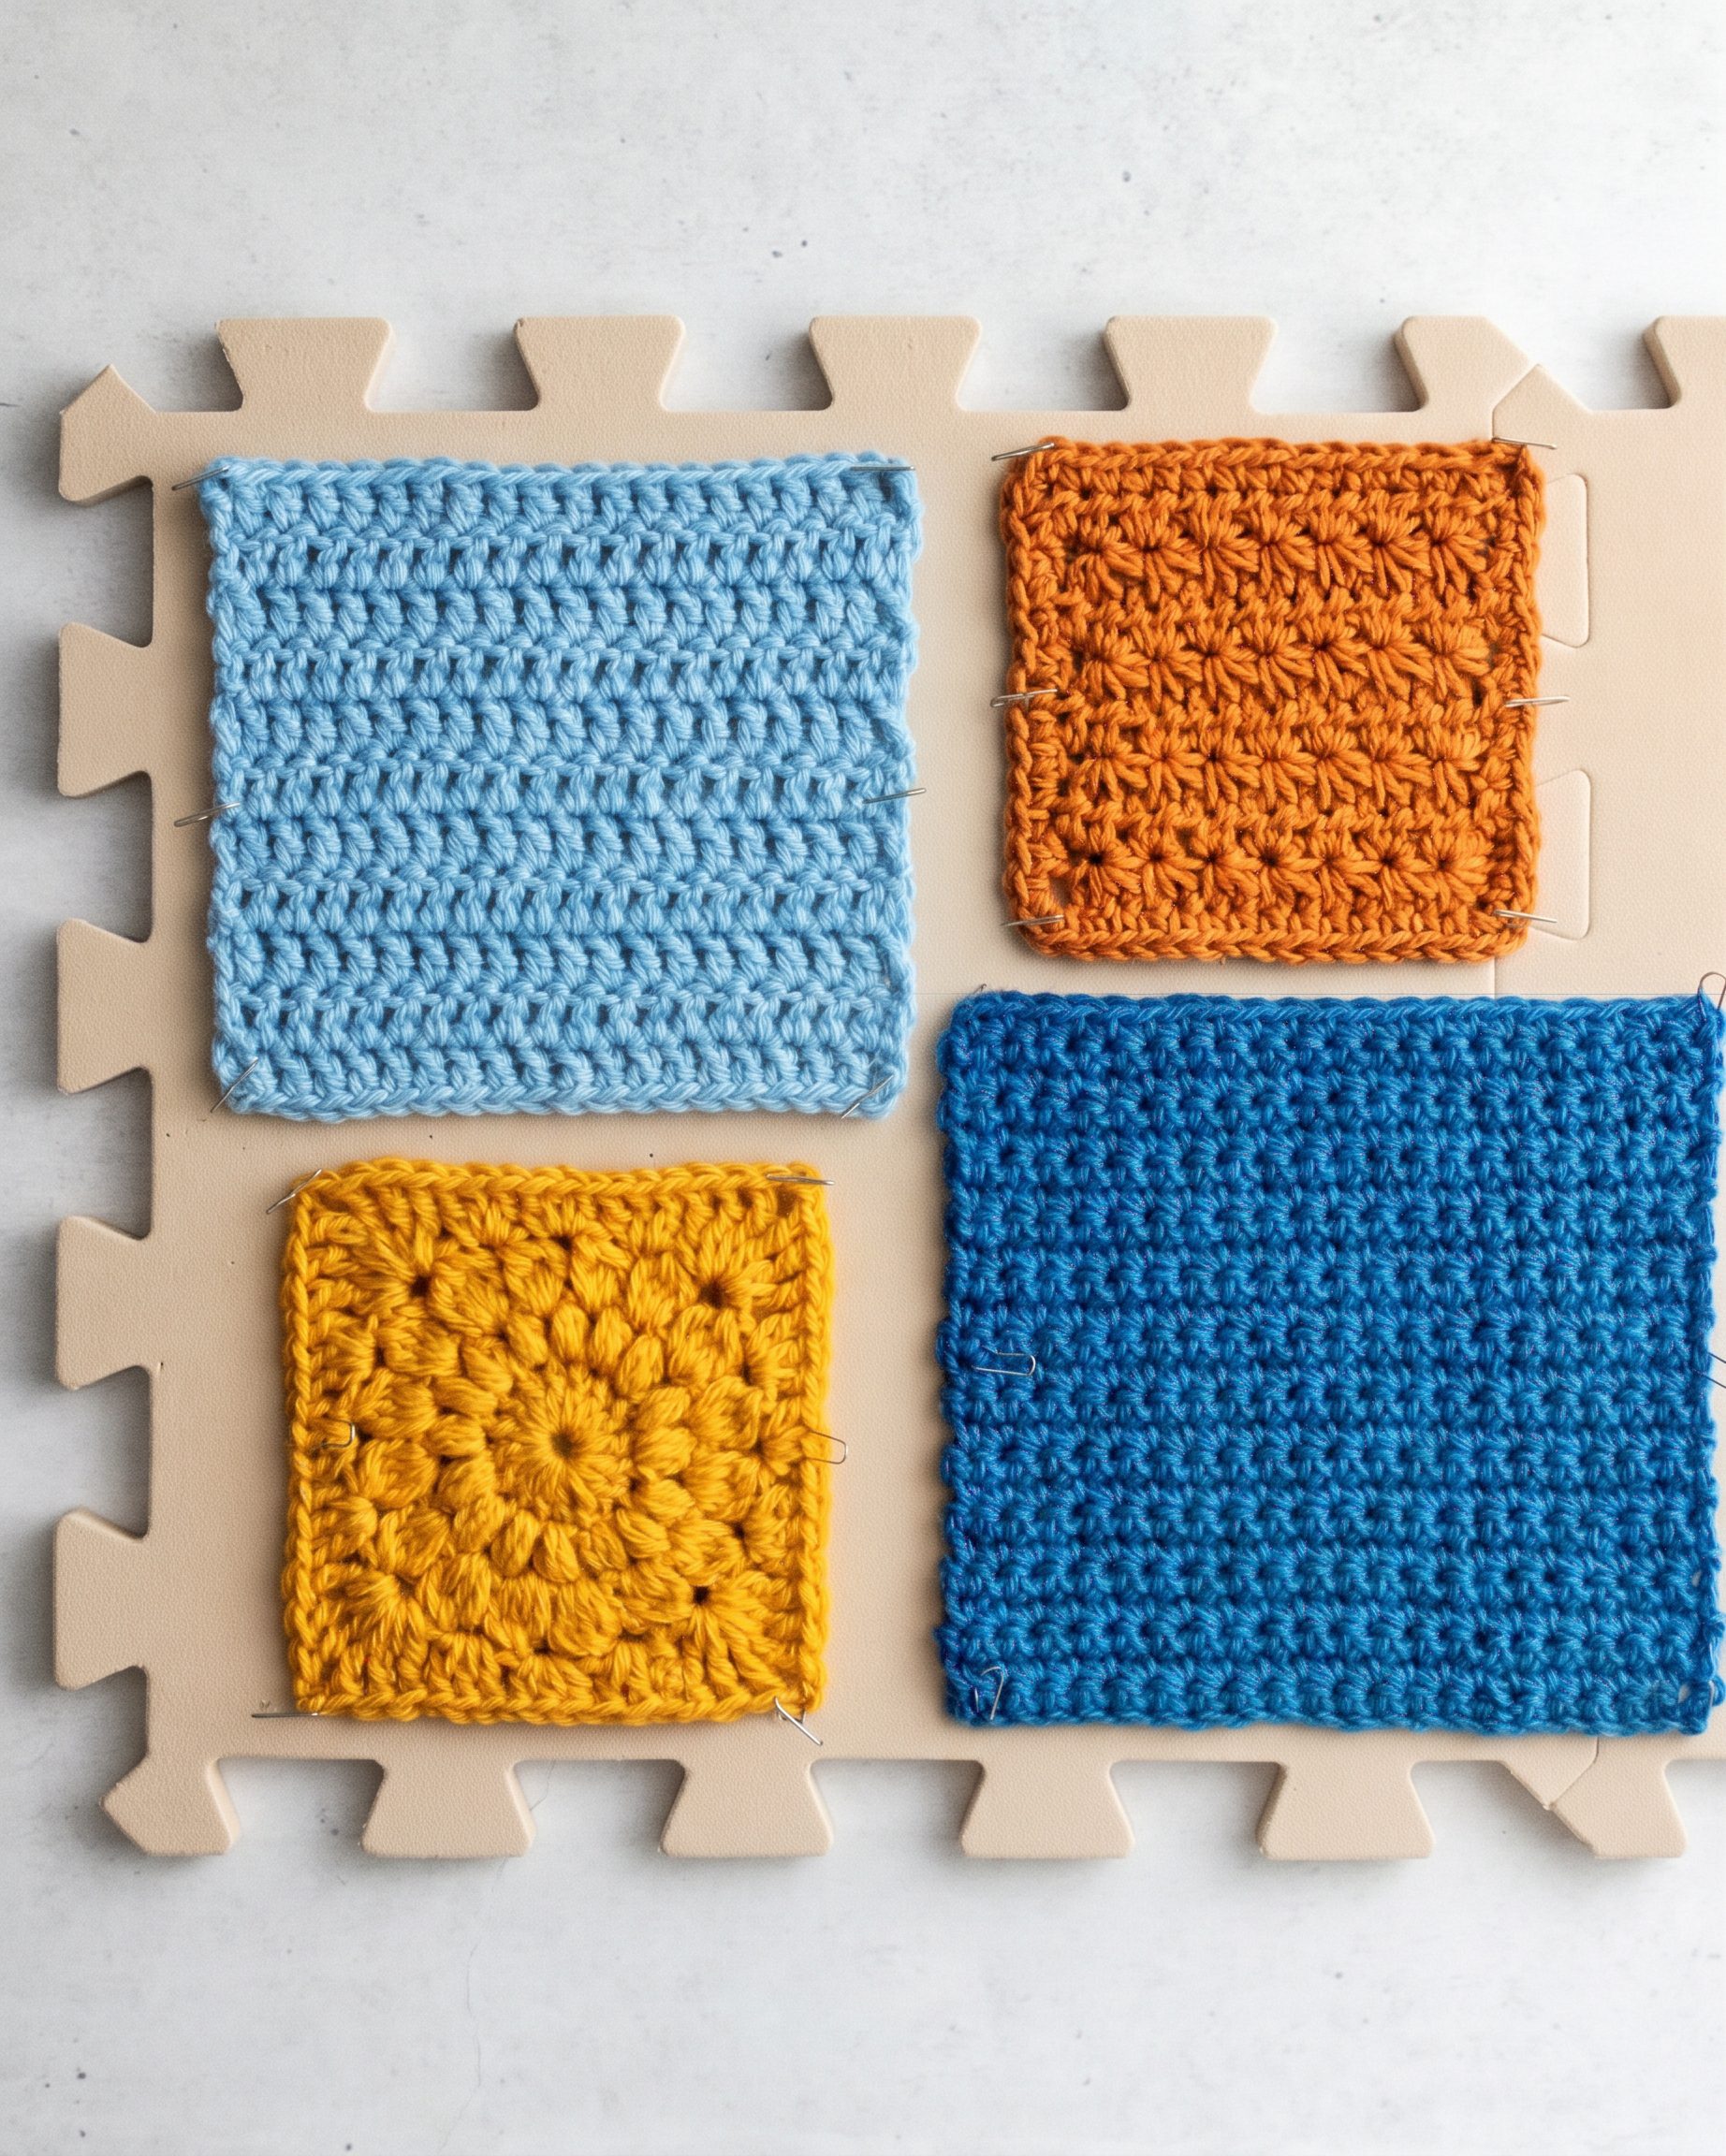
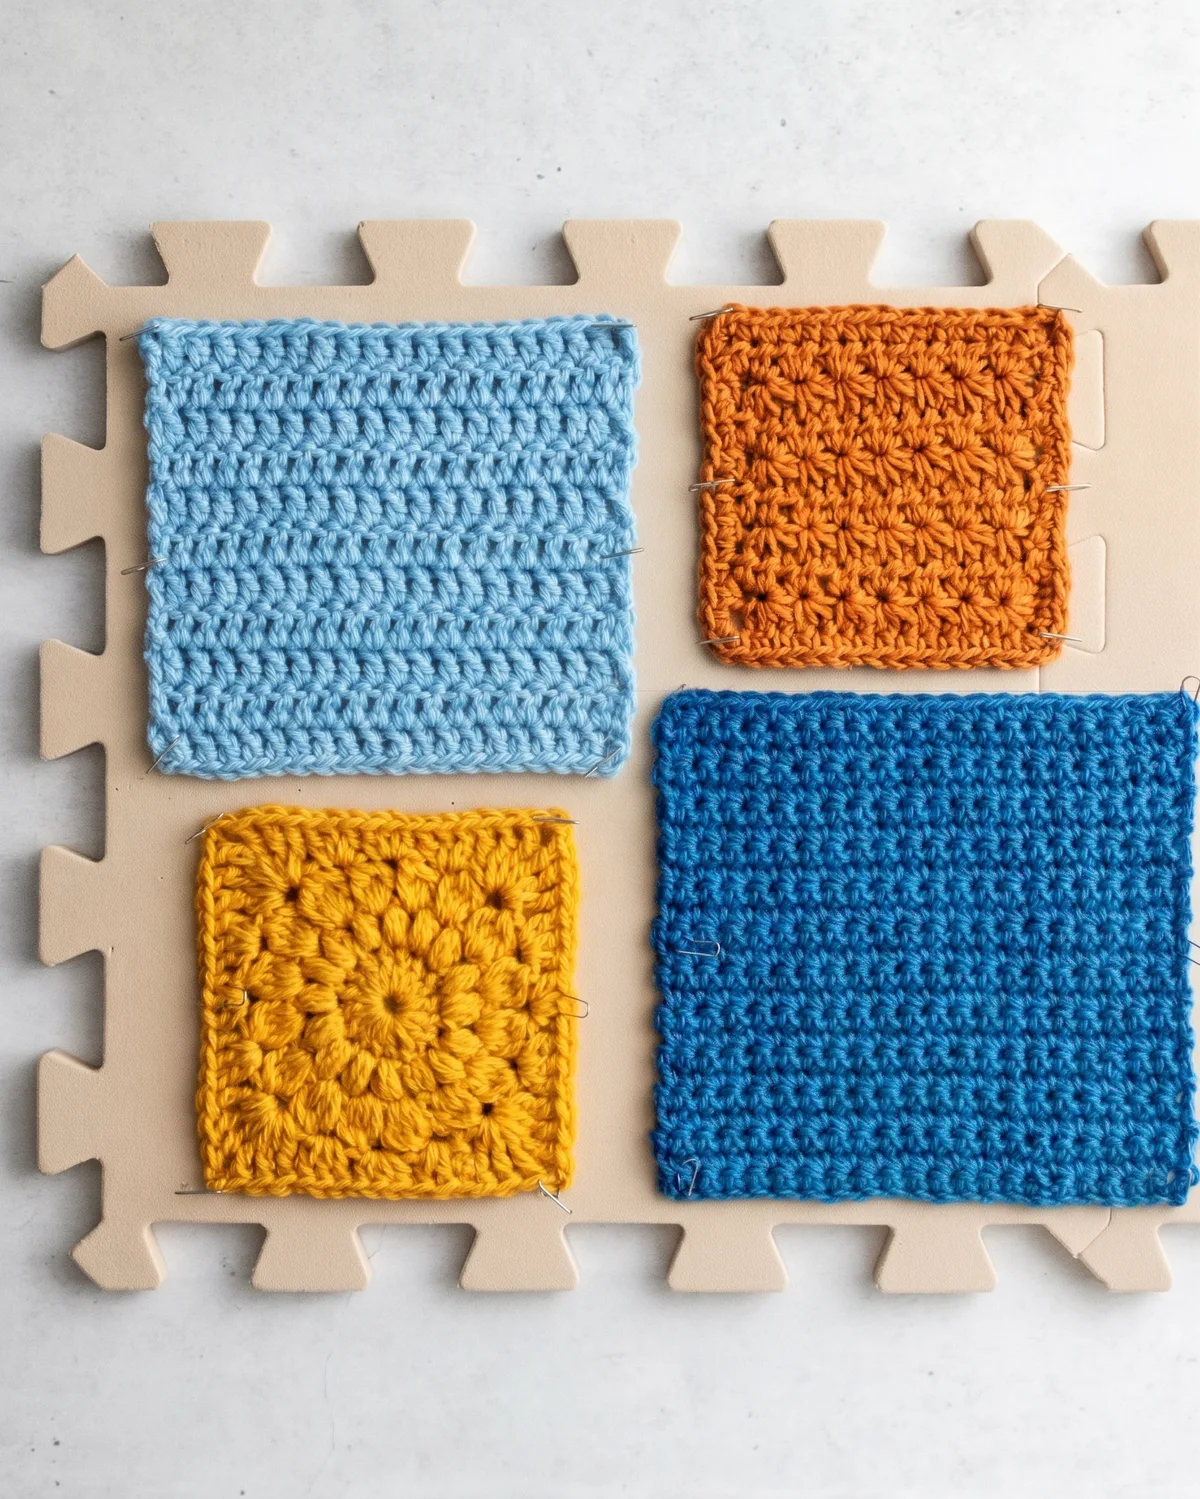
To block crochet, dampen or gently steam the finished fabric, shape it to the measurements you want, and leave it undisturbed until it is dry. The right method depends on the yarn, so check its care label before reaching for water or heat.
A slightly curled square or uneven edge can make a well-stitched project look unfinished. Blocking helps the stitches settle and gives you a chance to square up corners, open lace, or bring several motifs to a consistent size.
This guide walks through wet blocking, spray blocking, and steam blocking. You will also learn when blocking is worth the effort, what to use if you do not own a blocking mat, and why a gauge swatch should get the same treatment as the final piece.
What does blocking do to crochet?
Blocking is a finishing step: you introduce moisture, arrange the fabric, and let it dry in position. It can improve drape, define a stitch pattern, and make seams easier to line up. It does not add missing stitches or correct a foundation chain that is much too tight.
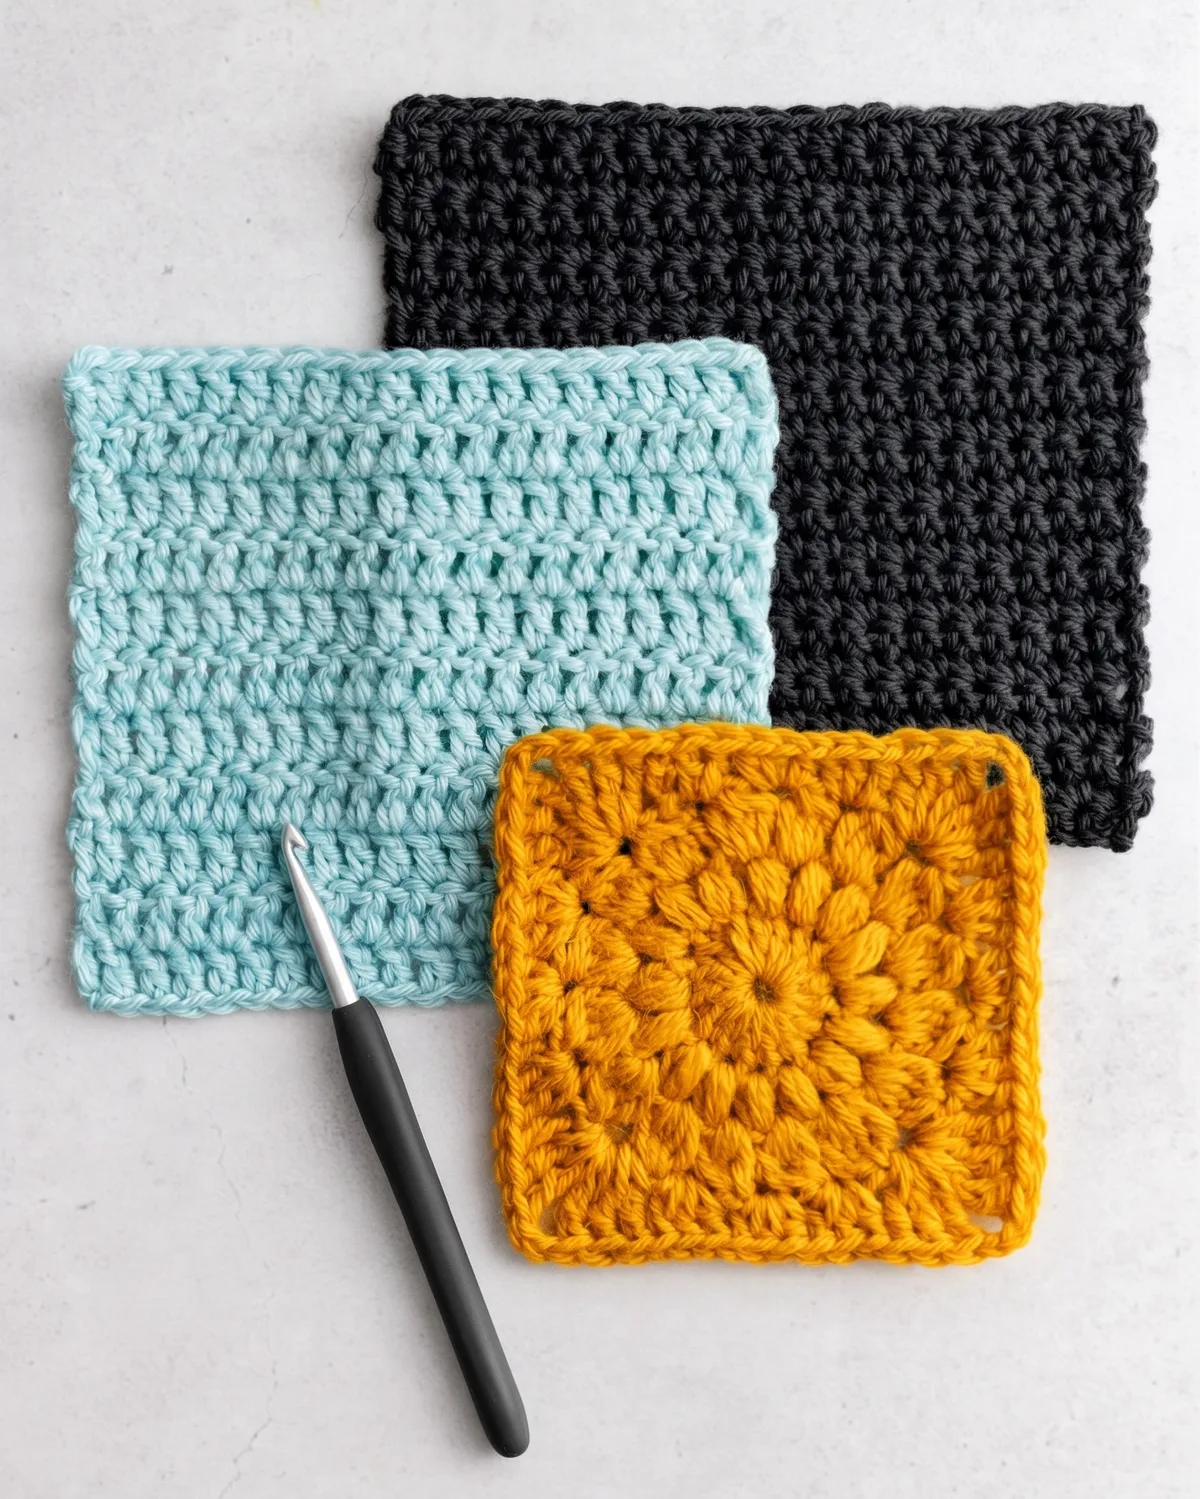
Think of the target as a measured shape, not the largest shape the yarn can stretch into. A 6-inch granny square should finish close to the size your pattern needs, with straight sides and corners that meet at right angles, rather than being pulled into a thin, oversized square.
The result depends on fiber and care. Wool generally responds well to moisture and shaping; cotton can be reshaped but may stretch under its own wet weight. Acrylic is heat sensitive. Lion Brand advises following the yarn label and avoiding steam on acrylic.
When should you block a crochet project?
Block when size or alignment matters: garment panels, lace shawls, granny squares before joining, and pieces that will be seamed usually benefit. Matching motifs are easier to assemble when their corners and edges meet without tugging.
It is also useful when a finished edge rolls slightly or a lace pattern looks crowded. A light block can reveal the intended shape. If the fabric is badly ruffled because the stitch count is wrong, however, correct the stitches rather than forcing the edge flat with pins.
Some sturdy household projects look and function fine straight off the hook. Blocking is optional for a casual dishcloth or a thick blanket whose size and edges already look right. Follow the pattern if it calls for a specific finishing method.
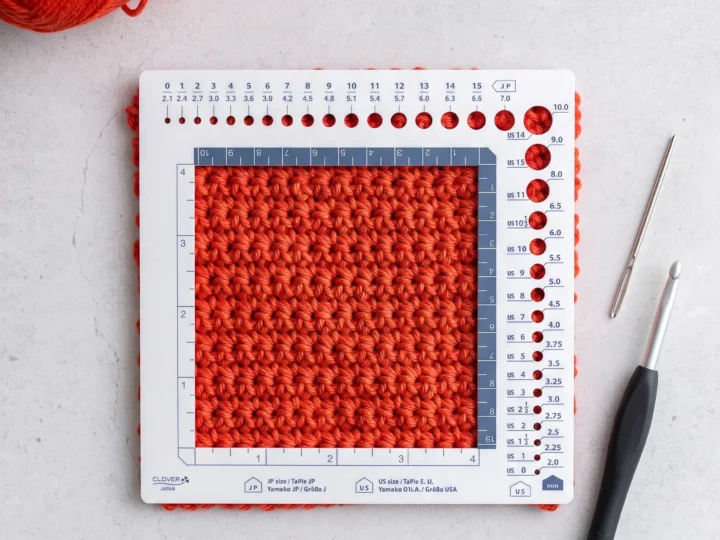
If fit is important, block your test swatch before judging its gauge. A fabric that grows after washing can change the finished measurements of a sweater or hat. Our crochet gauge guide explains how to measure stitches and rows across a swatch.
Choose a method by yarn and project
Start with the fiber-content and care symbols on the yarn label. If the label says hand wash and lay flat, use that as the limit for a wet block. If the item has several fibers, delicate trim, or uncertain dye behavior, test a small swatch first.
Wet blocking suits a piece that can safely be washed and needs thorough reshaping. Spray blocking adds less water and works well for a small adjustment. Steam blocking is quicker, but only makes sense when the yarn label permits heat and your test swatch responds well.
For a wool motif that needs a crisp outline, wet blocking is a practical first choice. For a cotton square that only needs its corners aligned, a measured spray may be enough. For acrylic, begin with label-approved water methods; avoid using steam as a default fix.
Some tutorials intentionally apply heat to acrylic to change its drape. That change can be hard to reverse and may flatten texture. This beginner method leaves that experiment out: if you are unsure about the fiber or the care label, choose moisture without heat.
Supplies for blocking crochet
You need a clean, flat place where the piece can dry undisturbed, plus a measuring tape or ruler. A foam blocking mat is handy for pinning, but a thick towel on a protected table also works for pieces that do not need pins.
For pinned edges, use rust-resistant T-pins or other pins sold for blocking. Keep pins close enough to make a straight line instead of a series of scallops. A ruler or paper template helps you make several squares the same size.
Wet blocking needs a basin, water at a temperature allowed by the label, and dry towels. Spray blocking needs a clean mist bottle. Steam blocking requires a steamer or steam iron and a heat-safe setup, plus extra attention to the appliance’s instructions.
Keep a spare swatch nearby if you have one. Testing it first lets you check for dye transfer, unexpected growth, loss of stitch texture, or an unwanted reaction to heat before you treat the finished project.




Prepare the piece before adding moisture
Fasten off securely and weave in the ends unless your pattern tells you otherwise. Yarnspirations recommends weaving in ends before blocking and blocking separate pieces before assembly. Loose tails are harder to secure neatly after the fabric has been stretched into shape.
Measure the unblocked piece and write down the intended dimensions. For garments, compare the pattern schematic with the actual panels; for motifs, decide on one finished width and height. Measure the swatch after the same wash and dry treatment you expect for the project.
Check colorfastness on a spare strand or swatch if the yarn has strong or contrasting colors. The Craft Yarn Council’s crochet instructor guidance suggests wetting a small sample and blotting it to look for dye transfer before washing the whole item.
Set up the drying area before the piece gets wet. Protect the surface beneath a towel or mat, leave room around each edge, and keep the project away from pets and foot traffic. A large garment is easier to move while dry than when it is heavy with water.
How to wet block crochet
Wet blocking treats the whole piece with water. Use it when the yarn care instructions allow washing and the work needs a more complete reset, such as a lace shawl or a stack of motifs that must match.
Fill a clean basin with water at the temperature specified by the yarn label. Place the crochet in gently and let it become evenly wet. If you add a wash product, use one suited to the fiber and follow its directions; plain water is enough for a clean piece that only needs shaping.
Lift the fabric with both hands so its weight is supported. Press out excess water without twisting, wringing, or pulling on a corner. The Craft Yarn Council advises supporting a wet piece because lifting it from an edge can stretch it out of shape.
Lay the piece on a dry towel, roll towel and crochet together, and press to absorb more water. Repeat with another towel if the fabric still drips. It should be damp enough to shape but not so wet that the blocking surface stays puddled.
Spread the piece flat. Ease the sides to the measured dimensions, then pin corners and key points first. Add pins along long edges only as needed to keep the outline even; pull gently so stitches retain their natural shape.
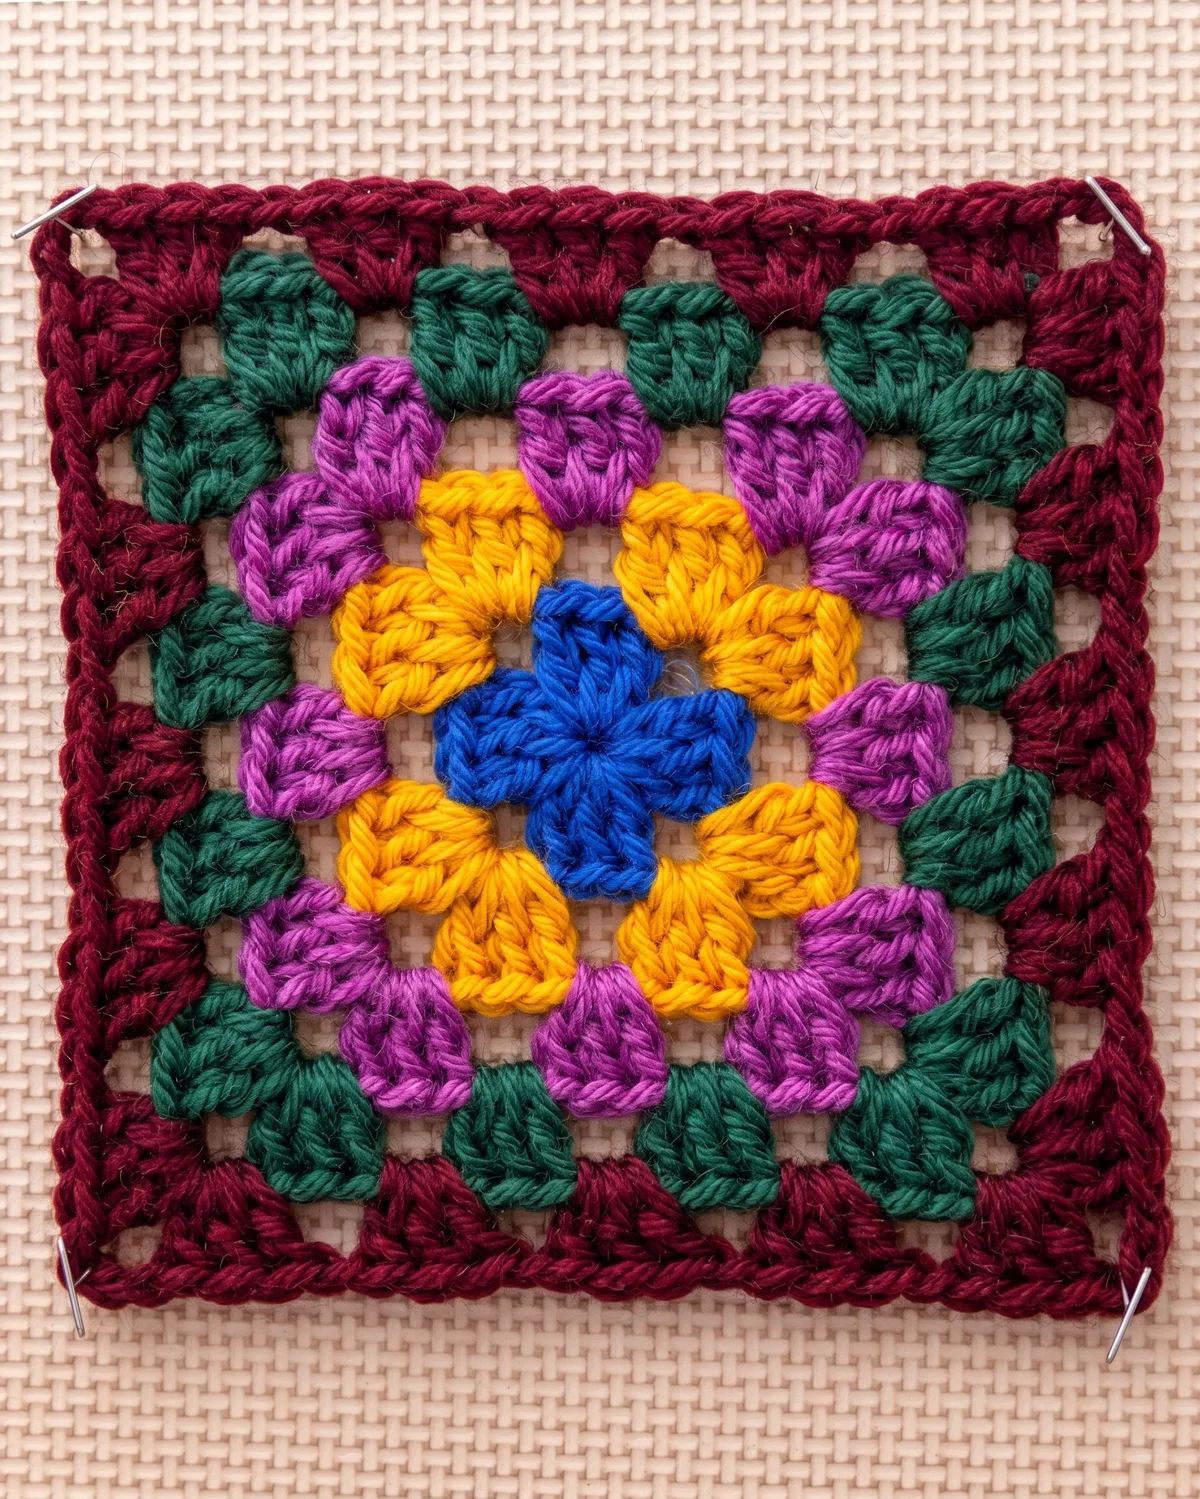
Leave everything in place until completely dry, then remove the pins and measure again. If a group of squares will be joined, compare them now, while a small adjustment is still easy. Do not sew damp motifs together.


How to spray block crochet
Spray blocking is a lighter water method for pieces that need only a modest shape correction. It is convenient for an individual granny square, a narrow edging, or an area you want to adjust without soaking the entire project.
Arrange the dry item on the protected surface and pin it to its intended measurements. Position the corners first, then smooth the edge between them. Keep the spray bottle far enough away to make a fine, even mist rather than isolated wet spots.
Mist both the center and the edges until the yarn is evenly damp, following the care label. You do not need to saturate it. If the fabric beads water or hardly changes shape, a label-approved wet block may be more effective.
Let the piece dry fully before removing the pins. Check a corner and the center, since the surface can feel dry while the thicker stitches still hold moisture. A fan moving air across the room can help drying without putting the work beside a heat source.
For several matching motifs, use the same measurement and pin layout each time. A paper square beneath a clear, water-safe blocking surface can serve as a repeatable guide, or you can mark the target dimensions on the mat.
How to steam block crochet safely
Steam can relax suitable fibers quickly, but it has the greatest potential to change a delicate or heat-sensitive yarn. Read the label and test a swatch before steaming the actual project. If the label says not to iron or use heat, choose another method.
Pin the dry piece to the desired dimensions on a heat-safe surface. Set up the steamer or steam iron according to its manual and choose a setting appropriate for the fiber. Keep hands and pins clear of the steam path.

Hold the appliance above the fabric without pressing the hot soleplate onto the stitches. Move across the area briefly and evenly, letting steam reach the yarn without drenching it. Stop if a test area becomes shiny, flattened, or limp.
Allow the fabric to cool and dry while pinned. Heat and moisture can leave a shape change that only becomes obvious after the yarn settles, so wait before deciding whether a second pass is needed.
Steam is not the right shortcut for unknown acrylic. Lion Brand’s general blocking guidance warns against steaming acrylic, and the Craft Yarn Council notes that heat can flatten acrylic fibers. When sources or patterns give different advice, the exact yarn’s care label and a test swatch take priority.


Make the shape even without overstretching
Measure across the middle as well as along the edge. If a square is 6 inches at the corners but only 5½ inches in the center, the pins are pulling the corners too far. Ease the fabric inward until the outline is straight without distortion.
Pin lace points individually when the pattern calls for them, but let solid stitches remain rounded and textured. Too much tension can make a dense stitch pattern look thin. Blocking is most convincing when the piece still looks like itself.
For a large blanket, you can work in sections if the full project will not fit on the mat. Keep the same target width from section to section and overlap the boundary slightly so you do not create a visible change in shape.
If an edge will not lie flat after gentle blocking, check the construction. An extra increase, a short border, or uneven gauge may be the real cause. Reworking a row or adjusting the border often produces a better result than pulling harder.
Blocking crochet: common questions
Will blocking fix a project that is too small?
It may recover a little room if the fabric has natural give, but it cannot reliably turn the wrong size into the right one. Compare the project’s measurements with the pattern and check gauge before forcing a garment panel to a number it cannot comfortably hold.
Does blocking last after washing?
Expect to reshape the item after later washes if crisp points or exact dimensions matter. The lasting effect varies with fiber, stitch pattern, and care routine. Lay the piece flat to dry according to its label and ease it back into shape.
Can I block without pins or a mat?
Yes. A clean towel on a protected flat surface is enough for a piece that only needs to dry in shape. Pins and a firm mat become more useful when you need straight edges, precise corners, or many motifs that must match.
Should I block before joining granny squares?
Usually, yes: matching flat squares are easier to align and seam. Finish the ends, block each square to the same measured size, and wait until every piece is dry before joining. Check your pattern for a different sequence if it uses a special join.
Ready to block your crochet?
Start with one swatch and the gentlest method your yarn label permits. Once you know how that yarn responds, you can block the finished crochet to a measured shape, let it dry fully, and assemble or wear it with confidence.
What’s Next?
Pin this post: Save this tutorial to your Pinterest boards so that you can come back to it later.
Leave a comment: We love to hear your feedback. Tell me in the comments below!
Share on Instagram or Facebook: When you make this project, share it on social media and tag me @iheartdiybystacy. We love to see what you make!
Have questions? Join the Facebook Group!
We hope this article was useful for you! If you have any additional questions, feel free to join my Facebook Group. We created this group for you to share pictures, ask questions, and help each other out.
I hope this article was useful for you! If you have any additional questions, feel free to join my Facebook Group.
Join the group to share pictures, ask questions, and help each other out.
Have a question? Use the form above to submit your question or comment.
I love hearing from you and seeing what you made!