


A crochet popcorn stitch gathers several finished stitches into one raised bump. It gives a plain surface a clear point of texture and is easy to recognize once you know why the working loop comes off the hook.
This tutorial shows a classic five-double-crochet popcorn in US terms. It also explains how to aim the bump toward the side of the fabric you want to display and how to practice it without losing your stitch count.
How a popcorn is formed
Make five complete double crochets in one stitch, then join the first and last stitches of that group at the top. Unlike a bobble, the double crochets are fully worked before they are gathered.
The finished group occupies one stitch position in the row. Its rounded shape stands proud of the surrounding fabric, while its reverse looks much flatter.

You may see pc or pop in a pattern. Read that pattern's stitch definition before starting: the number and height of stitches in a popcorn can vary, and some designers add a chain to secure it.



Make a five-double-crochet popcorn
First, work five double crochets into the same designated stitch. Fan the completed stitches apart briefly so you can identify the top of the first one.
Enlarge the loop on the fifth double crochet slightly, then remove the hook without pulling on the yarn tail. Holding the open loop with a finger helps prevent it from slipping back through the fabric.
Insert the hook through both top loops of the first double crochet, from front to back when you want the bump on the face toward you. Catch the dropped working loop with the hook.
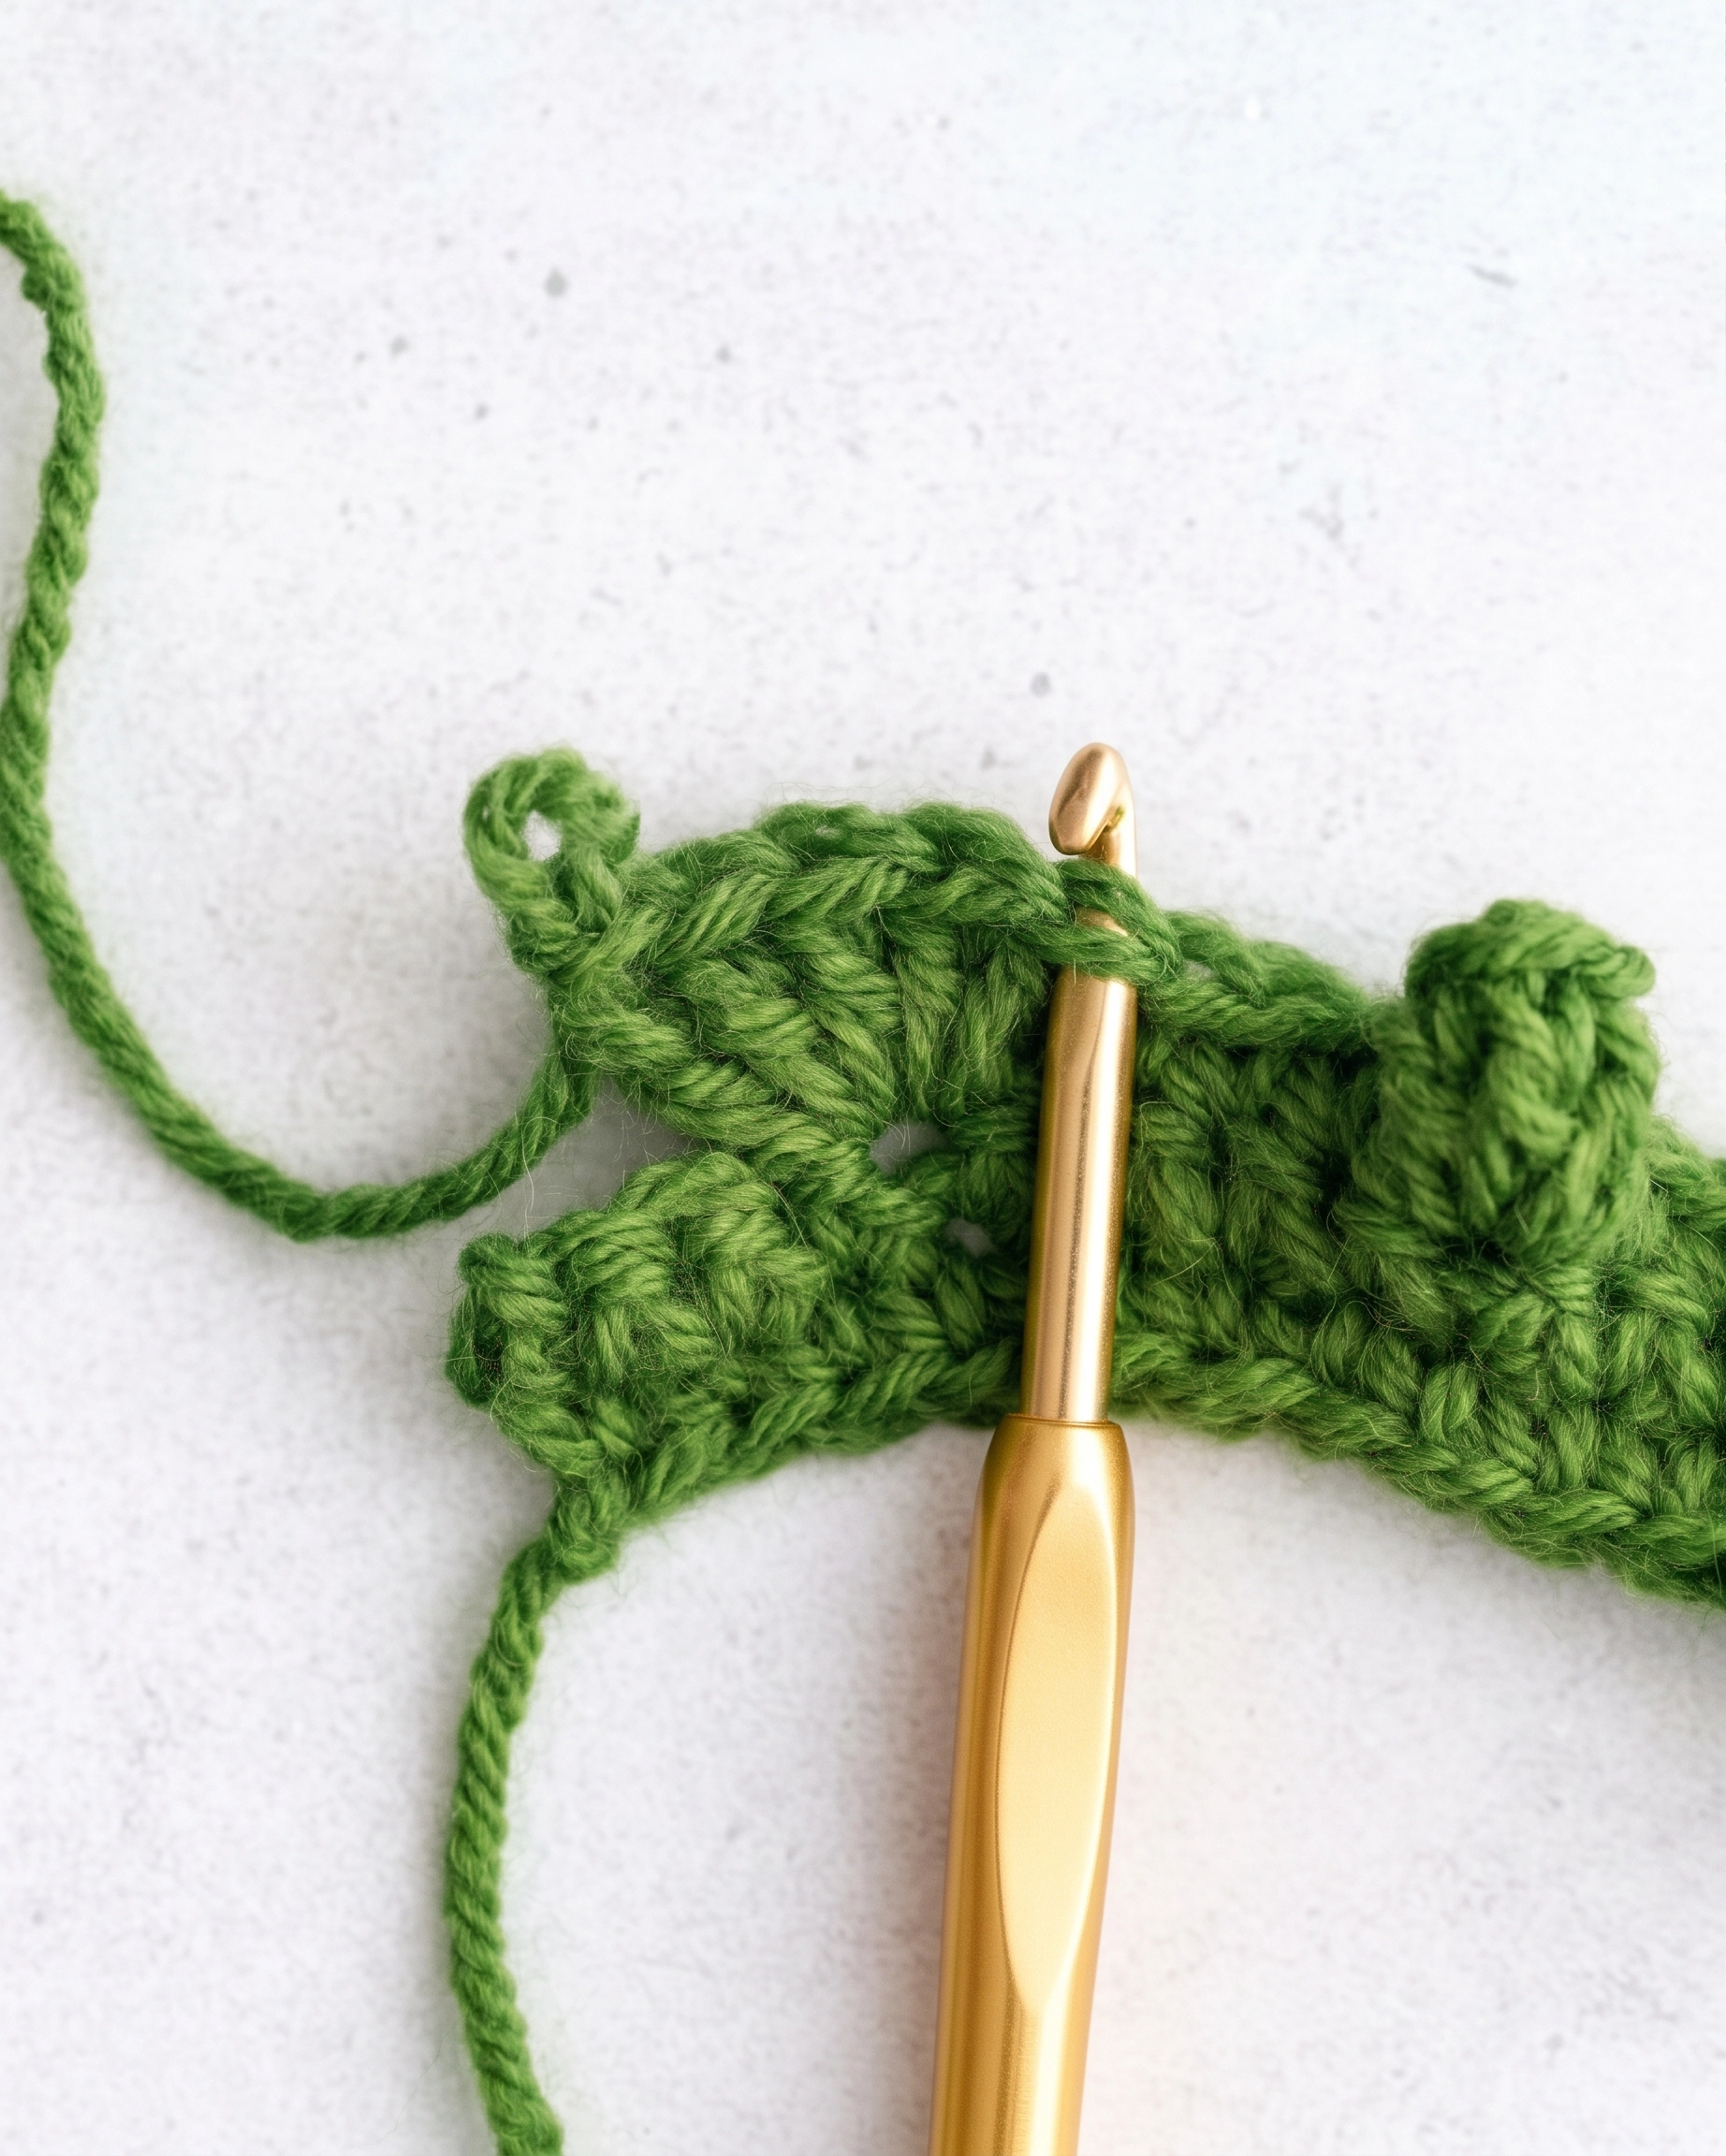
Pull that working loop through the top of the first double crochet. The two ends of the fan meet and the middle projects outward as a popcorn. Snug the loop without crushing the bump.

If your pattern says to chain one after closing the popcorn, make that chain; otherwise continue with the next instructed stitch. Do not add a chain automatically, since it can change spacing and row counts.
Put the bump on the intended side
For a popcorn that projects toward you, enter the first double crochet from the front of the work. To push the bump away from you, enter from the back before drawing the dropped loop through.
This distinction matters when you turn a flat project. If all the bumps must appear on the public face, check the row you are working and use the hook direction specified by the pattern.


A small practice swatch
Use a smooth, light yarn and a matching crochet hook. Chain 13 and make one single crochet in the second chain from the hook and in every chain across; you now have 12 stitches. Turn, chain one, and single crochet across another row.
On the next row, chain one and work two single crochets. Make one five-dc popcorn in the next stitch, then work three single crochets; repeat that popcorn-and-three-sc sequence once, and single crochet across the remaining stitches. Count the stitch positions rather than the five double crochets inside each popcorn.
Turn and make a row of single crochet, placing one stitch in the top of each popcorn as you reach it. If the bump is hard to find, feel for the joined top where you drew the working loop through the first double crochet.


Popcorn, bobble, and common fixes
A crochet bobble closes partially worked stitches together while the loops remain on the hook. A popcorn closes a group of finished stitches after the hook has been removed from its working loop.
If your popcorn collapses, check that all five double crochets went into the same base stitch and that you picked up the last loop through the first stitch. If it points to the wrong side, change the direction you insert the hook into the first double crochet.
Popcorns use more yarn and add more bulk than a plain stitch in the same position, so swatch before using them across a whole blanket or garment. They work especially well as scattered accents, borders, or small dimensional details.
What’s Next?
Pin this post: Save this tutorial to your Pinterest boards so that you can come back to it later.
Leave a comment: We love to hear your feedback. Tell me in the comments below!
Share on Instagram or Facebook: When you make this project, share it on social media and tag me @iheartdiybystacy. We love to see what you make!
Have questions? Join the Facebook Group!
We hope this article was useful for you! If you have any additional questions, feel free to join my Facebook Group. We created this group for you to share pictures, ask questions, and help each other out.
I hope this article was useful for you! If you have any additional questions, feel free to join my Facebook Group.
Join the group to share pictures, ask questions, and help each other out.

Have a question? Use the form above to submit your question or comment.
I love hearing from you and seeing what you made!