


Herringbone single crochet makes tidy diagonal ridges by linking each new stitch to the one beside it. If you can chain and make an ordinary single crochet, the main new skill is finding the vertical strand on the stitch you just completed.
This guide uses US crochet terms and includes a small flat swatch. The front and back rows use different hook paths, so keep track of which side faces you while you practice.
What makes this stitch look like herringbone?
An ordinary single crochet enters only the next stitch in the row. Herringbone single crochet also passes through the left vertical strand of the previous stitch, drawing the two stitches into a connected diagonal line.
When those linked stitches are repeated across a row, their slanted legs form the texture. The reverse row places the hook from the opposite direction so the diagonals stay visible on the same face of the fabric.
The two faces have different appearances. Pick the side with the chevrons as the right side of a scarf, panel, or blanket, and mark it if you tend to lose your place after turning.
Before you begin
Choose a smooth, light-colored yarn for your first try and use a hook that lets you insert it through two locations without forcing it. A hook a little larger than the yarn label suggests may make the linked stitches easier to work; your own tension matters more than a fixed size.
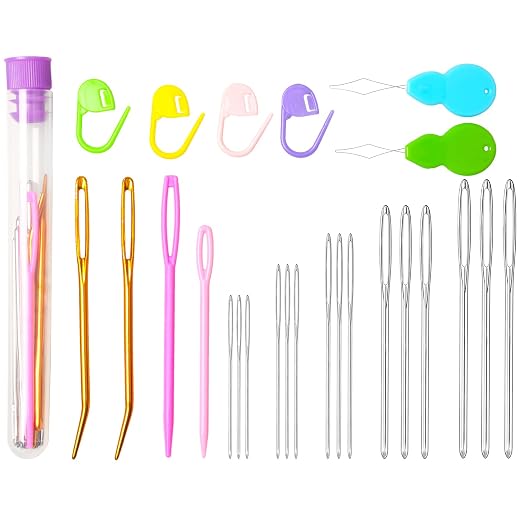
You will also need scissors and a yarn needle to finish the swatch. A removable marker on the right side can help you identify the row that uses the regular herringbone single crochet.
In the instructions below, ch means chain, sc means single crochet, hsc means herringbone single crochet, rhsc means reverse herringbone single crochet, and st means stitch. The beginning chain one is a turning chain and does not count as a stitch.
Work a standard single crochet at the start of each row. That first stitch gives you a vertical strand to pick up when you make the next, linked stitch.



How to make herringbone single crochet on the right side
Make one single crochet in the first stitch. Look at the new stitch from the front: the strand running vertically down its left edge is the strand you need next, rather than one of the two loops across its top.
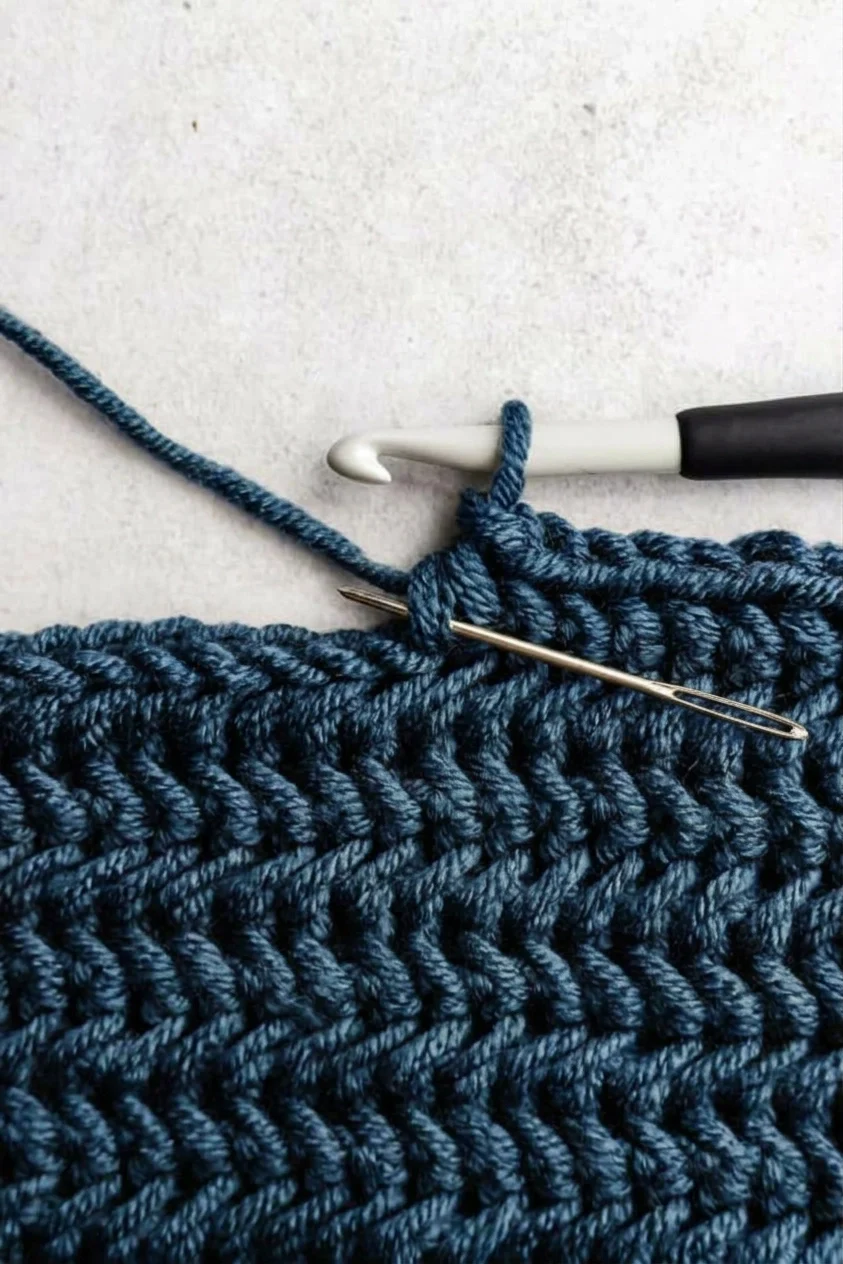
Pass your hook through that left vertical strand, then continue through the next unworked stitch in the row. Keep both insertion points on the hook before wrapping the yarn.
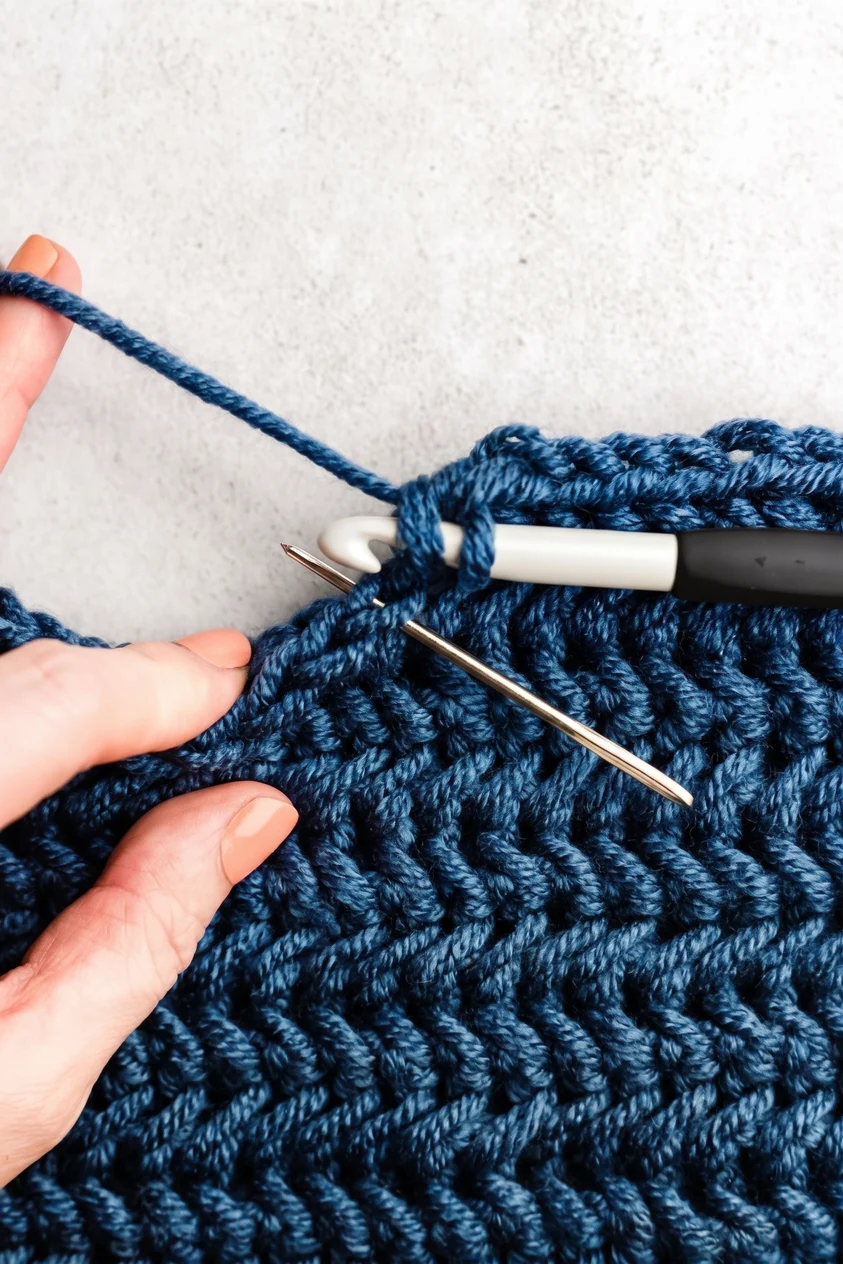
Yarn over and draw a loop back through the next stitch and the vertical strand. You should now have three loops on your hook, including the loop you began with.

Yarn over once more and pull through all three loops. That completes one hsc and leaves a new left vertical strand ready for the following stitch.
Repeat the same movement across the row: previous stitch's vertical strand, next row stitch, pull up a loop, then close three loops together. The link belongs to the stitch you just made; reaching farther back changes the texture.
How to work the reverse row
After turning, chain one and make a normal single crochet in the first stitch. On this wrong-side row you still pick up the vertical strand on the stitch just worked, but you approach the next row stitch from back to front.

Insert the hook through that previous stitch's left vertical strand. Then pass it through the next unworked stitch from the back of the fabric toward you, keeping the working yarn positioned so it can be drawn through smoothly.
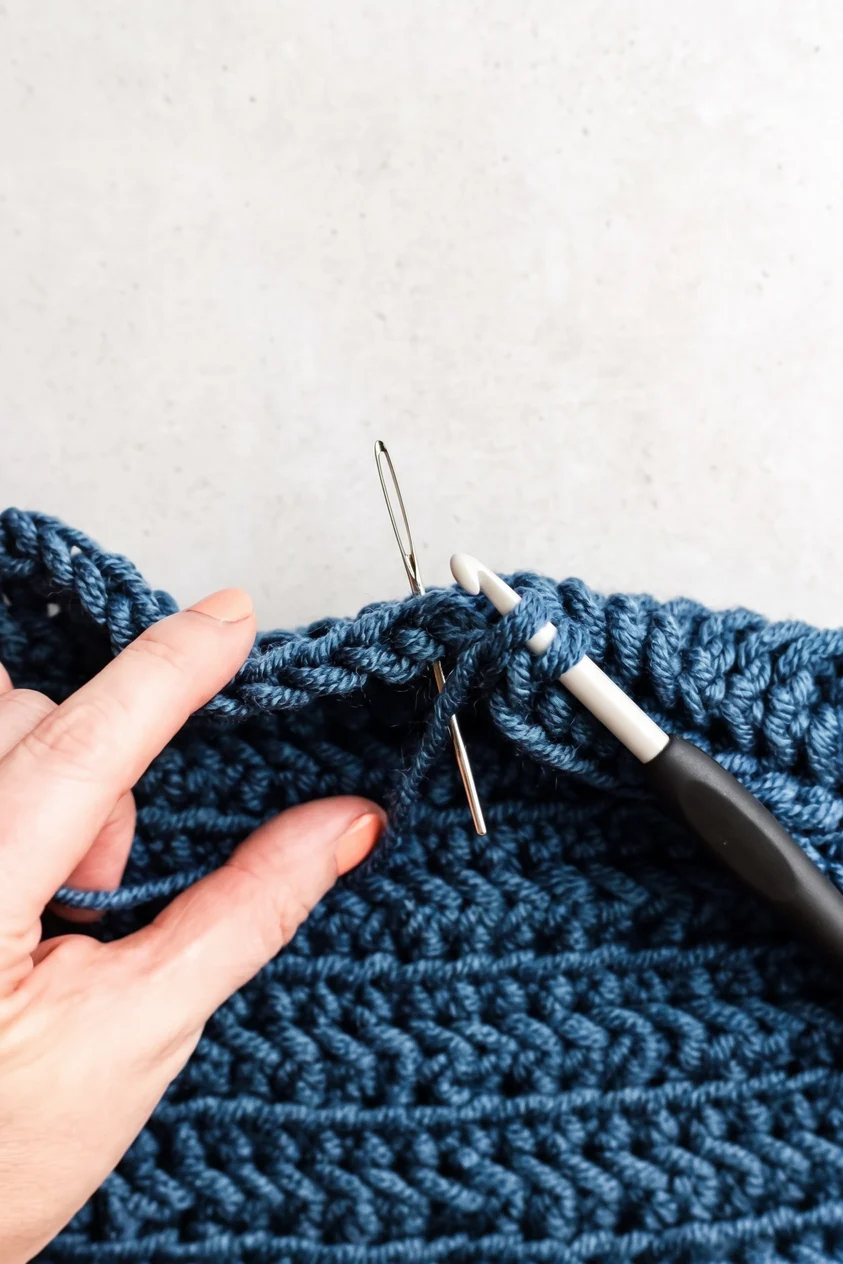
Yarn over and pull up a loop through both entry points; three loops sit on the hook. Yarn over and draw through all three to finish one rhsc.

Continue to the last stitch. If the back-to-front insertion feels awkward, tilt the edge toward yourself to see the stitch top, then return the fabric to its normal position before pulling up the loop.
Reverse herringbone single crochet is a specific return-row movement here. It is different from the edging stitch often called reverse single crochet or crab stitch, which travels along an edge in the opposite direction.


Make a 12-stitch practice swatch
Foundation and row 1 (right side): Chain 13. Make a single crochet in the second chain from the hook, then work hsc into each remaining chain. You should have 12 stitches; turn.
Row 2 (wrong side): Chain one, single crochet in the first stitch, and work rhsc into each of the next 11 stitches. Count 12 stitches again, then turn.
Row 3 (right side): Chain one, single crochet in the first stitch, then hsc in the remaining 11 stitches. Turn and repeat rows 2 and 3 until the sample is large enough to see the diagonal texture.
If the edge grows wider, check whether you have worked into the turning chain. If it narrows, look for the last stitch at the edge before turning; a marker in that stitch can make it easier to find.


Adjusting the fabric
Linked stitches can feel firm because each one passes through part of its neighbor. Make a small sample before starting a wearable item, then compare it with the drape you want. Change hook size if the fabric is stiff or the openings are too loose.
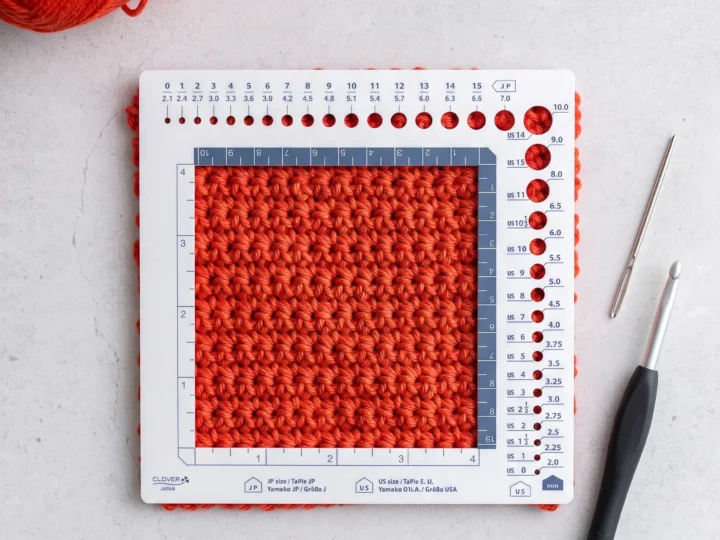
The stitch makes a textured panel for a cowl, bag, pillow, or blanket. For anything that needs a precise finished size, measure your own sample using the method in our crochet gauge guide.

Common questions
Is herringbone single crochet the same on both sides? No. The linked diagonals are strongest on the right side, while the reverse has its own flatter texture. Decide which face you want to show before making a larger project.
Can I work it in the round? For this two-row version, turn after joining each round so you can alternate the front and reverse movements. Count the joining slip stitch and turning chain separately from the pattern stitches; follow your pattern's seam instructions if it specifies another construction.
How do I keep my stitch count? Each hsc or rhsc uses one new stitch from the row below and finishes as one stitch on the current row. The vertical strand is an additional entry point, not another stitch to count.
What if the three loops are hard to pull through? Loosen the loop you draw up, keep the hook close to the work, and test a larger hook on a fresh swatch. Forcing a tight hook through the strand can split the yarn.
Start with the small swatch and count every row before choosing a larger project. If you need a refresher on the foundation skills, see our beginner crochet guide.
What’s Next?
Pin this post: Save this tutorial to your Pinterest boards so that you can come back to it later.
Leave a comment: We love to hear your feedback. Tell me in the comments below!
Share on Instagram or Facebook: When you make this project, share it on social media and tag me @iheartdiybystacy. We love to see what you make!
Have questions? Join the Facebook Group!
We hope this article was useful for you! If you have any additional questions, feel free to join my Facebook Group. We created this group for you to share pictures, ask questions, and help each other out.
I hope this article was useful for you! If you have any additional questions, feel free to join my Facebook Group.
Join the group to share pictures, ask questions, and help each other out.

Have a question? Use the form above to submit your question or comment.
I love hearing from you and seeing what you made!