



Cricut Infusible Ink puts color into a compatible surface using heat. Unlike iron-on vinyl, it does not leave a raised film on top of the fabric, which makes it appealing for a smooth shirt or coated hard-surface project.
This tutorial follows a transfer-sheet design on a compatible light-colored shirt. It explains what to buy, why the blank matters, how to cut and weed the sheet, and how to keep the image from shifting during pressing.
The exact pressing settings depend on your transfer, blank, and press. Keep the Cricut Heat Guide open as you work, and use its current instructions for time, temperature, pressure, and cooling.
What Infusible Ink Is
Infusible Ink is Cricut’s heat-transfer ink system. You can cut a design from a printed transfer sheet or draw one with Infusible Ink pens and markers, then transfer the color to a compatible blank with a heat press.
The ink bonds with a polymer-based surface rather than sitting on it as a separate layer. On fabric, the finish feels like the fabric itself; you should not be able to catch a vinyl edge with a fingernail.
Transfer sheets can look muted before pressing. Judge the finished color only after a proper transfer on a compatible blank, since heat changes how the design appears.
This is a different workflow from ordinary iron-on. If you need to decorate a dark cotton shirt or want a glittery raised finish, iron-on is usually the more suitable category of material.
Sheets, Pens, and Compatible Blanks
Transfer sheets work well for a first machine-cut design. The Cricut cuts the printed sheet, and you remove the unwanted pieces while the intended design stays on its clear liner.
Pens and markers make a drawn design on laser copy paper, either by hand or with a compatible Cricut machine. Their drawing and transfer steps differ from sheet cutting, so follow the pen-specific instructions for that project.
Compatibility is the decision to make before buying a shirt. Cricut says Infusible Ink requires an engineered polymer or polyester-based blank; it will not produce the intended bond on an ordinary 100% cotton tee.
Official Cricut blanks are designed for the system. A third-party product clearly sold for sublimation may also work, but its coating or fabric composition is a variable to test before you prepare a batch.
White or very light blanks show the ink most clearly because the transferred color does not cover a dark base like paint. A darker blank can change or hide a pale design.
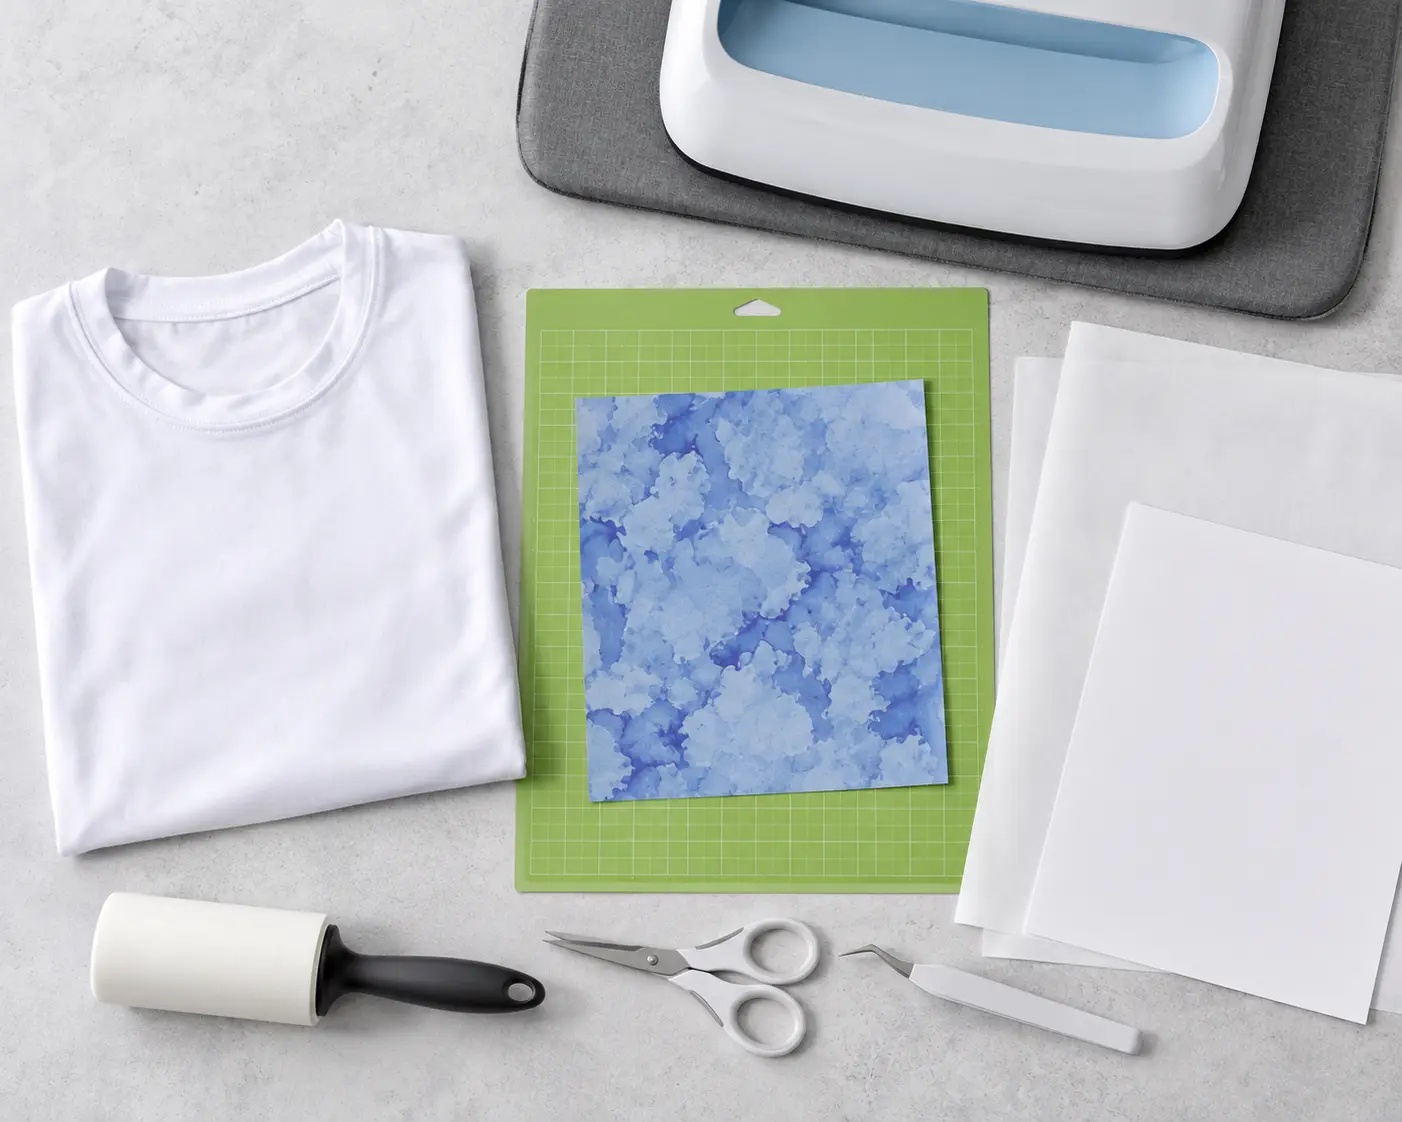
Supplies for a Transfer-Sheet Shirt
Gather a compatible shirt, an Infusible Ink transfer sheet, a Cricut machine with the appropriate blade, Design Space, and a StandardGrip mat. You will also need a compatible heat press and pressing mat.
Set out white cardstock, butcher paper, a fresh lint roller, scissors, and tweezers. Cardstock protects the back of the shirt and mat from stray ink; butcher paper protects the heat plate and the surrounding blank.
Keep your hands dry and free of lotion while handling the sheet. Oils and moisture can affect a transfer, so it is worth cleaning the work surface before opening the package.
A household iron is a poor substitute for this shirt workflow because its heat and contact area are hard to control evenly. Use a press supported by Cricut’s instructions for the blank and transfer you chose.




Cut and Weed the Design
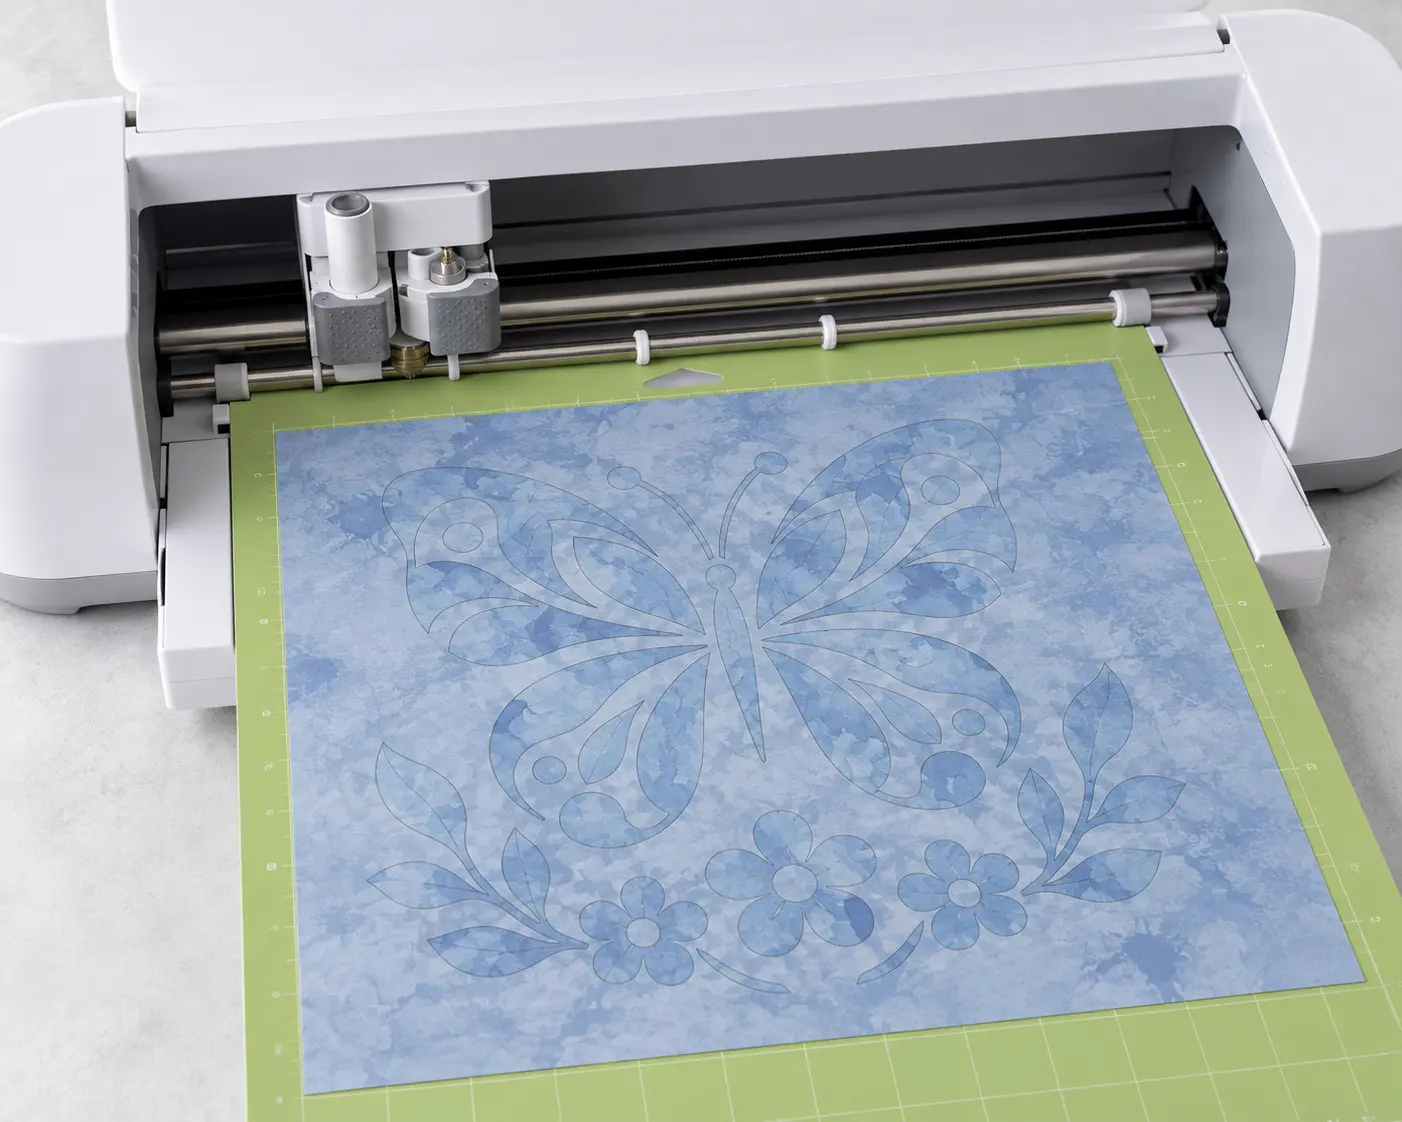
Make a simple design in Design Space that fits within the flat area of the shirt and beneath your heat plate. A single uninterrupted press is easier to control than a design that needs several overlapping press positions.

On the Prepare screen, turn on Mirror for the transfer-sheet mat. Like iron-on, the sheet is cut liner side down, so text and directional images need to be reversed before cutting.
Choose Infusible Ink Transfer Sheet as the material, following any machine-specific prompts. Do not use an iron-on vinyl setting simply because the two projects share a mirror step.
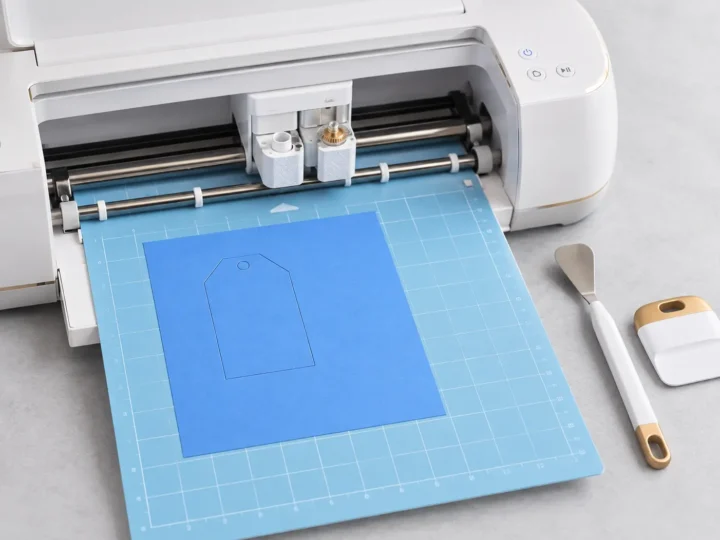
Place the sheet on the StandardGrip mat with the clear liner down and the colored side up. Smooth it gently and load the mat, then start the cut when Design Space is ready.
After cutting, unload the mat and peel the mat away from the transfer rather than pulling the transfer sharply upward. Trim the design area, leaving enough clear liner to keep the pieces aligned.
Gently roll the sheet to make its cut lines visible. Remove the unwanted sections with clean fingers or careful tweezers, leaving the design on the liner; avoid scratching the printed surface with a sharp hook.
Check small gaps and enclosed shapes before moving on. A missed piece will transfer as part of the image, and fixing it after heat is not practical.
Prepare the Shirt and Pressing Surface
Put the pressing mat on a firm, level surface and place the shirt on top. Slip a sheet of white cardstock inside the shirt so ink cannot reach its back or the mat.
Lint-roll the entire design area with a fresh adhesive layer. Tiny fibers can leave pale spots in the transferred image, even when the shirt looks clean at first glance.

Cover the shirt with butcher paper larger than the heat plate and preheat the design area according to the Heat Guide. This removes moisture and wrinkles before the ink touches the fabric.
Remove the paper and let the shirt cool completely. Setting the transfer on a warm blank can start the ink moving before you have the design placed accurately.
Avoid seams, collars, thick hems, and buttons when choosing the design position. A raised area can hold part of the heat plate away from the image and leave uneven color.
Transfer Without Ghosting
Place the weeded design ink side down on the cooled shirt, with the clear liner facing up. Check that the design reads the right way and lies flat before adding the protective layer.
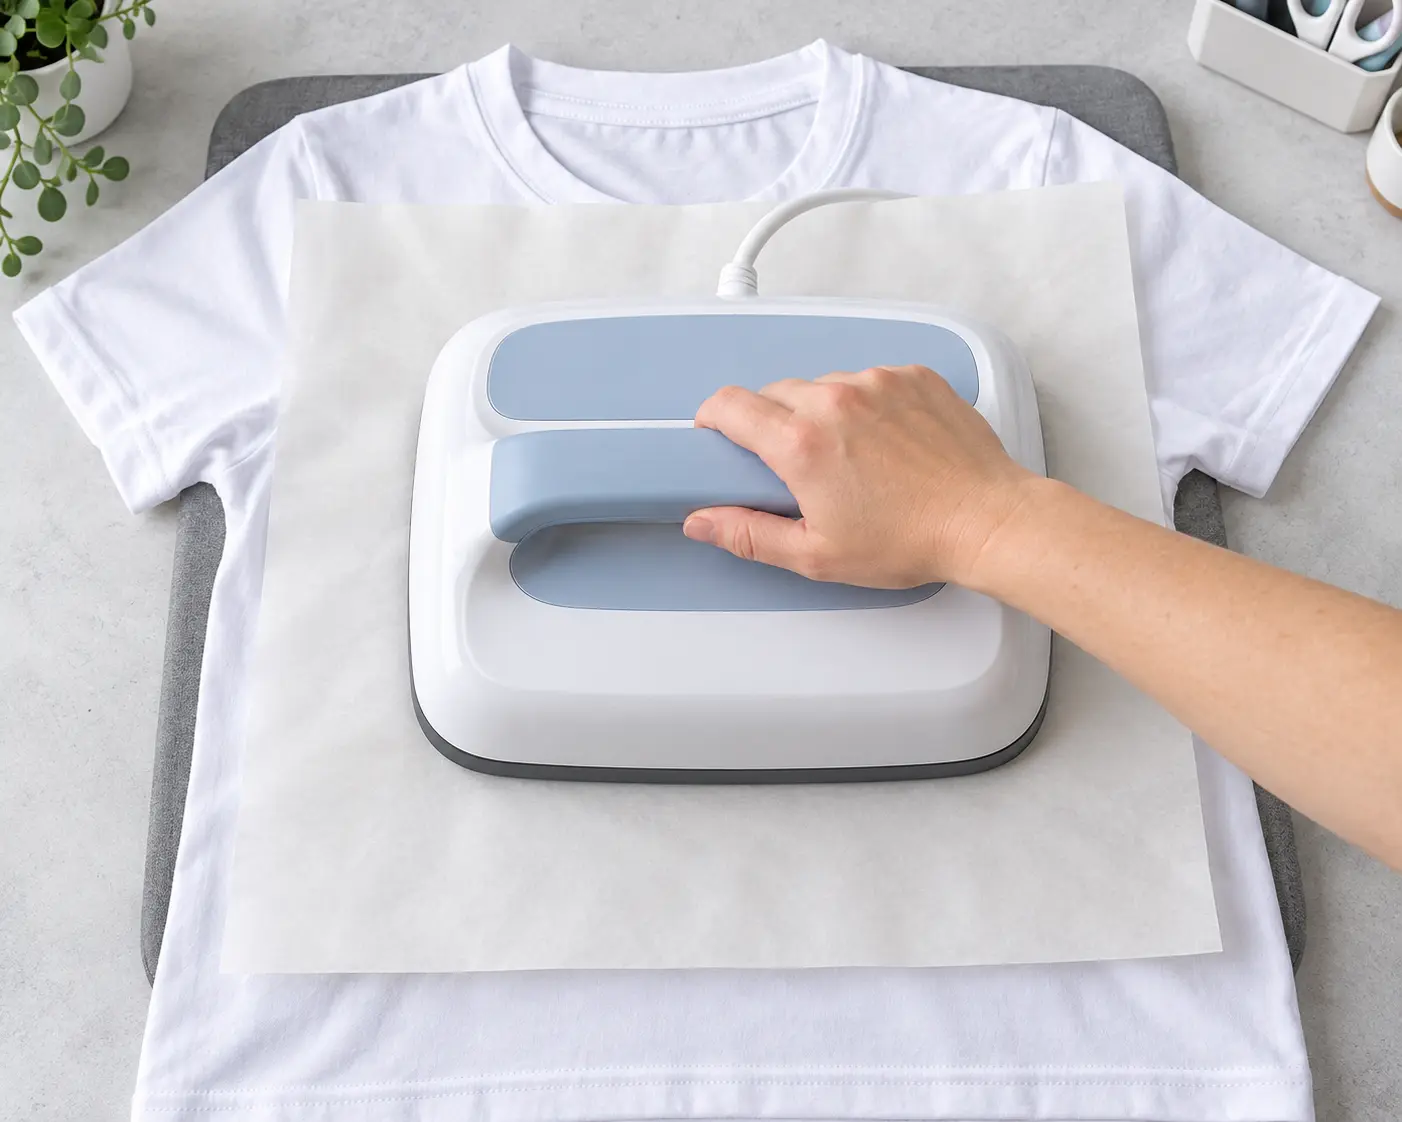
Cover it with clean butcher paper larger than the press plate. The paper should shield the shirt around the design, not expose fabric to the bare hot plate.
Apply heat once, using the pressure and timing shown for your exact materials in the Heat Guide. Keep the press still unless its specific instructions say otherwise; sliding can shift the sheet and create a shadowed duplicate edge.
When the time ends, lift the press straight up. Let the stack cool without sliding the butcher paper or liner across the shirt.
Remove the butcher paper slowly, then lift the liner. If a small transfer-sheet piece remains on the shirt, use tweezers after cooling rather than dragging it over the fresh design.



Common Problems and Their Causes
A blurry or doubled edge usually means the transfer moved during pressing or removal. For the next attempt, check that the liner lies flat and use heat-resistant tape only where Cricut’s instructions recommend it.
Patchy color can come from lint, wrinkles, seams, or incomplete heat-plate contact. Prepare a fresh compatible blank and remove each obstruction instead of adding extra heat to the damaged transfer.
A shiny rectangle around the image can be a press mark on heat-sensitive fabric. Butcher paper larger than the plate and the correct settings help prevent direct plate contact with the shirt.
If the colors remain faint, confirm that the blank is compatible and light enough for the design. Cricut cautions that heating longer than recommended does not make a transfer darker and may harm the pigments.
If ink appears where it should not, check the cardstock barrier, butcher paper, and cleanliness of the mat or press. Replace protective paper after a transfer that has picked up ink.


Care and Your Next Project
For a fabric project, Cricut recommends washing inside out in cold water with mild detergent, then tumble drying low or line drying. Avoid bleach, fabric softener, and dryer sheets.
Keep the design and blank details from a successful transfer. The same process can produce different results on another shirt brand, coating, or press, so a short project note saves guesswork.
After your first sheet project, try a pen design or a coated coaster with the directions for that blank. If you want to use ordinary cotton or a textured metallic finish, our Cricut iron-on vinyl guide explains the separate heat-transfer route.
What’s Next?
Pin this post: Save this tutorial to your Pinterest boards so that you can come back to it later.
Leave a comment: We love to hear your feedback. Tell me in the comments below!
Share on Instagram or Facebook: When you make this project, share it on social media and tag me @iheartdiybystacy. We love to see what you make!
Have questions? Join the Facebook Group!
We hope this article was useful for you! If you have any additional questions, feel free to join my Facebook Group. We created this group for you to share pictures, ask questions, and help each other out.
I hope this article was useful for you! If you have any additional questions, feel free to join my Facebook Group.
Join the group to share pictures, ask questions, and help each other out.

Have a question? Use the form above to submit your question or comment.
I love hearing from you and seeing what you made!