



Cricut iron-on vinyl lets you add a cut design to fabric with heat. The part that trips up most beginners is its two-sided construction: the clear carrier holds the design while the adhesive on the vinyl bonds to the fabric.
This guide walks through a simple one-color tote bag, from setting up the cut in Design Space to removing the carrier after pressing. You can use the same sequence for a T-shirt, pillow cover, or another compatible base, with the heat settings adjusted for that material.
Keep the package for your particular iron-on nearby. Cricut's Heat Guide gives the time, temperature, pressure, and peel instructions for the combination of material, blank, and press you actually have.
What Is Cricut Iron-On Vinyl?
Iron-on vinyl is a thin heat-transfer material, often called HTV. A cutting machine cuts the colored material, while a clear, heat-resistant liner remains intact so you can carry the weeded design to your project.
The vinyl side usually looks duller, and the liner looks shiny. Before cutting a new roll, lift a tiny corner to identify both layers; some specialty finishes are less obvious by sight alone.
The cutting machine works from the back of the design. That is why you mirror text and directional artwork, place the shiny liner against the mat, and put the weeded design on the fabric with the liner facing up.
Adhesive vinyl is a different material. It sticks with pressure and usually moves to a surface with transfer tape; iron-on needs the correct heat and pressure to bond. Do not swap the two when following a cut or application setting.
The carrier also explains why a cut can look wrong before you press it. Once you turn the weeded design over onto the fabric, the mirrored letters face the right way beneath that clear sheet.
Which Iron-On Should You Choose?
For a first fabric project, a single color of Cricut Everyday Iron-On is a straightforward choice. It avoids alignment between layers and gives you a clear view of how the liner behaves during weeding and pressing.
Glitter, foil, holographic, and flexible varieties have their own cut and press directions. If your project needs more than one layer, check Cricut's layering guidance before stacking materials; some decorative finishes belong only on top.
Smart Iron-On can feed without a mat on compatible Cricut machines. Regular iron-on normally uses a cutting mat. The package and Design Space material choice should agree with the exact product in your hands.
If a project calls for stretch, shine, or texture, buy the finish for that purpose rather than assuming Everyday Iron-On will behave the same. Check whether the blank can tolerate the heat required by the specialty product.
Choose a smooth fabric area larger than your design. Thick seams, pockets, zippers, and textured patches can prevent the heat plate from contacting every part of the vinyl evenly.
Supplies for a One-Color Tote Bag
You will need a Cricut machine, its compatible fine-point cutting blade, iron-on vinyl, a cotton canvas tote, and access to Design Space. Check your machine's setup instructions before choosing a mat or loading Smart Material.
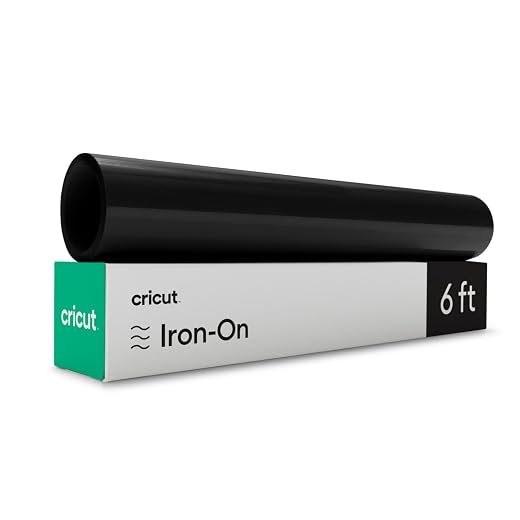
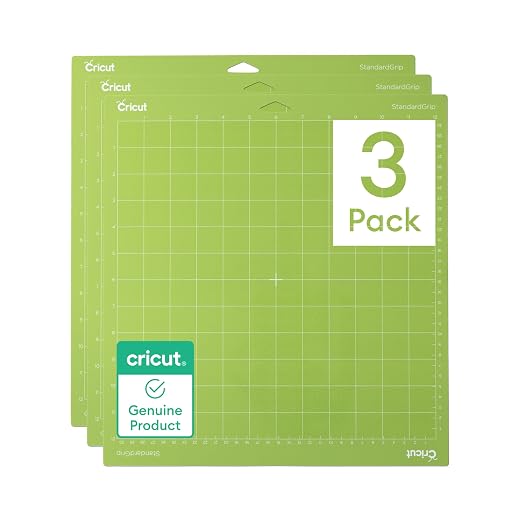
For a standard sheet of Everyday Iron-On, use a StandardGrip mat, a weeding tool, and a firm pressing surface with a suitable pressing mat. A scraper or brayer helps secure the sheet to the cutting mat.
For heat, use a compatible Cricut press, another heat press with the manufacturer's directions, or a household iron where your material instructions permit it. A heat press gives a set temperature; an iron takes more care to keep pressure even.
A ruler or folded center crease can help position the design. Have clean scissors ready to trim unused vinyl before you cut, and keep a protective sheet available if you need to press a lifted edge later.
Set aside a small offcut of both vinyl and fabric for testing. A test is especially useful with canvas bags that have a coating or a finish you cannot identify from the label.
If the tote is new, wash it first without fabric softener when its care label allows. Prewashing can remove finishes and shrinkage that would otherwise work against a clean transfer.
Do not use an embellished or heat-sensitive blank for your first attempt. A plain cotton tote gives you a broad, flat area where you can see the effect of your cut and pressing choices.



Design and Cut the Iron-On
Start with a bold word or simple shape that fits within the tote's flat front panel. Very thin lines and tiny detached pieces are harder to weed, position, and press successfully on a first attempt.
Open Design Space and make a new project. Add your text or image, then size it to the usable area of the tote rather than to the full bag width, which may include bulky side seams.
Look at the design at its final size. If a script font has fragile joins or the design contains isolated dots, simplify it now; a clean cut will be easier to transfer than a crowded one.
Leave a little breathing room around the artwork. If the cut runs right to the edge of the vinyl sheet, weeding becomes awkward and a loose corner can lift while the mat feeds.
Choose Make and review the Prepare screen. Turn Mirror on for the iron-on mat, especially if the design includes letters or an arrow. Cricut confirms that liner-down heat-transfer materials must be mirrored before cutting.
Do not rely on the design looking readable on the mat preview. It should appear reversed at this stage so it reads correctly once flipped onto the tote.
In the Make screen, choose the exact iron-on material from the list. Everyday, glitter, and other finishes can have different cut settings; a generic vinyl selection may cut the carrier or fail to cut the design cleanly.
If this is a new roll or an unfamiliar machine, make a small test cut in a spare corner. Weed the test shape and check whether the colored layer separates without tearing while the clear liner stays uncut.
If that test fails, adjust only the cut setting or pressure, then try again on another small area. Changing several things at once makes it harder to learn which setting solved the problem.
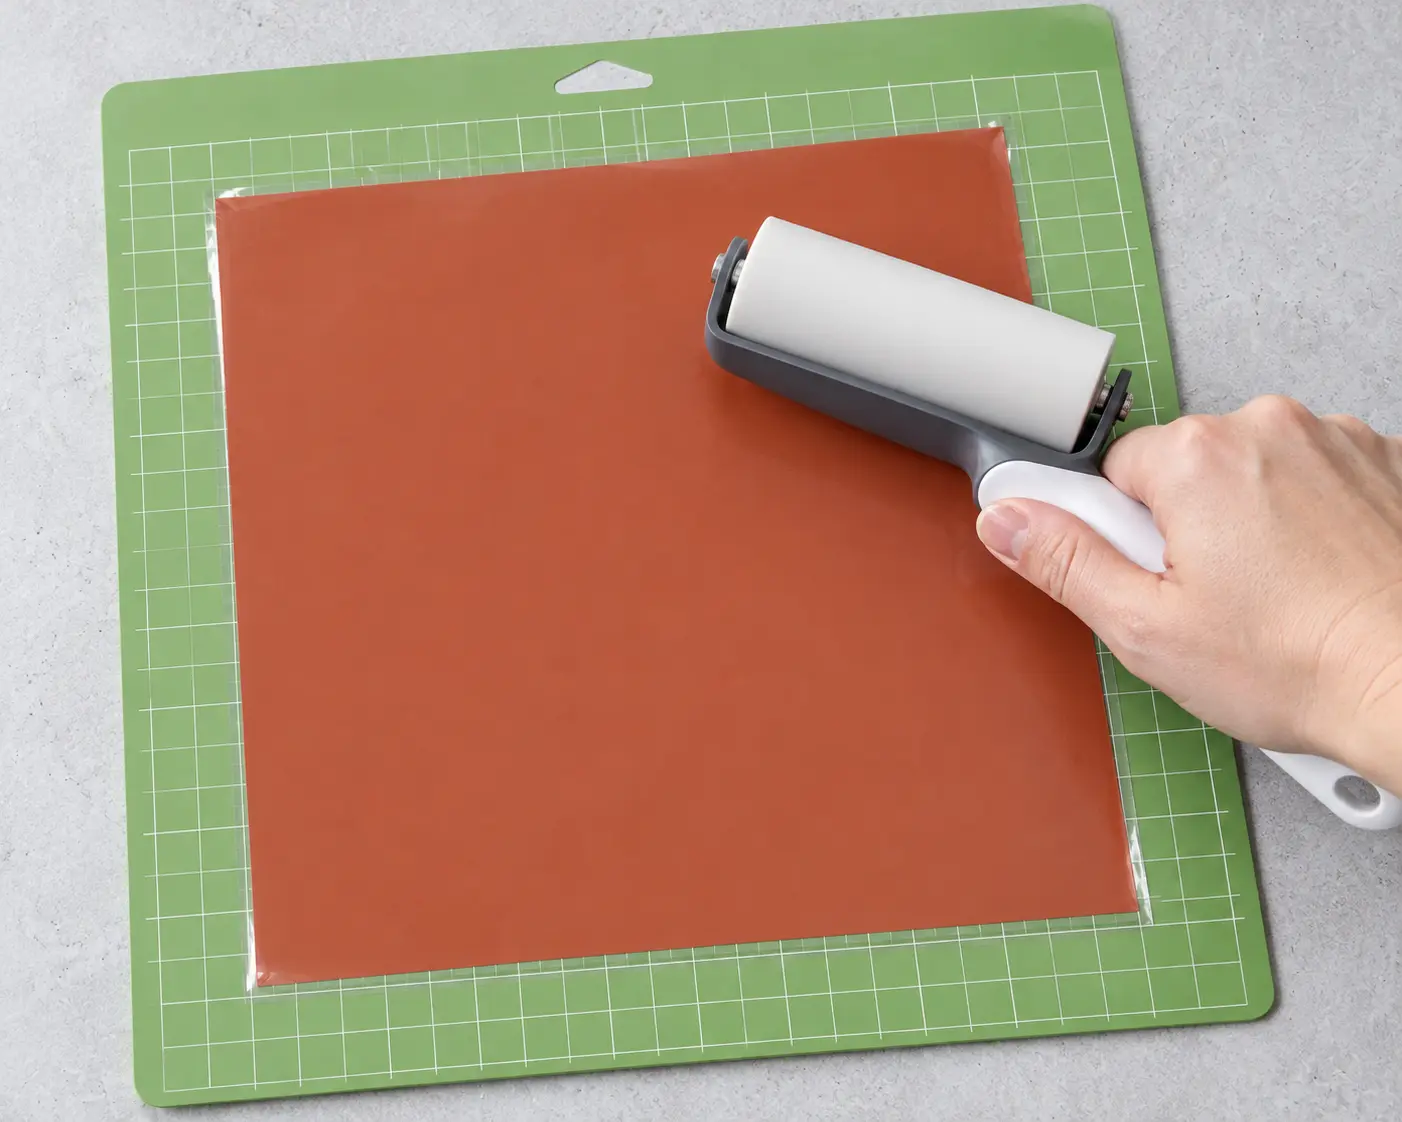
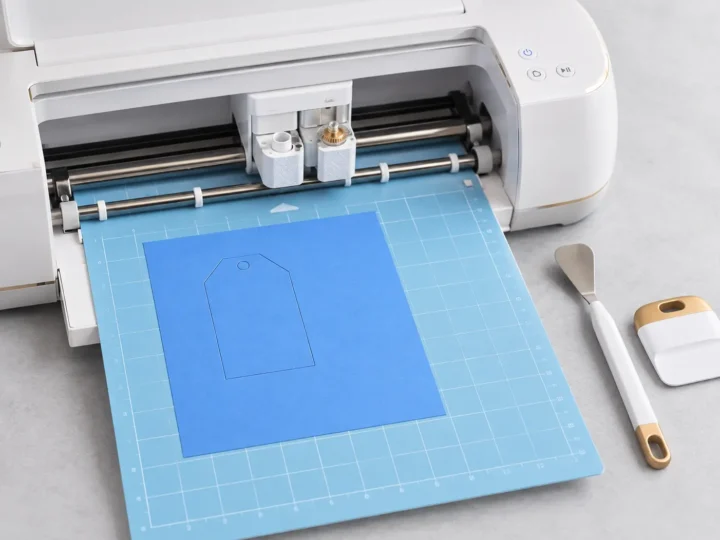
Trim a piece of iron-on a little larger than the design. Put it on the mat shiny liner side down, with the colored cutting side facing the blade, and smooth it onto the adhesive surface.
Use the brayer or scraper gently across the sheet to remove bubbles. Keep the mat's leading edge clear so the machine can grip and feed it correctly.
Load the mat and start the cut when Design Space prompts you. Stay nearby in case the sheet lifts or catches; stop the cut if the material is no longer lying flat.

When the machine finishes, unload the mat. Turn the mat over and peel the mat away from the iron-on sheet, rather than pulling the sheet sharply upward; this helps keep the design from curling.
Weed Without Losing Small Details
Weeding means removing every piece that should not appear on the finished tote. Begin with the large outer background, then lift enclosed spaces such as the centers of letters.
Use the hook tip to catch a waste corner and pull slowly. If a letter comes up with the waste, lay it back on the liner and press it flat with a fingertip before continuing.
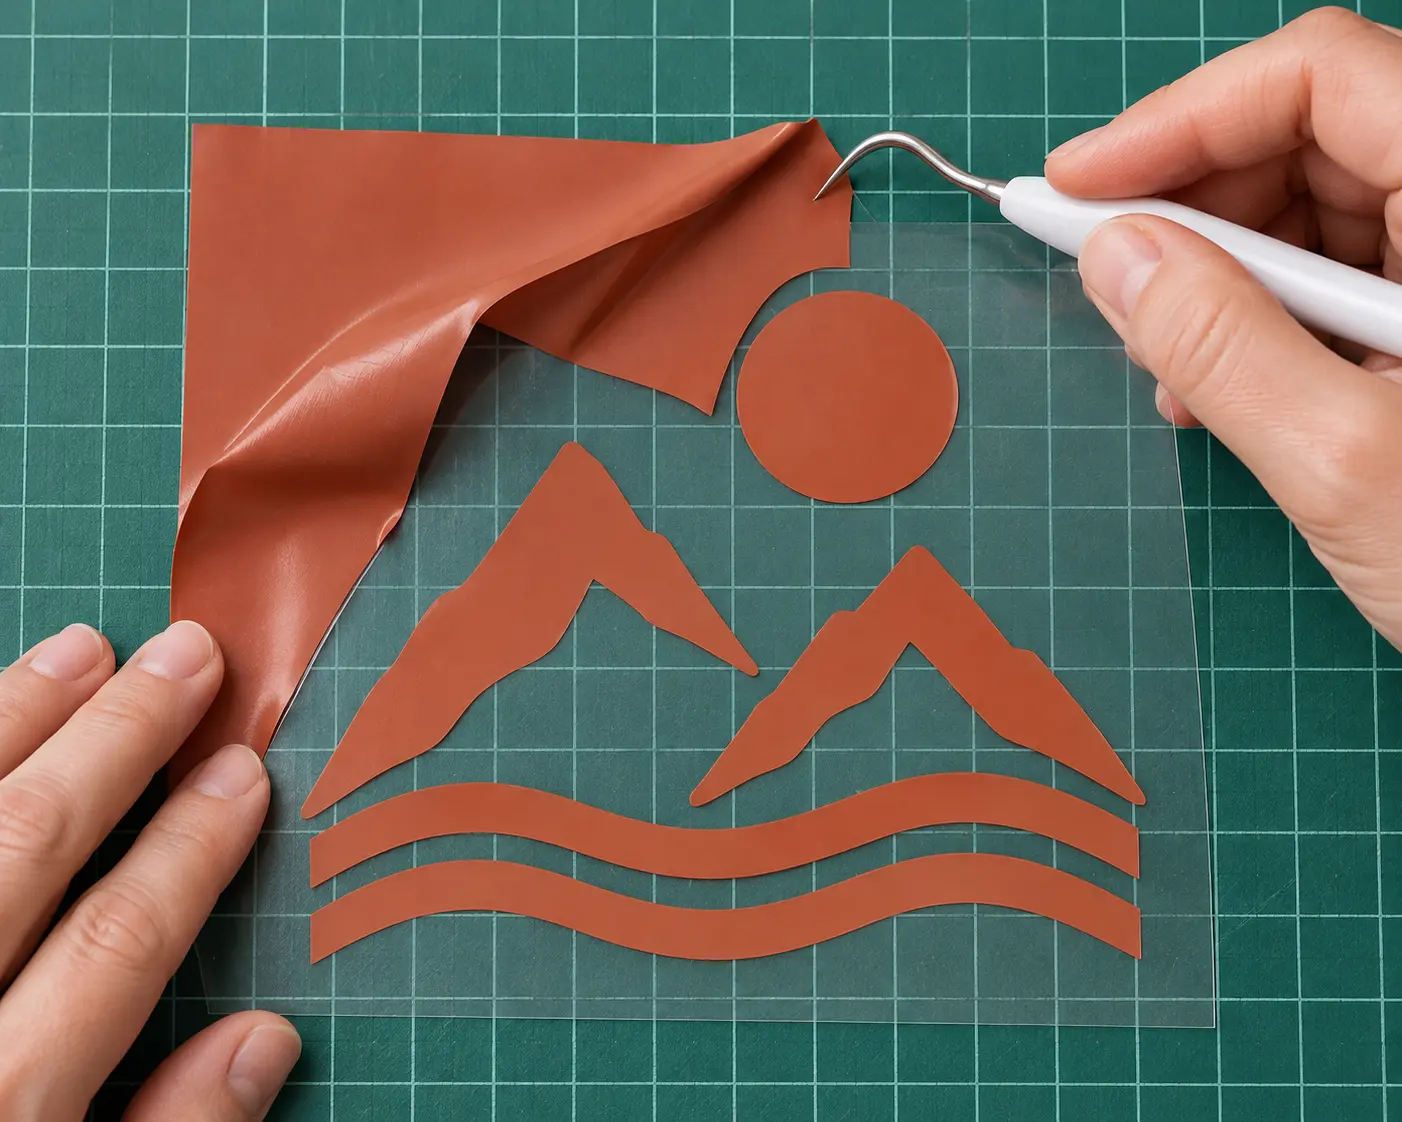
For a hard-to-see cut, bend the sheet slightly under a light or hold it near a bright window. Avoid gouging into the liner while you search for the edge.
Check each letter from the front of the clear liner. A missed center can turn an “a” or “e” into a solid shape once it is pressed, so pause before moving to the heat step.
Keep the finished design on its original clear liner. You do not need ordinary adhesive-vinyl transfer tape; the heat-resistant liner is already the carrier for placement and pressing.
Before taking it to the tote, hold the clear liner up and read the design from the front. This catches an unwanted vinyl island or missing letter center while you can still fix the cut.


Set Up the Pressing Area
Put a pressing mat on a firm, flat, heat-safe surface. A padded ironing board can flex under pressure and leave part of a design under-pressed.
Lay the tote flat and smooth the front panel. Position the bag so seams and handles sit away from the area that will be under the heat plate.
If the bag has a thick back seam or hardware beneath the front panel, place a suitable pressing insert inside it to raise the design area. The goal is full, even contact between the press and the vinyl.
Keep the work area clean and dry. Stray fibers can sit under a narrow letter, while moisture in the fabric can interfere with the first moments of heat transfer.
Use the Cricut Heat Guide to select your iron-on, cotton canvas, and press model. Follow that result for preheat, front press, back press, pressure, and liner removal rather than using a single temperature for every project.
Preheat the tote for the recommended time to remove moisture and wrinkles. Let the surface lie flat again before centering the design.
Apply the Design
Place the weeded iron-on on the tote with the shiny liner facing up. The adhesive side of the vinyl should touch the fabric, and the design should read correctly through the clear sheet.
Measure from the tote's sides or use a light center crease for alignment. Step back once before pressing; correcting a crooked design after heat has bonded it is difficult.

If the liner wants to move, use heat-resistant tape only where the product and press instructions allow it. Keep tape away from parts of the design that need direct heat and pressure.
Check the liner once more before lowering the press. It should cover every vinyl piece so the hot plate contacts the protective carrier, not an exposed corner of the design.
Lower the press straight onto the design and apply the time and pressure from the Heat Guide. Do not slide the press across the liner, because shifting the vinyl can blur edges or create wrinkles.

For a design wider than the heat plate, follow the press manufacturer's instructions for covering each area. Avoid giving an overlap strip extra heat without checking the material directions.
If the Heat Guide calls for pressing the reverse side, turn the tote over carefully and complete that step. A back press can help the adhesive reach the fabric fibers from the other side.
Lift the press vertically after each interval. Dragging it off the fabric may move the carrier while the adhesive is hot and softer than it will be after cooling.
Let the liner cool or remain warm according to the product's peel instruction. Everyday Iron-On calls for a cool peel; other iron-on types can differ, so read the package before lifting a corner.
Peel the clear sheet slowly at a low angle. If any vinyl lifts with it, lay the liner back down and repeat the applicable press step instead of tugging the piece free.

Once the liner is off, allow the tote to cool completely. Run a fingertip lightly over the edges; the design should lie flat without loose corners or bubbles.


The Three Checks That Prevent Most Mistakes
First, check orientation: mirror the design on the Prepare screen, cut with the shiny liner down, then press with that liner up. Writing those three cues on a scrap of paper can help until the sequence feels familiar.
Second, check the selected material. “Everyday Iron-On” and “Premium Vinyl” are not interchangeable settings, even if the sheets look similar on a shelf.
Third, check the heat instructions for your exact combination. The correct time depends on the iron-on, base material, and heat tool; copying a number from an unrelated project is less reliable than using the Heat Guide.
If you are making several totes, test one before cutting the entire batch. A test reveals whether the design is a comfortable size and whether the chosen blank presses evenly.
Caring for an Iron-On Project
Cricut recommends waiting at least 24 hours before washing Everyday Iron-On. That pause gives the freshly applied design time to settle before it faces water and agitation.
Wash and dry the tote inside out where the fabric care label permits it. Follow the gentler instruction when the tote's care label and the iron-on package differ, and avoid bleach.
Do not press a hot iron directly onto an exposed design later. If you need to flatten the tote, protect the vinyl and follow the material's care directions.
Inspect the design after the first wash. A corner that starts to rise is easier to address promptly than a section that has peeled back and collected lint.
Troubleshooting a Cut or Transfer
If the cutter does not separate the vinyl cleanly, confirm the correct material setting and blade, then run a small test cut. Excess pressure can slice the carrier; too little can make weeding tear the design.
If the carrier was cut through, recut with a suitable setting before pressing. A torn liner may not hold small elements in position when you lift the design from the mat.
If the design is backward on the tote, the mat was probably not mirrored. Recut it; pressing a reversed word will not fix its reading direction.
If only one edge refuses to stick, check whether a seam, fold, or uneven pressing surface blocked contact. Re-cover the design with its liner or a clean protective sheet and follow the material's reheating directions.
If multiple areas lift, check the base fabric, selected heat setting, pressure, and whether the design was preheated. These causes are more useful to investigate than repeatedly increasing the temperature.
If the vinyl wrinkles or looks scorched, stop applying heat. Review the chosen product and heat tool in the Heat Guide and test on a fresh scrap; extra pressing can make damage worse.
If edges begin to lift after washing, dry the item and protect the design before attempting a careful re-press. Do not put an exposed vinyl design directly against the heat plate.
If the tote fabric is coated or textured, verify that the material accepts heat transfer before trying again. A compatible, smooth blank is often the simplest fix for a first project.
Keep a note of the material, blank, cut choice, and Heat Guide settings that worked. That short record is more dependable for your next batch than trying to remember a temperature from a different project.
What to Make Next
Once a one-color design works, try a larger word, a simple shape, or a different compatible fabric. Change one variable at a time so you can tell whether a new material or a new layout caused a problem.
If you are still learning the machine, the first vinyl-label tutorial explains the Design Space-to-cut workflow without a heat press. For iron-on, keep the orientation sequence and Heat Guide open until they become routine.
What’s Next?
Pin this post: Save this tutorial to your Pinterest boards so that you can come back to it later.
Leave a comment: We love to hear your feedback. Tell me in the comments below!
Share on Instagram or Facebook: When you make this project, share it on social media and tag me @iheartdiybystacy. We love to see what you make!
Have questions? Join the Facebook Group!
We hope this article was useful for you! If you have any additional questions, feel free to join my Facebook Group. We created this group for you to share pictures, ask questions, and help each other out.
I hope this article was useful for you! If you have any additional questions, feel free to join my Facebook Group.
Join the group to share pictures, ask questions, and help each other out.

Have a question? Use the form above to submit your question or comment.
I love hearing from you and seeing what you made!