



SSK means “slip, slip, knit.” It turns two stitches into one and makes a decrease that leans left when viewed from the knit side. You will meet it in shaping instructions and in pairs with right-leaning decreases.
The movement has three parts: slip two stitches individually as if to knit, then knit those stitches together through their back loops. Once you can see the stitch mount change, the sequence is easier to remember.
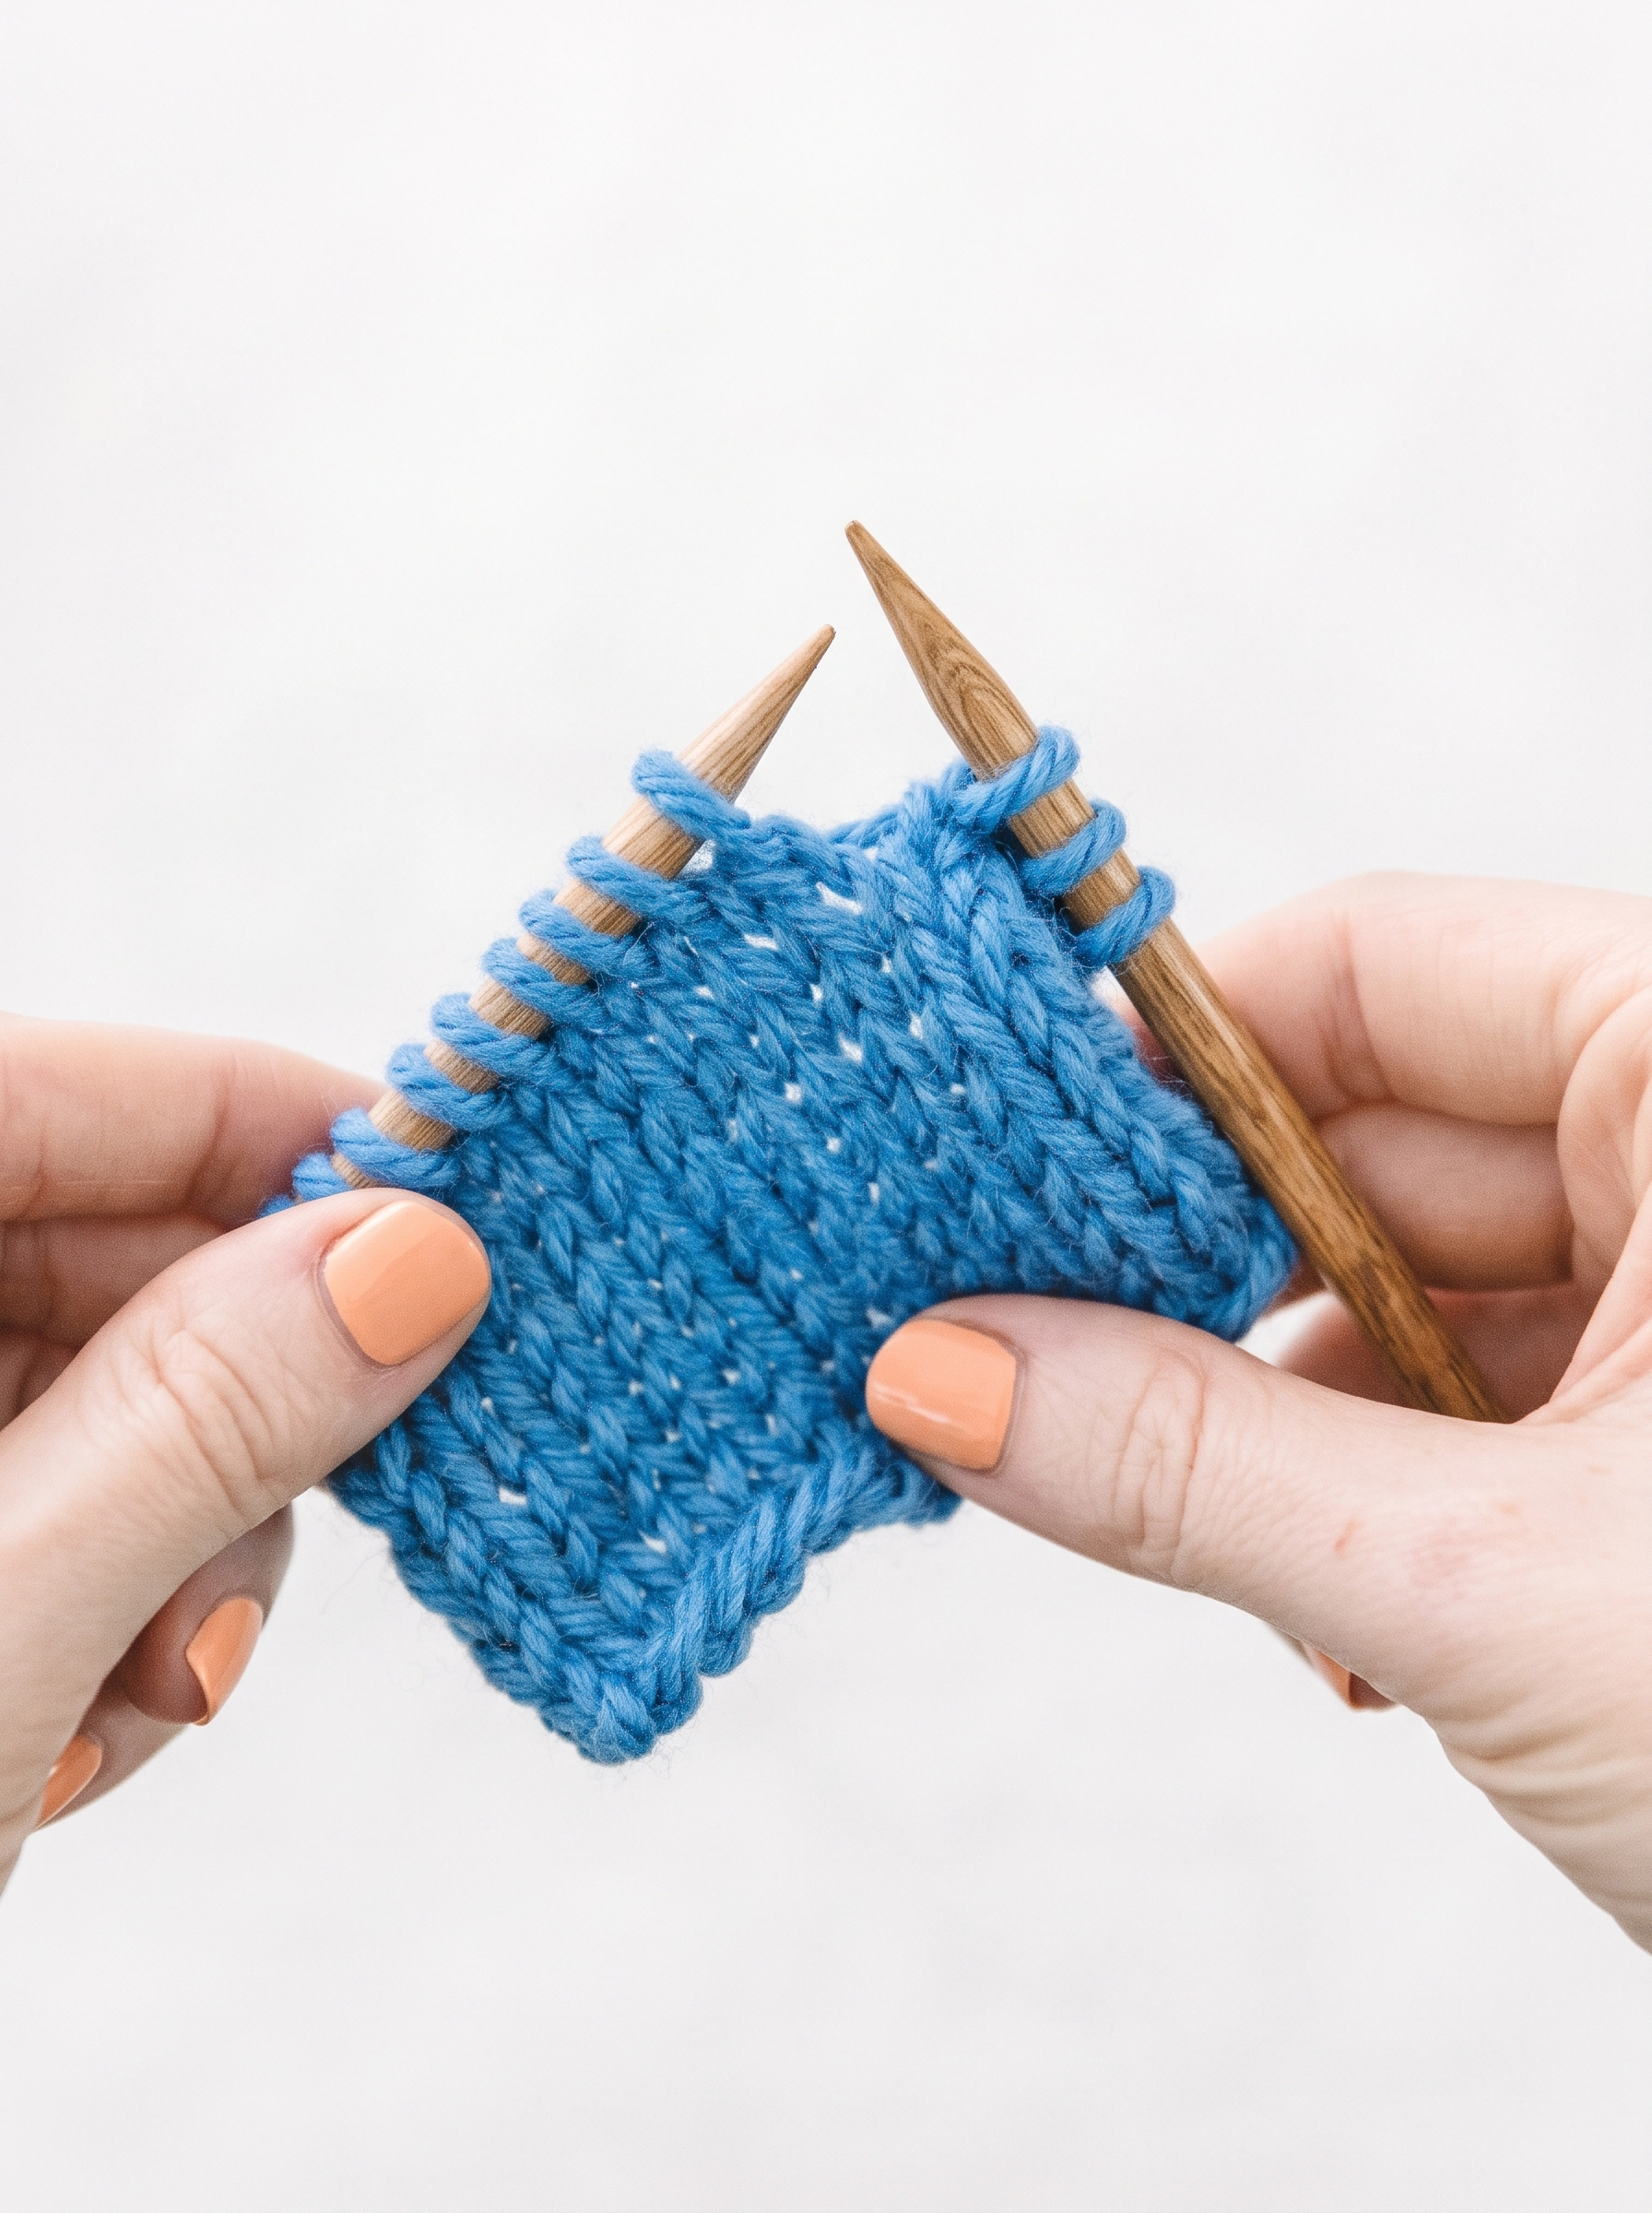
What SSK does to your knitting
Every SSK reduces the live stitch count by one. If a row starts with 20 stitches and contains one SSK with no other increases or decreases, it ends with 19.
The decrease's visible top stitch tilts toward the left. Designers may pair it with a k2tog, which tilts right, to form mirrored lines around a center panel or along shaping edges.
The letters in the abbreviation describe the movements rather than the direction of the lean. The Craft Yarn Council's knitting abbreviations identifies ssk as a single left-leaning decrease.
Know the two ways to slip a stitch
To slip knitwise, enter the next stitch as though you were about to knit it and transfer it to the right needle without wrapping yarn or forming a new stitch. This changes how that stitch sits on the needle.
To slip purlwise, enter as though you were going to purl before transferring. This generally preserves the stitch's original mount. Unless a pattern gives a modified SSK, the standard version slips both stitches knitwise.
Keep the working yarn behind the needles for a knit-row SSK. Moving it between the needles unintentionally may create a yarn over and alter the stitch count.




SSK step by step
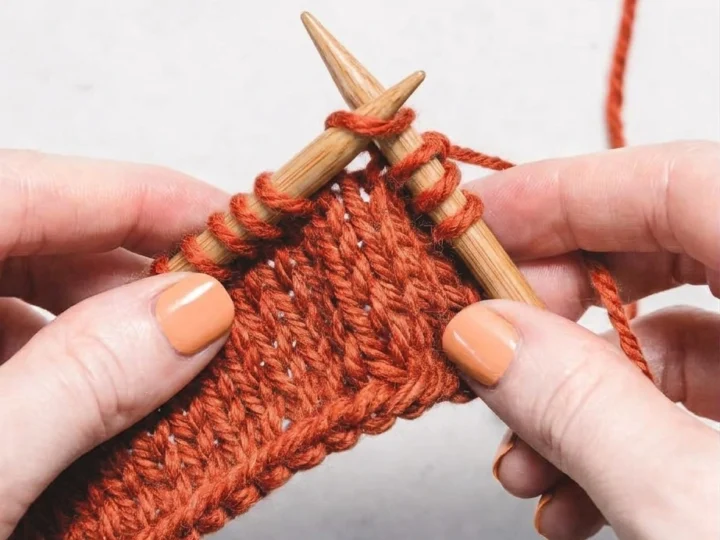
Bring the next two stitches close to the tip of the left needle. Slip the first one knitwise onto the right needle, leaving its yarn loop intact.
Slip the next stitch knitwise in the same way. You now have the two unworked stitches on the right needle; do not pull them long while moving them.
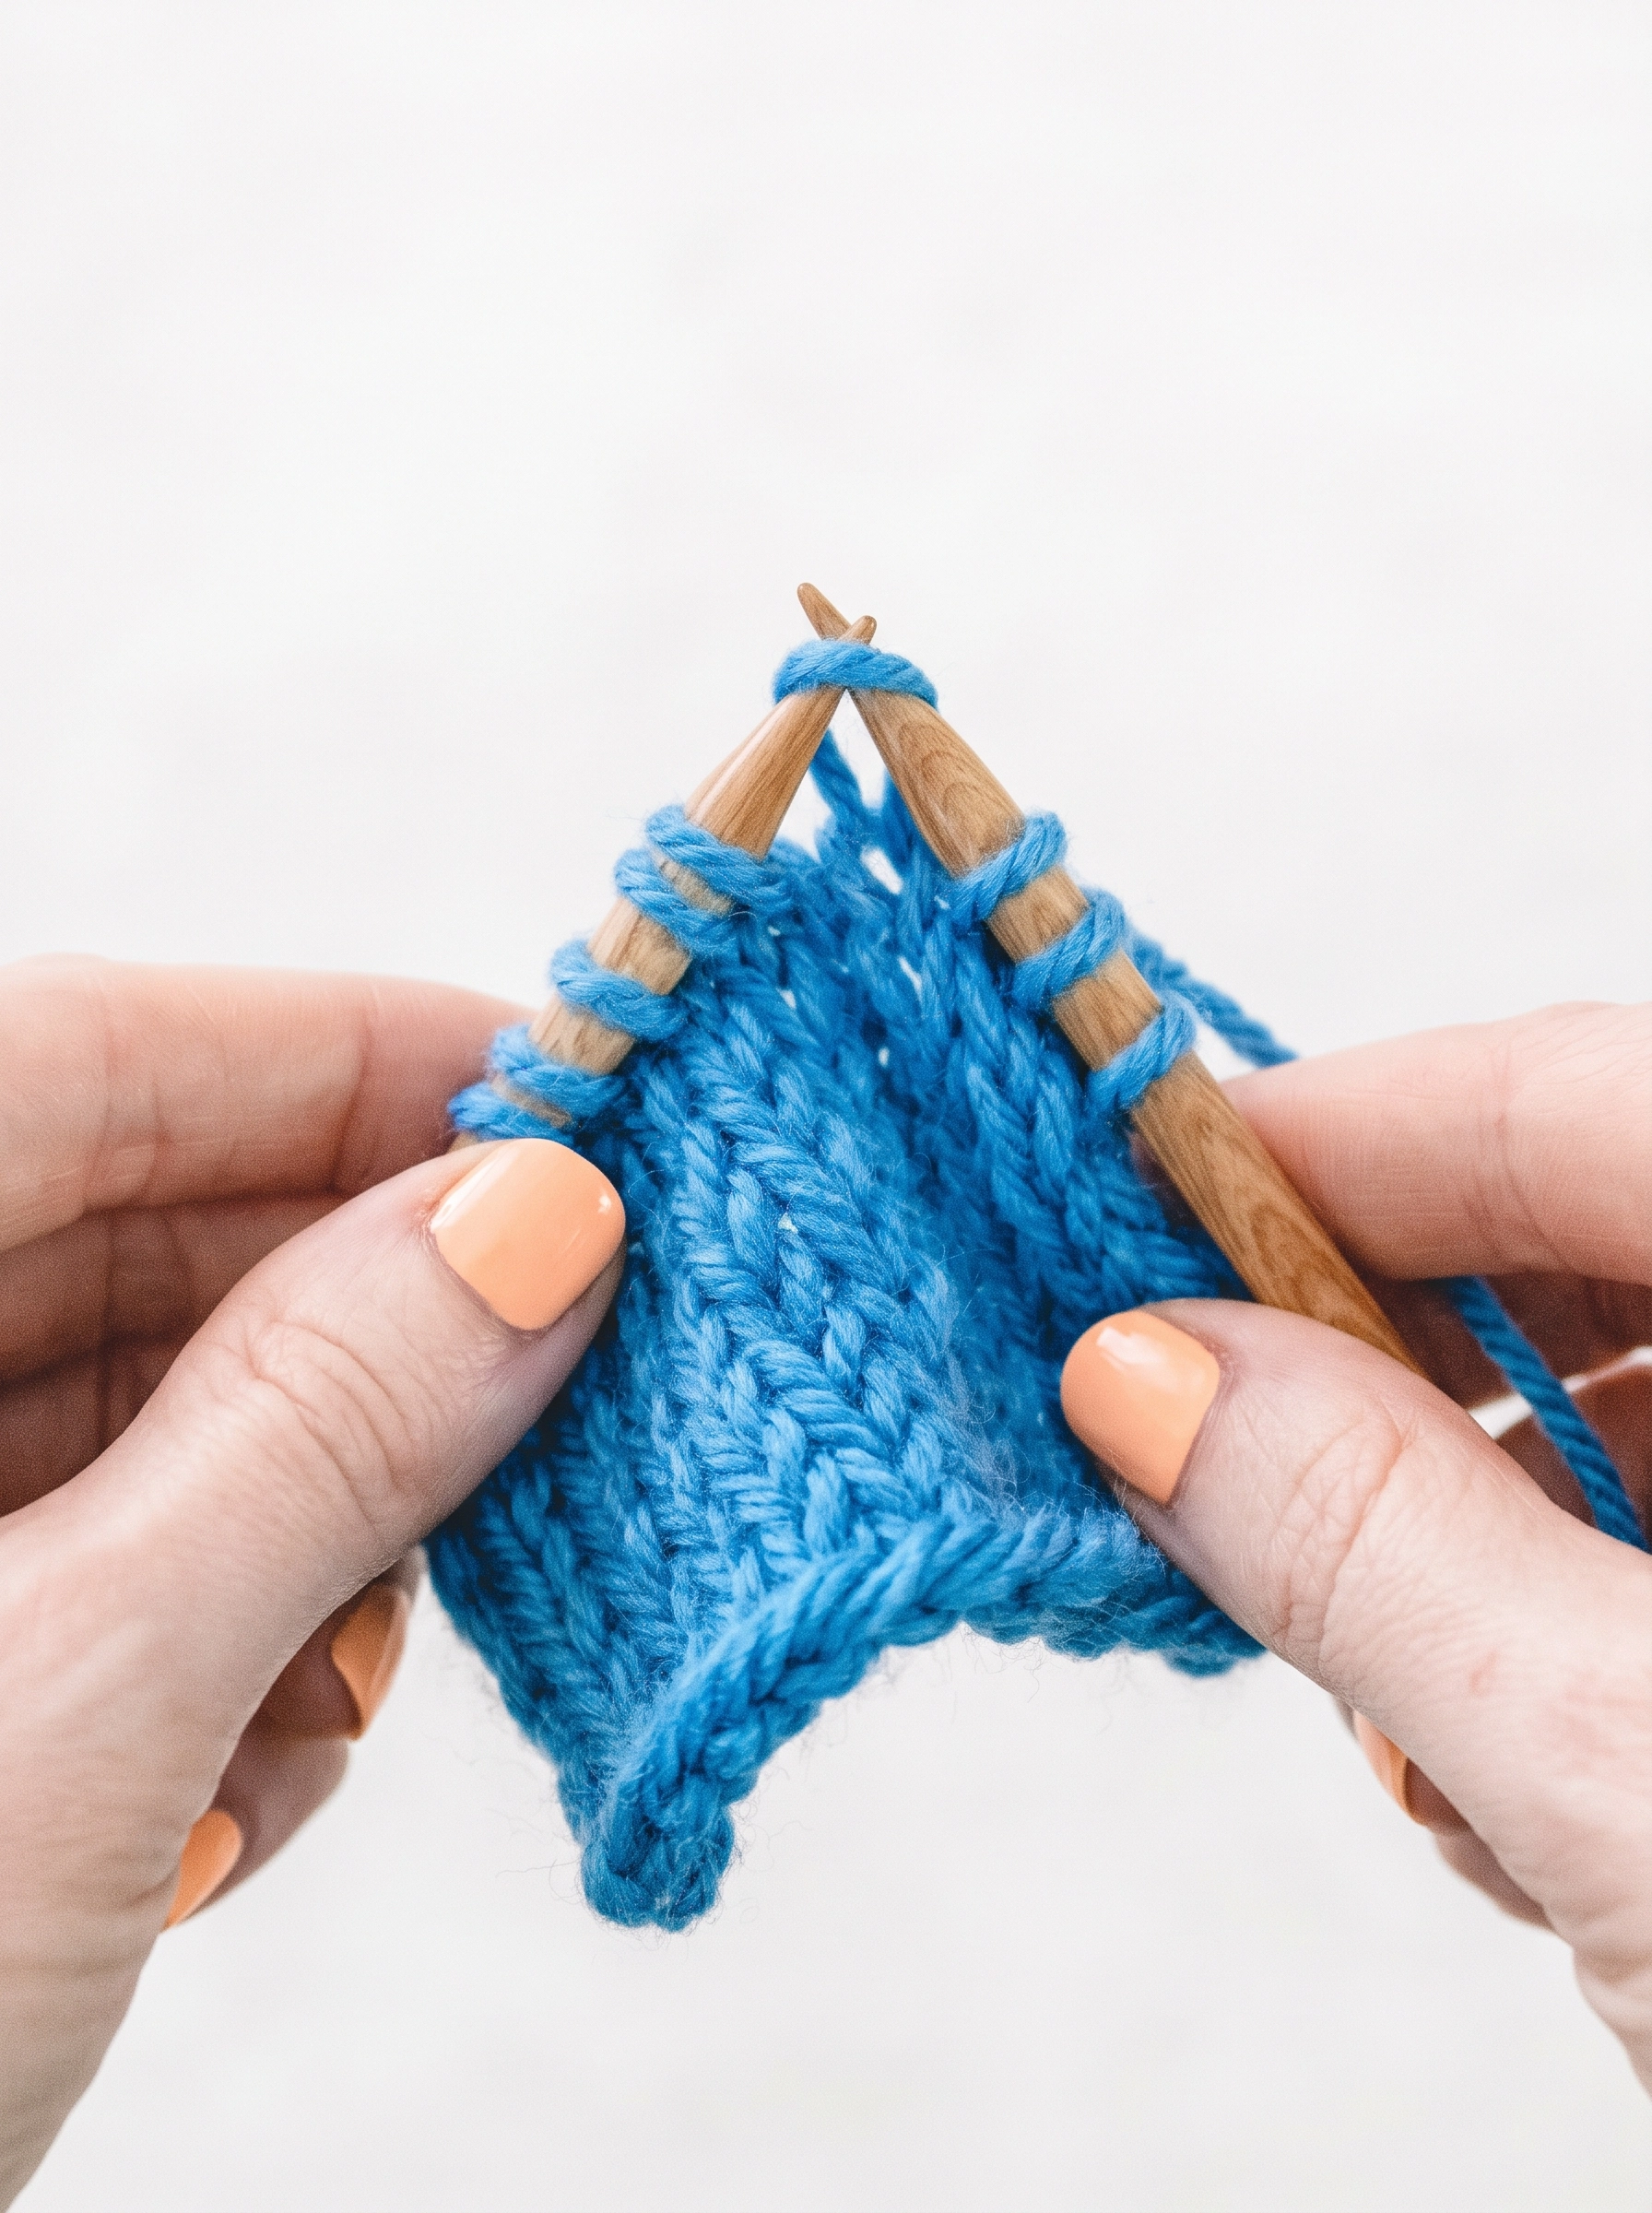
Insert the left needle into the fronts of those two slipped stitches, positioning the needles so you can knit the pair together through their back loops. Check that both stitches are caught before wrapping the yarn.
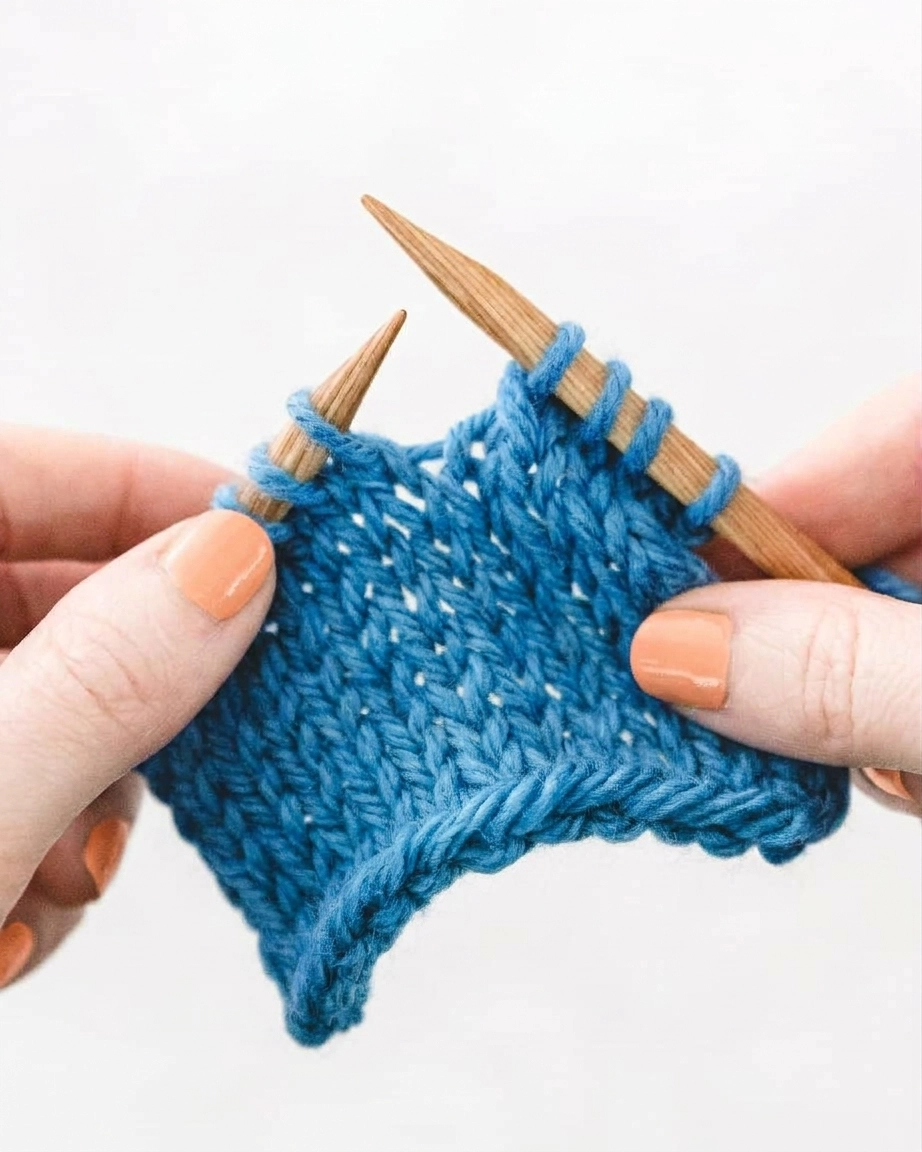
Wrap the working yarn as for a normal knit stitch, draw a new loop through both stitches, and let the old pair slide off. One new stitch remains on the right needle.

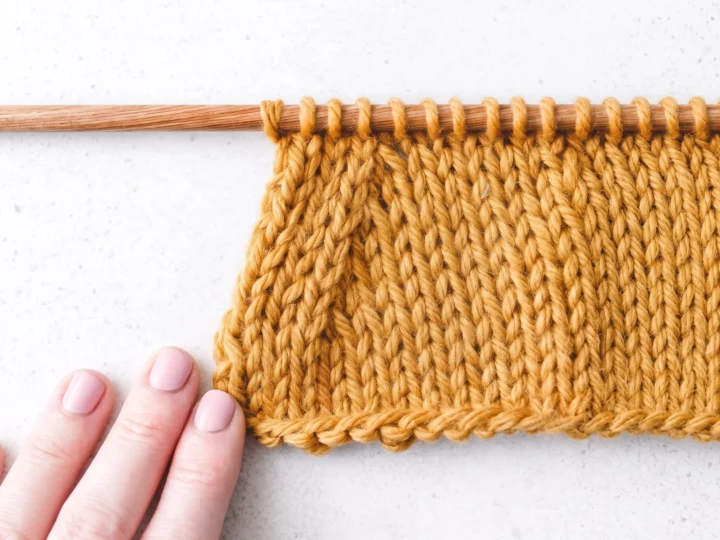
Pause to inspect the result. The two original stitches now share one new stitch, and the decrease line slopes left on the knit-facing side of the sample.

If the needle will not enter both back loops, ease the loops toward the tips rather than tugging them wider. A smooth, light-colored yarn is easier to read while learning this step.
Why slip the stitches first?
The initial slips change the orientation, or mount, of the two stitches. Knitting the remounted pair through the back loops lets them sit differently from an ordinary knit-two-together-through-the-back-loops decrease.
That orientation matters for the appearance of the decrease. Without the slipping step, the legs of the stitches can twist more visibly; with the standard SSK, the leftward line is clearer against stockinette fabric.
The exact look still depends on yarn, gauge, and your tension. Compare decreases on a swatch before treating any one version as the only neat option.


Practice and count your stitches
Cast on a small even number of stitches and knit a few rows of stockinette, or use an existing practice swatch. On a knit row, work to a spot where you can see the decrease clearly, make one SSK, and knit to the end.
Count the stitches before and after that row. The number after the decrease should be one less unless you also worked an increase elsewhere in the row.
Work a wrong-side row according to your swatch pattern, then check the right side. The top stitch of the SSK should point diagonally toward the left as the fabric lies flat.
Mark a decrease line if you plan to repeat it on later rows. Placing the next SSK in the same relative position creates a visible line, while shifting its location changes the shape.
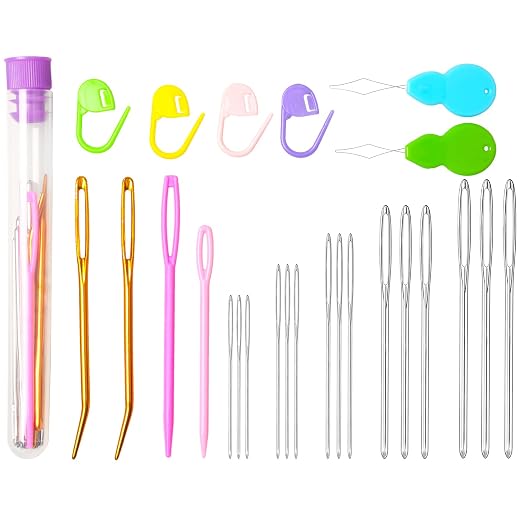


Make an SSK look tidier
Loose-looking SSKs often start with stretched slipped stitches. Keep the stitches close to the needle tips and move them only far enough to complete the maneuver.
Check that you have not accidentally slipped one stitch purlwise when the directions call for two knitwise slips. The modified version can be useful, but an unplanned mixture will make repeated decreases look uneven.
If the two loops separate while you knit them together, make sure the left needle passes through both slipped stitches before you wrap the yarn. Working only one of them leaves an extra stitch on the needle.
Try a modified SSK if your standard decrease still looks loose: slip the first stitch knitwise, the second purlwise, then knit the pair together through the back loops. Test it beside the standard version before changing a written pattern.
Some knitters prefer to work the stitch above an SSK through its back loop on the next row. That changes the appearance of the column, so sample it first and follow the pattern's shaping instructions if the line is meant to match another edge.
Do not tighten the new stitch sharply after finishing. A firm tug can distort the row below; steady tension in the surrounding stitches usually produces a more even surface.
SSK and other decreases
An SSK and a k2tog both turn two stitches into one, but they lean in opposite directions when seen from the knit side. That difference helps make paired shaping look balanced.
K2tog is worked by knitting two stitches together through their front loops in one motion. Its rightward lean makes it a common partner for SSK near opposite sides of a shaped piece.
You may also see SKP or sl1, k1, psso in a pattern. That method slips one stitch, knits the next, and passes the slipped stitch over; it also produces a left-leaning decrease, though the surface may look different.
K2tog tbl likewise uses two stitches and the back loops, but without the two knitwise slips of a standard SSK. Its twisted legs make it a distinct option rather than an identical replacement.
Before substituting one decrease for another, check the pattern's chart, fabric face, and any matching decrease elsewhere. A shared stitch count does not guarantee the same appearance.
For a direct comparison, place an SSK and a k2tog several stitches apart on the same stockinette row. The leftward and rightward lines become visible in identical yarn and gauge.
Where to place SSK in a project
On a knit-facing row, an SSK can draw a shaping line toward the center when placed along one side, with a right-leaning decrease on the opposite side. The exact edge placement depends on the designer's directions.
In a lace pattern, the SSK may sit beside a yarn over. There the decrease balances the added stitch count, while its lean contributes to the direction of the lace motif.
In the round, the hand movements for an SSK are the same as on a flat knit row. Read the current round's stitch orientation and keep any markers in their instructed positions.
Questions knitters ask
Is SSK always left leaning? The standard SSK leans left when viewed from the knit side. Its appearance on the reverse side differs, so check which face the pattern uses as its right side.
Do I slip both stitches together? No. Transfer the first stitch knitwise, then the second knitwise. Slipping the pair at once can remount them differently and alter the decrease.
Should the yarn be at the front or back? For the knit-row method described here, hold it at the back. A pattern may give special directions for another fabric or for a purl-side decrease.
How do I know I used two stitches? After the SSK, only one new stitch should remain where the two old stitches sat. Count the whole row if the decrease is part of a larger shaping sequence.
Can I substitute an SSK for k2tog? Both remove one stitch, but the line will lean the other way. Substitute only when the direction and look suit your project.
What if I cannot see the lean? Knit a few plain stitches around the decrease, lay the swatch flat, and inspect the knit side. Textured or fuzzy yarn may hide a subtle slant.
Does needle material matter? The essential movement does not change, though needle grip and yarn texture may affect how easily you slip the stitches. Use tools that let you control the loops without stretching them.
Is an SSK the same as an SSP? No. SSP uses purl movements and is worked where a pattern calls for a purl-side decrease. Follow the pattern's exact abbreviation key.
For more practice reading knit stitches, see our stockinette guide and beginner knit-stitch tutorial. A short swatch with SSK and k2tog side by side makes the difference easy to see.
What’s Next?
Pin this post: Save this tutorial to your Pinterest boards so that you can come back to it later.
Leave a comment: We love to hear your feedback. Tell me in the comments below!
Share on Instagram or Facebook: When you make this project, share it on social media and tag me @iheartdiybystacy. We love to see what you make!
Have questions? Join the Facebook Group!
We hope this article was useful for you! If you have any additional questions, feel free to join my Facebook Group. We created this group for you to share pictures, ask questions, and help each other out.
I hope this article was useful for you! If you have any additional questions, feel free to join my Facebook Group.
Join the group to share pictures, ask questions, and help each other out.
Have a question? Use the form above to submit your question or comment.
I love hearing from you and seeing what you made!