


If you can make a knit stitch, you can make a scarf. This beginner pattern uses one stitch on every row, so you can concentrate on holding the needles, keeping a steady width, and watching the fabric grow.
You will make a flat rectangle in garter stitch: cast on, knit across, turn, and repeat until the scarf reaches a length you like. Then bind off and hide the yarn ends. There is no purl row to memorize.
The directions below give you a 20-stitch starting point with bulky yarn. Because yarn and tension change the width, the guide also shows how to check your first few inches and adjust before you commit to a full-length scarf.
Quick answer: how do you knit a scarf?
Cast on 20 stitches with smooth bulky yarn and needles that suit the yarn. Knit every stitch across the first row. Turn the work and knit every stitch again. Continue in the same way until the scarf is about 64 inches long, or your chosen length, then bind off and weave in the ends.
Knitting every row while working flat makes garter stitch, a ridged fabric that looks similar on both sides. The Craft Yarn Council’s knitting guide uses the same knit-every-row definition. You can use this pattern as written or change its width and length after measuring your own fabric.
Gather the supplies
Choose smooth, solid-color bulky yarn, also called category 5. A clear stitch outline makes it easier to spot an accidental extra loop or a stitch that has slipped off the needle. The Craft Yarn Council weight chart identifies bulky as category 5.
Start with the needle size on the yarn label. For category 5 yarn, the Craft Yarn Council gives a general range of US 9 to 11, or 5.5 to 8 mm; the label and your own fabric are better guides than the category alone.
Straight needles are fine because the scarf is worked back and forth. Circular needles also work if you turn the project at the end of every row rather than joining it into a tube. Choose a needle long enough to hold the stitches comfortably.
Wood or bamboo may feel easier to control when you are learning because the stitches tend to slide less freely than on slick metal. If you already like metal needles, use them; a comfortable grip matters more than a particular material.
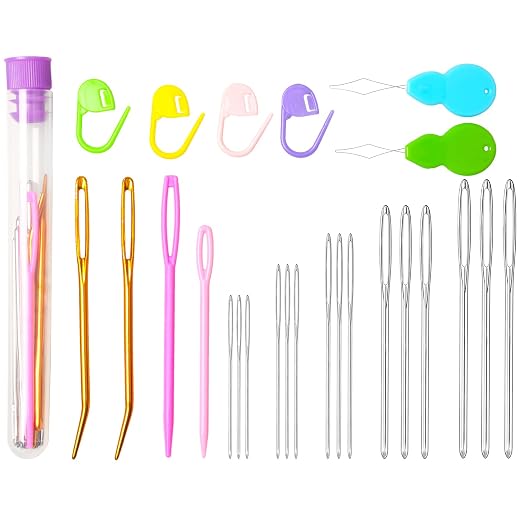
Keep scissors, a tapestry needle, and a tape measure nearby. A small notebook or a removable marker can help you remember where you stopped, but neither is required for this one-row repeat.

Buy enough yarn from the same color lot for the length you want. Skein yardage varies widely, so this guide does not promise that a fixed number of skeins will fit every scarf. The swatch method below helps you estimate your own use before buying the last skein.




Decide on width, length, and yarn amount
For a first scarf, aim for a width that feels comfortable around your neck. The 20-stitch cast-on is a starting instruction, not a guaranteed inch measurement. Knit a few inches, lay the fabric flat without pulling it, and measure across the middle.
If the piece is narrower than you want, start over with a few more stitches. If it is too wide, remove a few. Make this change early; adding or removing stitches partway through a plain rectangle would change the edge line.
You can estimate a new cast-on from your fabric: divide the number of stitches on the needle by the measured width to get stitches per inch, then multiply by your target width. Round to a whole stitch. For example, 20 stitches across 7 inches is about 2.9 stitches per inch, so an 8-inch target would start near 23 stitches.
This pattern suggests 64 inches as a practical first target, but you can stop sooner for a short scarf or continue for extra wraps. Measure from the cast-on edge while the piece lies flat. Leave enough yarn for the final bind-off and tails.
To estimate yarn, knit several inches at the final width, weigh that section on a small scale, and divide its weight by its length. Multiply by the planned scarf length and allow extra for the bind-off and finishing. This is an estimate because tension and any fringe can change consumption.
Learn the three moves before starting
Cast on makes the first row of loops. Any cast-on you can work comfortably is suitable here. If you need a refresher, use our beginner cast-on guide or the long-tail cast-on lesson.
Knit stitch moves one loop from the left needle to the right while making a new loop through it. Our knit-stitch tutorial shows the motion in detail if the short description below is not enough.
Turn the work means switch the needle holding the newly made row to your left hand, then begin again with the empty needle in your right hand. The working yarn will be attached near the stitch you are about to knit.
When you knit every row of a flat piece, horizontal ridges build on both faces. A ridge represents two rows, so the texture also gives you a visual way to check progress without counting each row aloud.
Bind off secures the live stitches so the scarf does not unravel. You will knit stitches and pass the older loop over the newer one. Our bind-off guide gives a longer walkthrough and ways to avoid a tight edge.
Free beginner scarf pattern
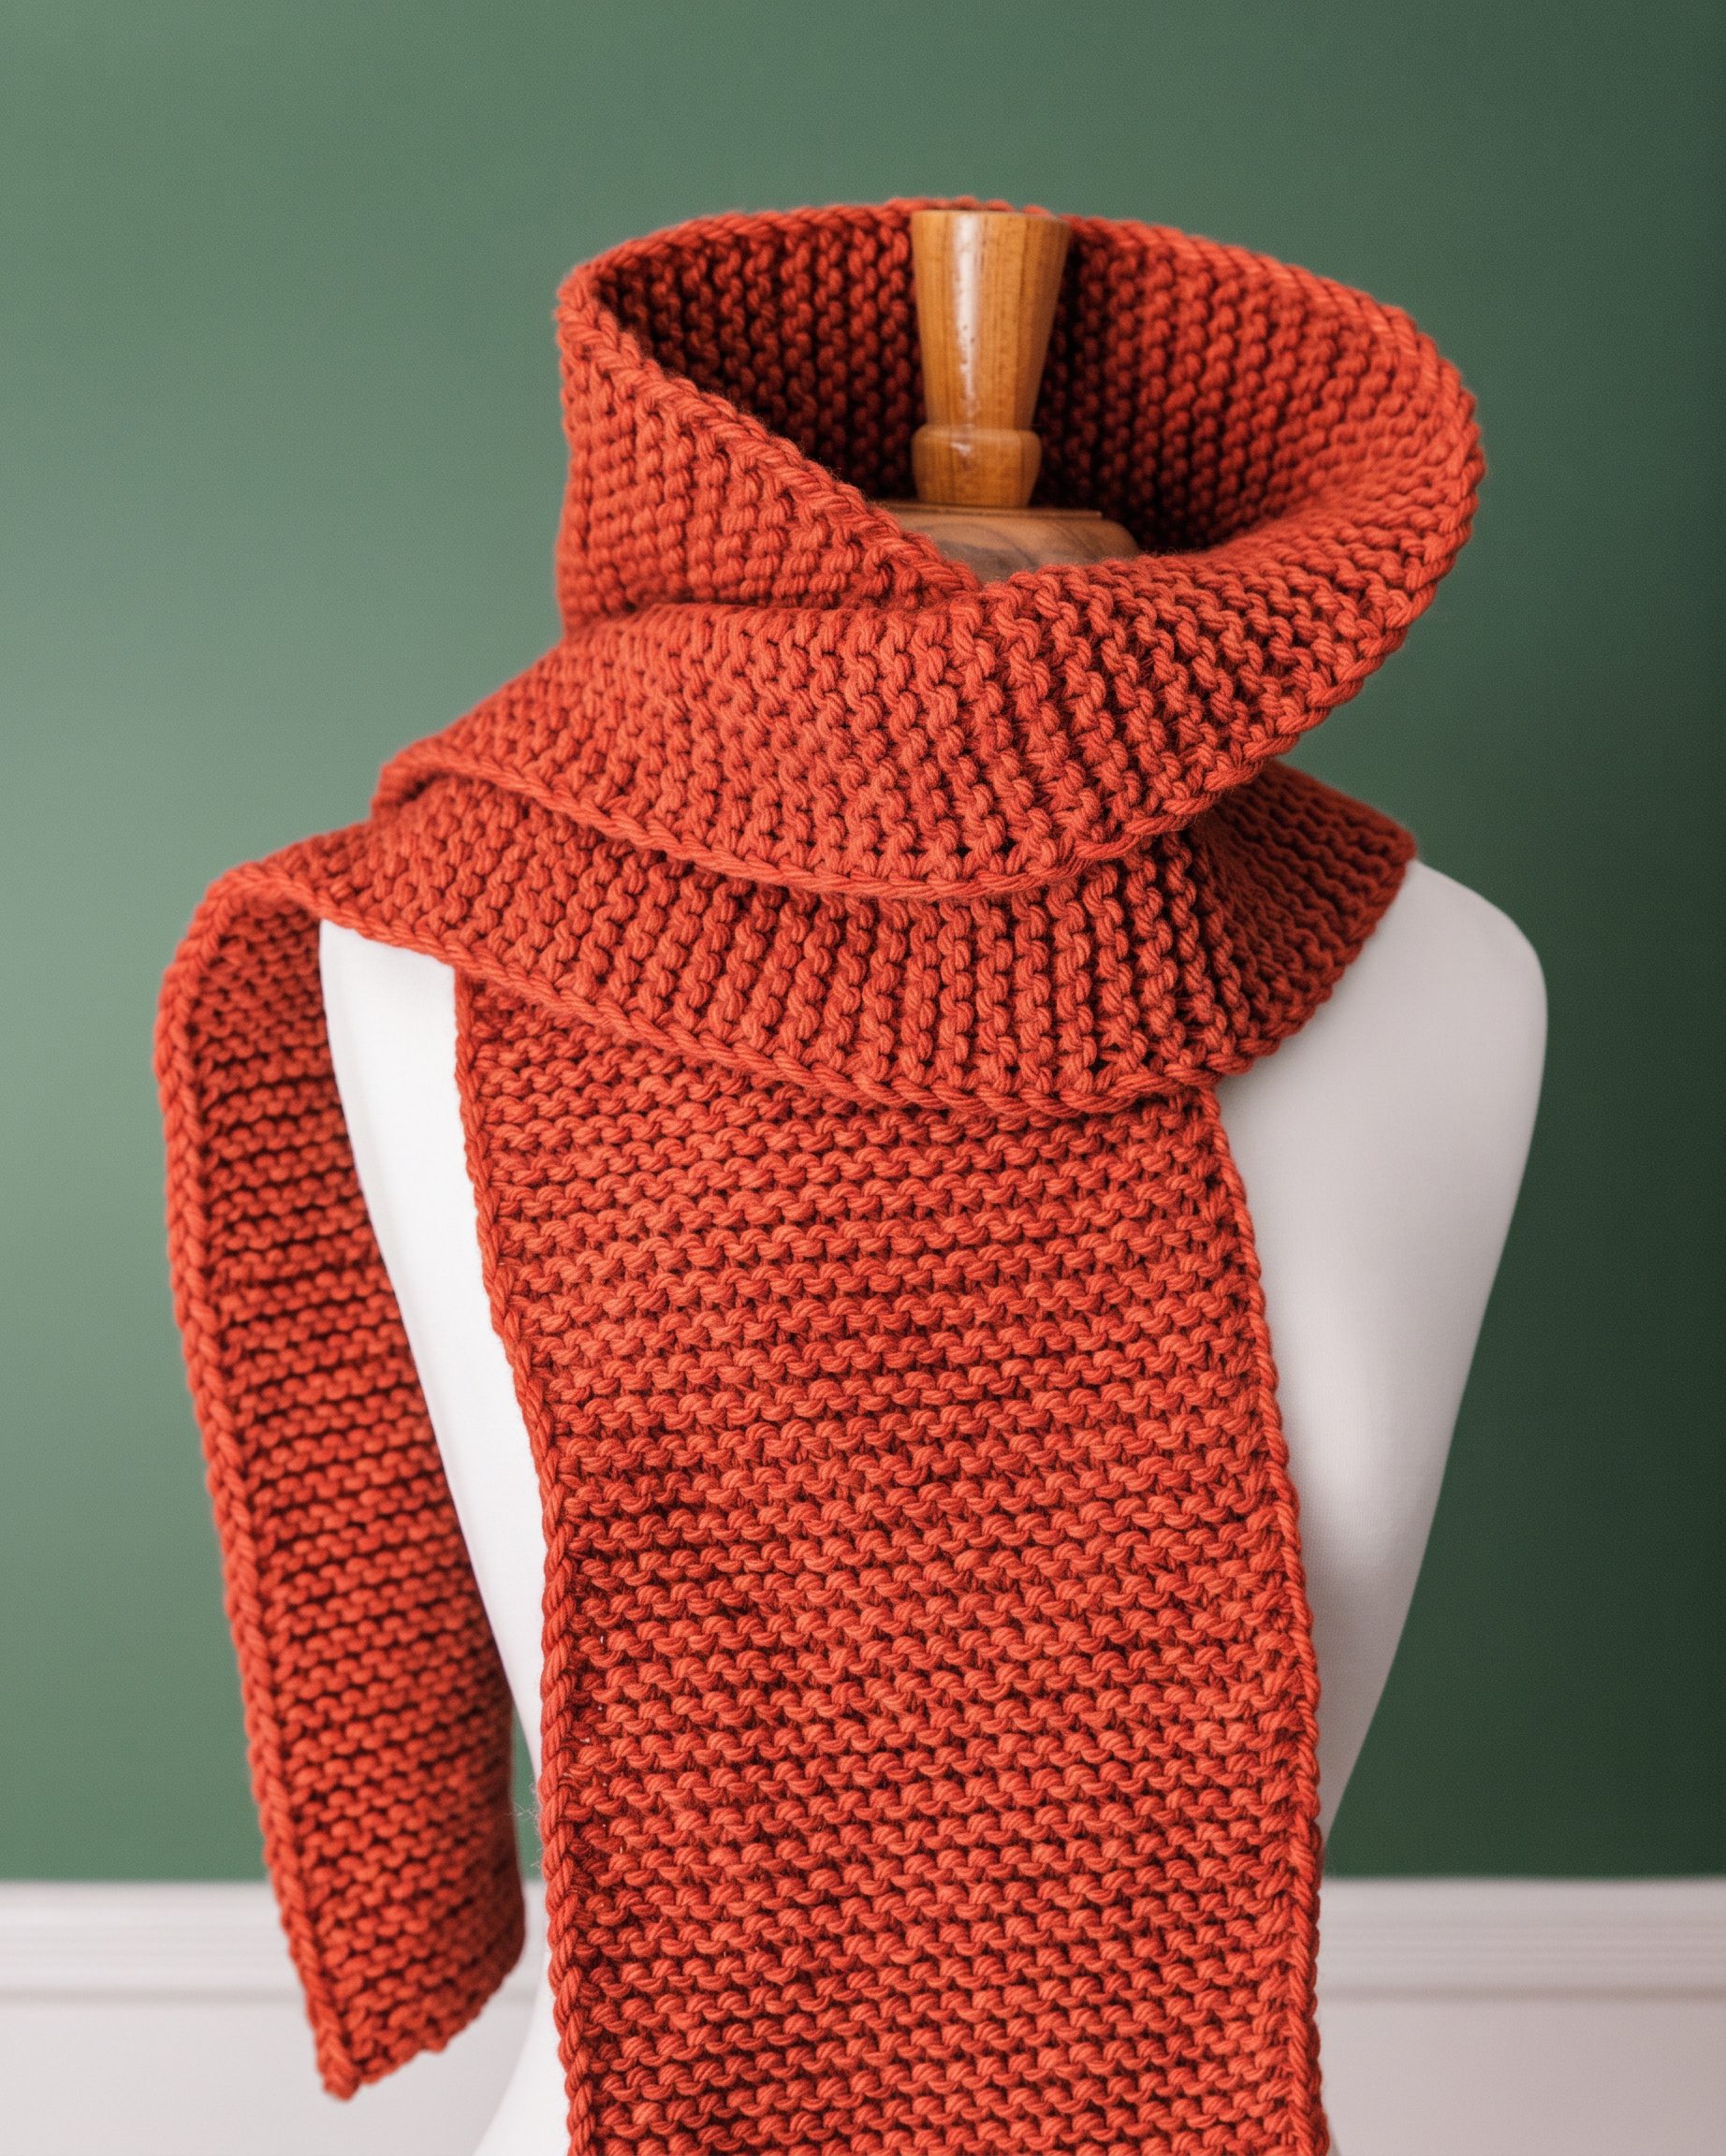
This is a flat garter-stitch scarf made with category 5 bulky yarn and needles suited to that yarn. Cast on 20 stitches, work every row in knit stitch, and aim for a length of about 64 inches. Your measured width and yarn use will depend on your gauge.
Make a slip knot and cast on 20 stitches. Count the loops on the needle before you begin the first row; the slip knot usually counts as one stitch in a standard long-tail cast-on. Keep the cast-on comfortably loose enough to accept the other needle.

If a loop falls off while you count, put it back before knitting. Starting with the correct stitch count is much easier than trying to diagnose a widening or narrowing scarf several inches later.


Work the rows
Row 1 is simple: knit each of the 20 stitches from the left needle onto the right needle. Check the count at the end. You should still have 20 live stitches, and the working yarn should come from the last stitch made.
Turn the work. For Row 2 and every row after it, knit all 20 stitches again. You do not need to alternate knit and purl rows; that would produce a different fabric. Keep repeating this single row until you reach your chosen length.
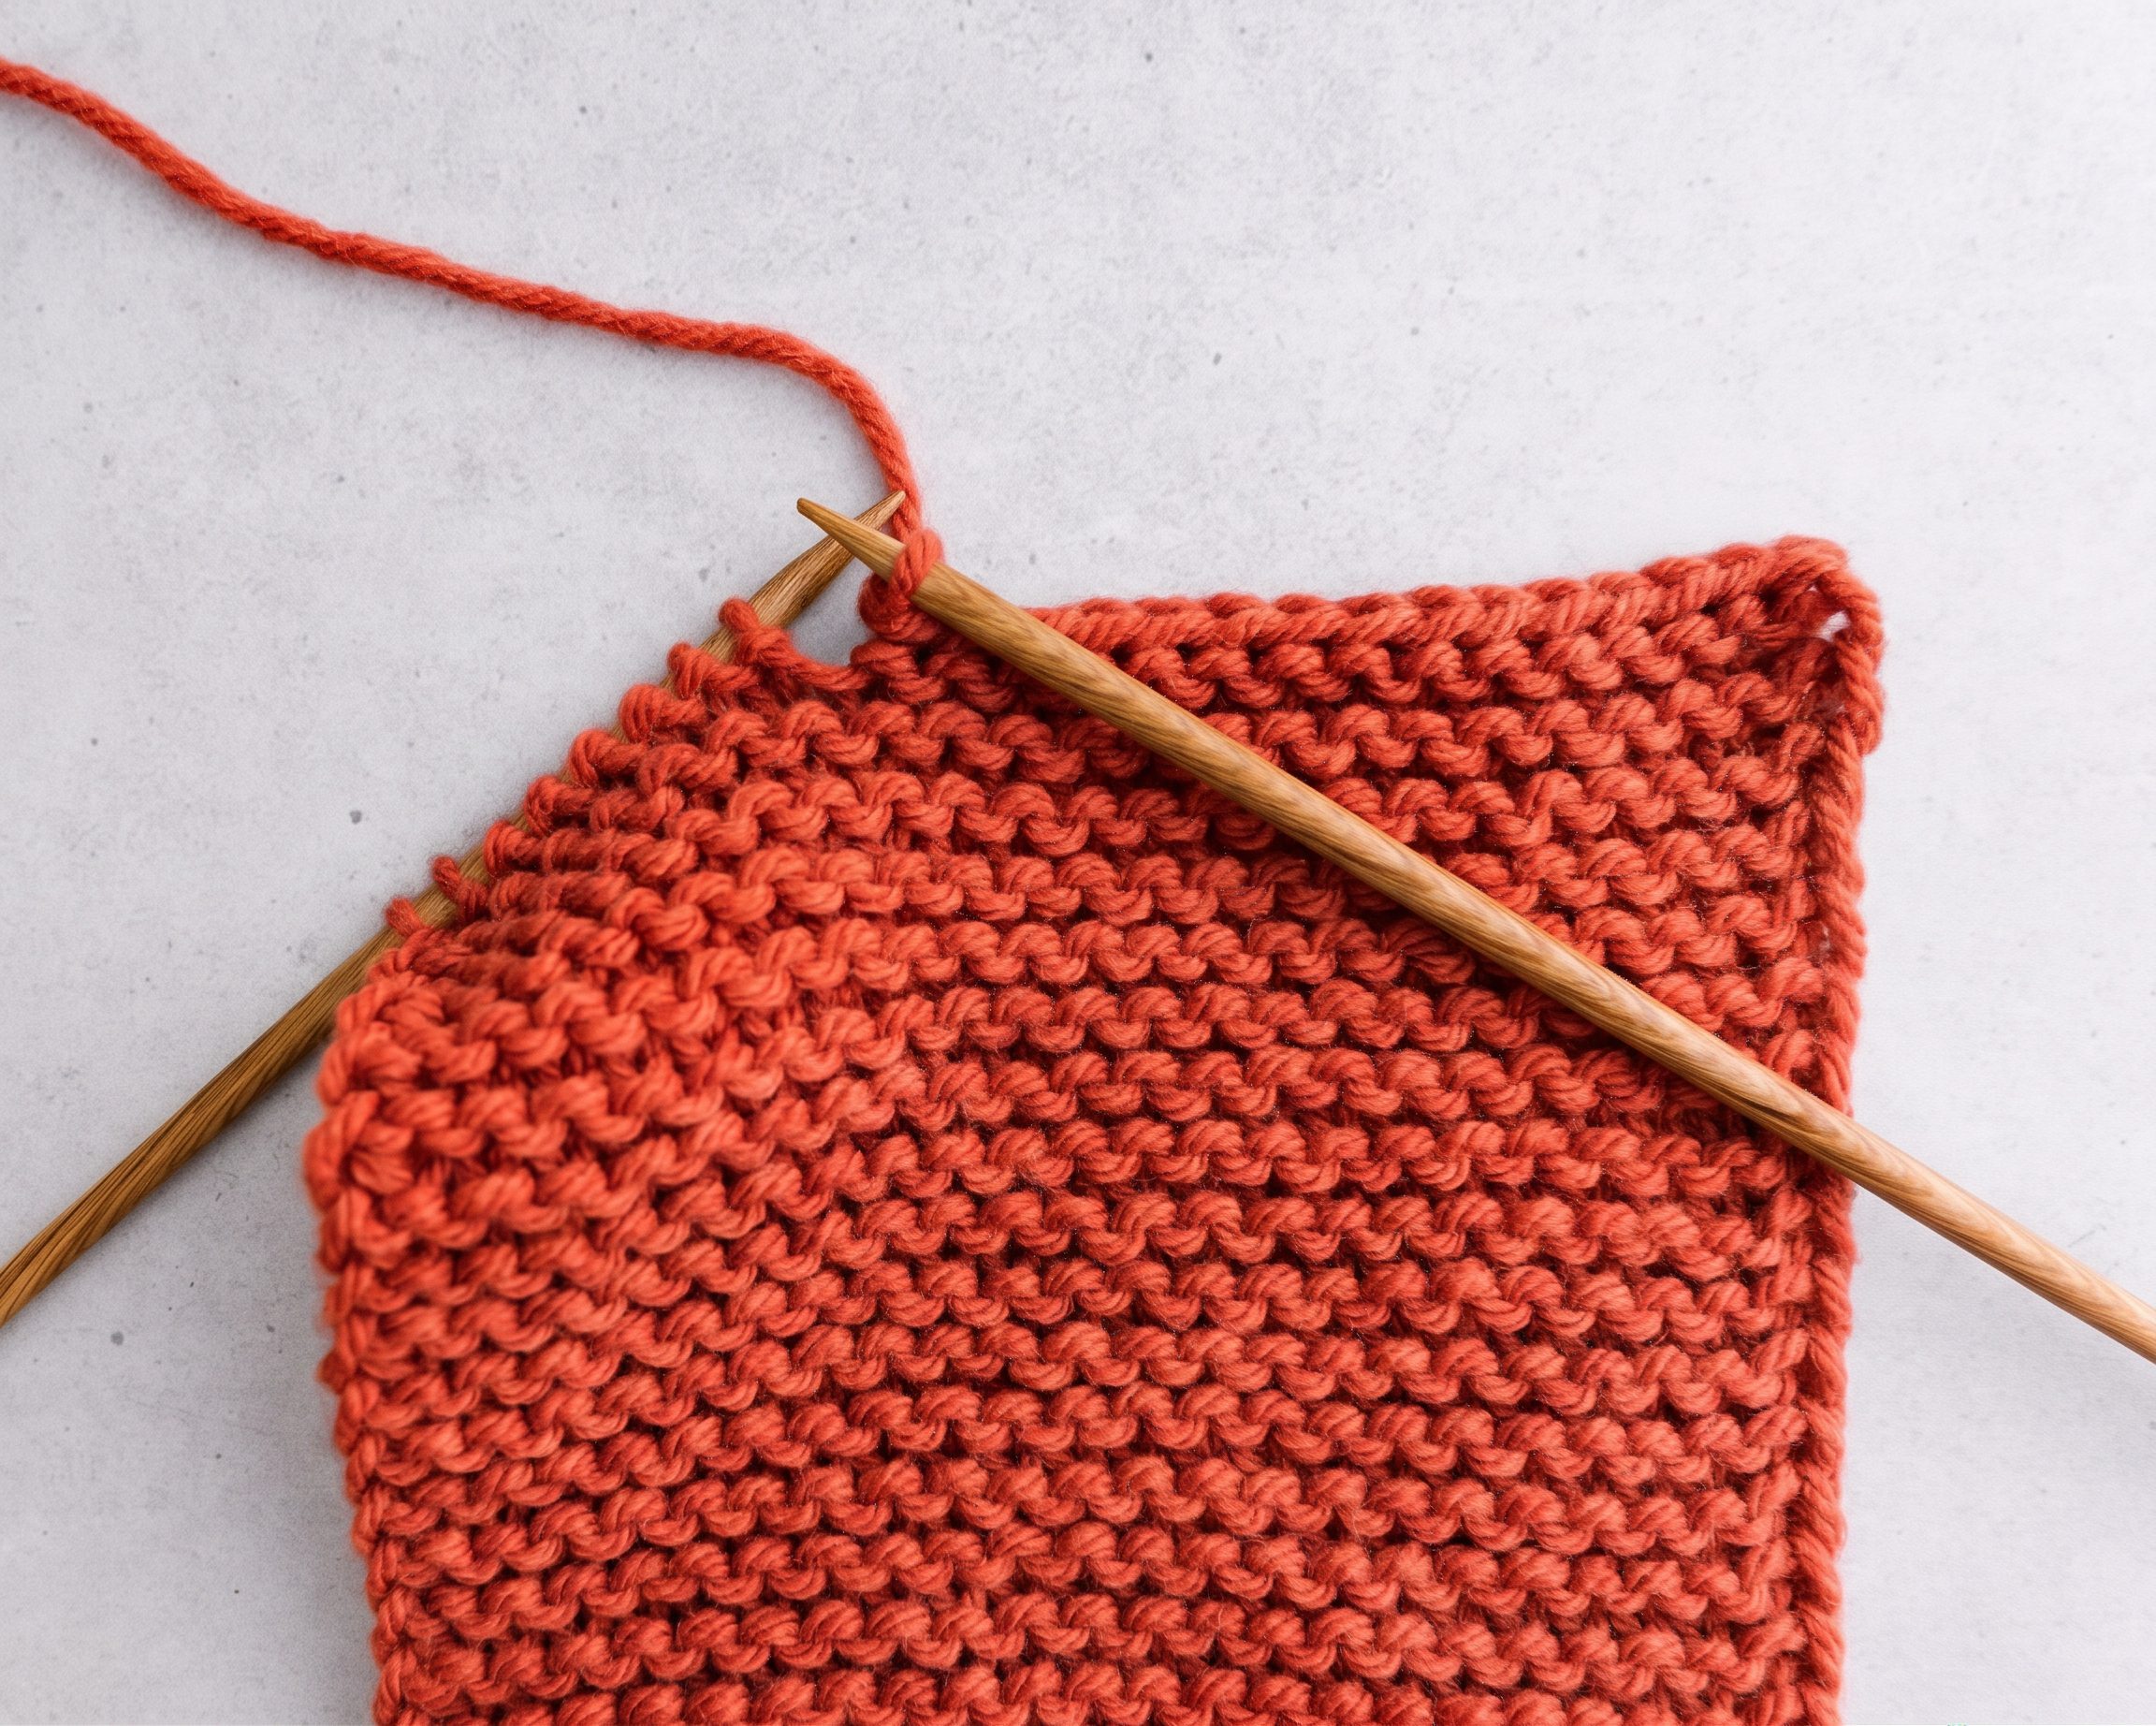
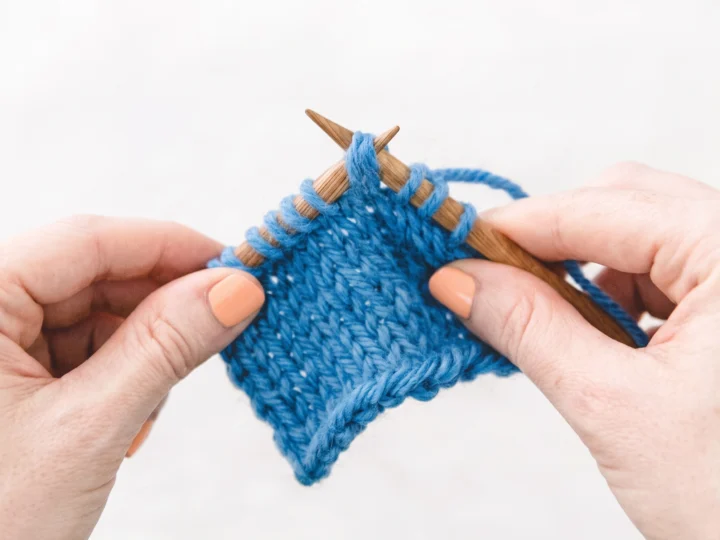
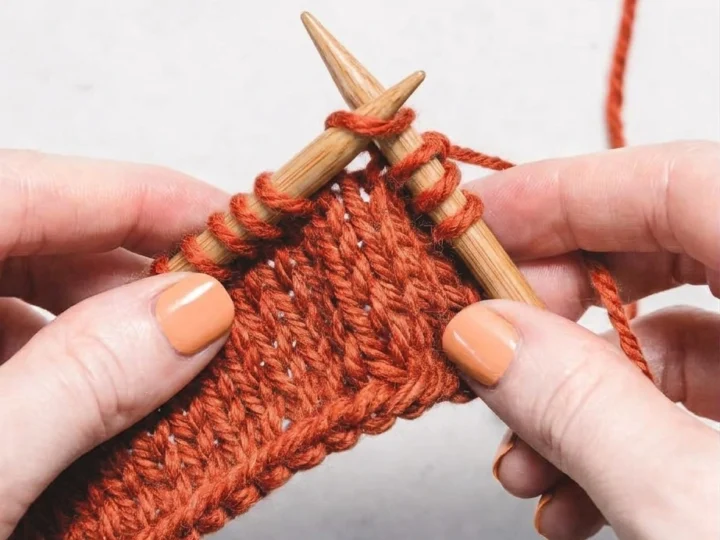
For each knit stitch, insert the right needle through the front of the next loop on the left needle, from front to back. Keep the new needle tip behind the left needle, and make sure you have entered just one stitch.

Wrap the working yarn around the right needle tip, then draw that new loop through the old stitch. Slide the old stitch off the left needle only after the new loop is safely on the right needle. The four close views here should follow that order.
Let the loops sit on the wider shaft of the needle rather than tightening each one around the point. The needles should move through the stitches without force. A little variation is normal while you learn.
After several rows, lay the scarf on a table and compare its two long edges. If they look roughly parallel and your stitch count is still 20, keep going. Check every few inches instead of waiting until the end.
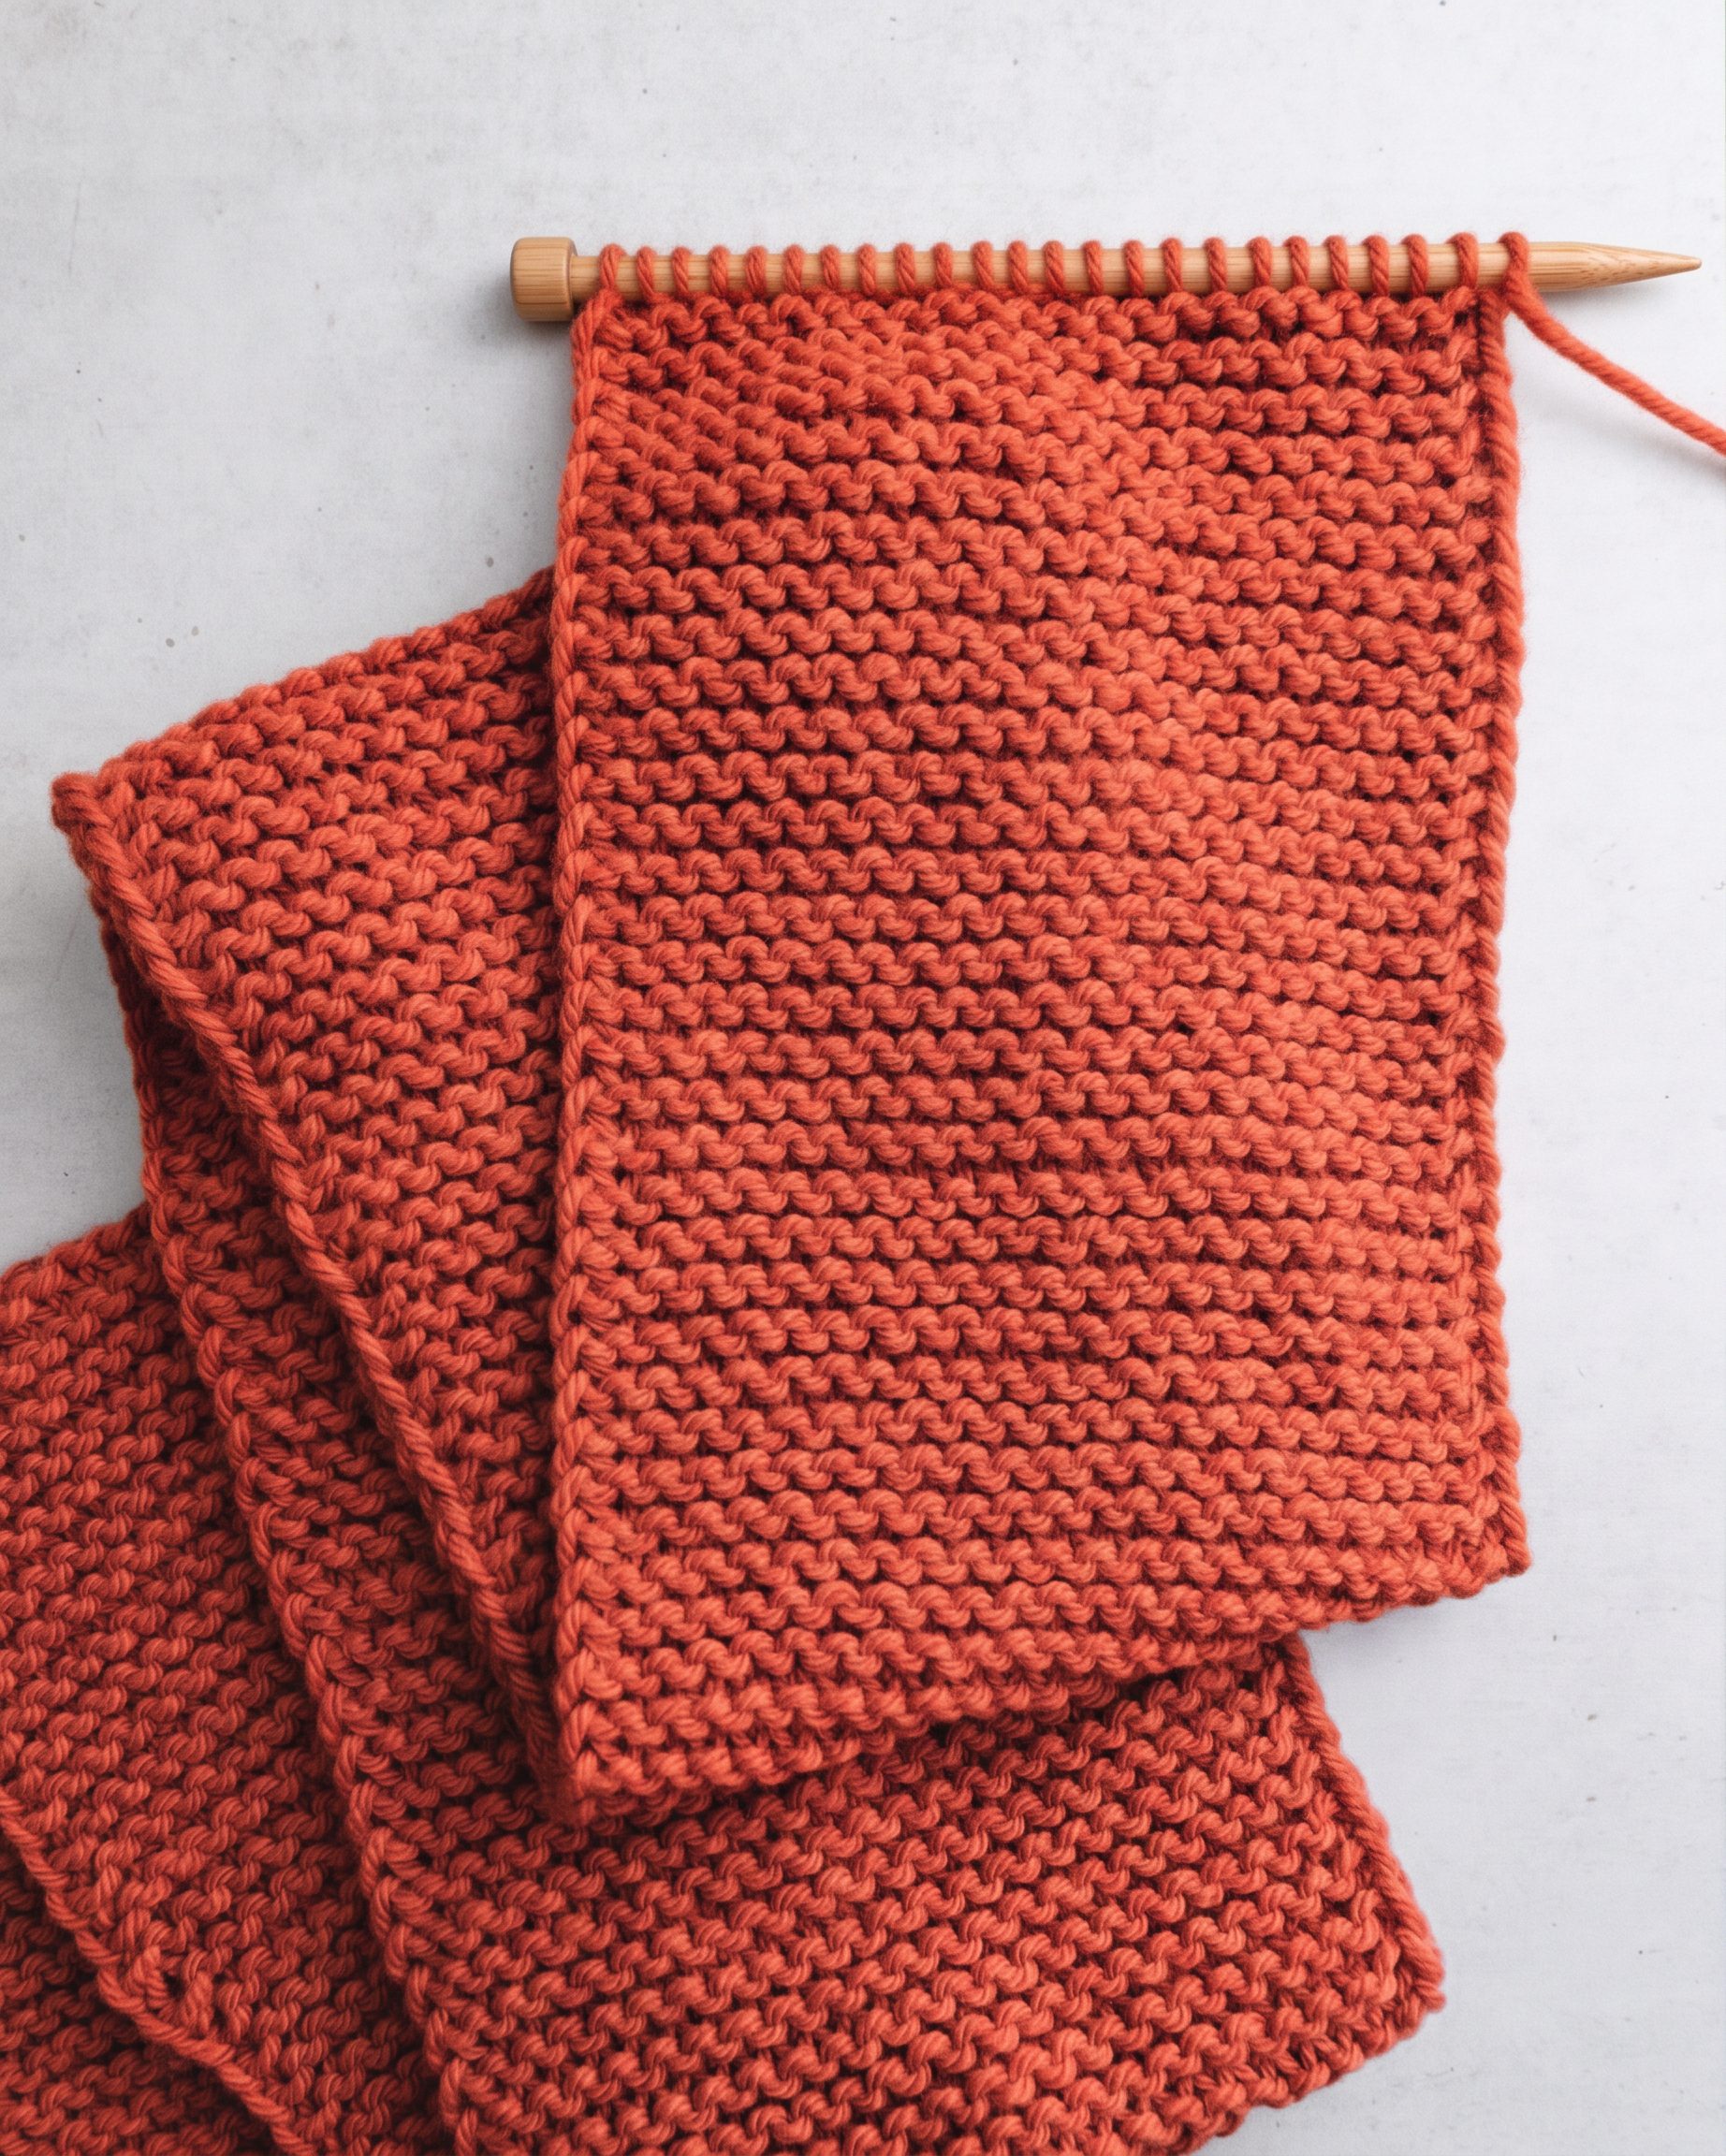
If you have one extra stitch, look for a yarn over: the working yarn may have gone over the needle instead of staying in the normal path between stitches. If a stitch is missing, check whether a loop slipped off the end.
Measure the scarf from the cast-on edge to the row on your needle without stretching it. Stop around 64 inches if that suits you, or use the length of a scarf you already like as a personal reference.
If you need to attach a new skein, do it near an edge rather than in the middle of a row. Leave a tail from each yarn end to weave in later. Check the new skein’s color lot and care instructions before joining it.
Bind off and finish
Knit two stitches. Lift the first stitch on the right needle over the second and off the needle. Knit one more stitch, pass the older loop over it, and continue across. When one stitch remains, cut the yarn, pull the tail through that loop, and snug it gently.
Do not pull every bind-off stitch tight. If the top edge is noticeably narrower than the bottom, undo that edge and try again with a looser hand or a larger needle. The finished edge should flex with the scarf.
Thread each yarn tail onto a tapestry needle and weave it through several nearby garter ridges on the back of the fabric. Change direction once, then trim only after the tail feels secure. Treat joined-yarn tails the same way.
Check the yarn label before washing or blocking. If the fiber and care instructions allow it, gently wet the scarf, remove excess water without wringing, and lay it flat to dry in the shape you want.
Let the scarf dry fully before wearing or storing it. Measure once more after drying; some fibers relax and change dimensions. If you are happy with the fabric as it came off the needles, you can skip wet blocking and simply smooth it flat.


Optional: give the long edges a tidier look
For a slipped edge, bring the working yarn to the front at the start of each row. Slip the first stitch from left needle to right needle as if to purl, without working it. This step is optional; a scarf knit in every stitch is complete without it.
Move the yarn between the needle tips to the back before knitting the next stitch. Carrying it over a needle can make an unwanted extra loop and change your stitch count.
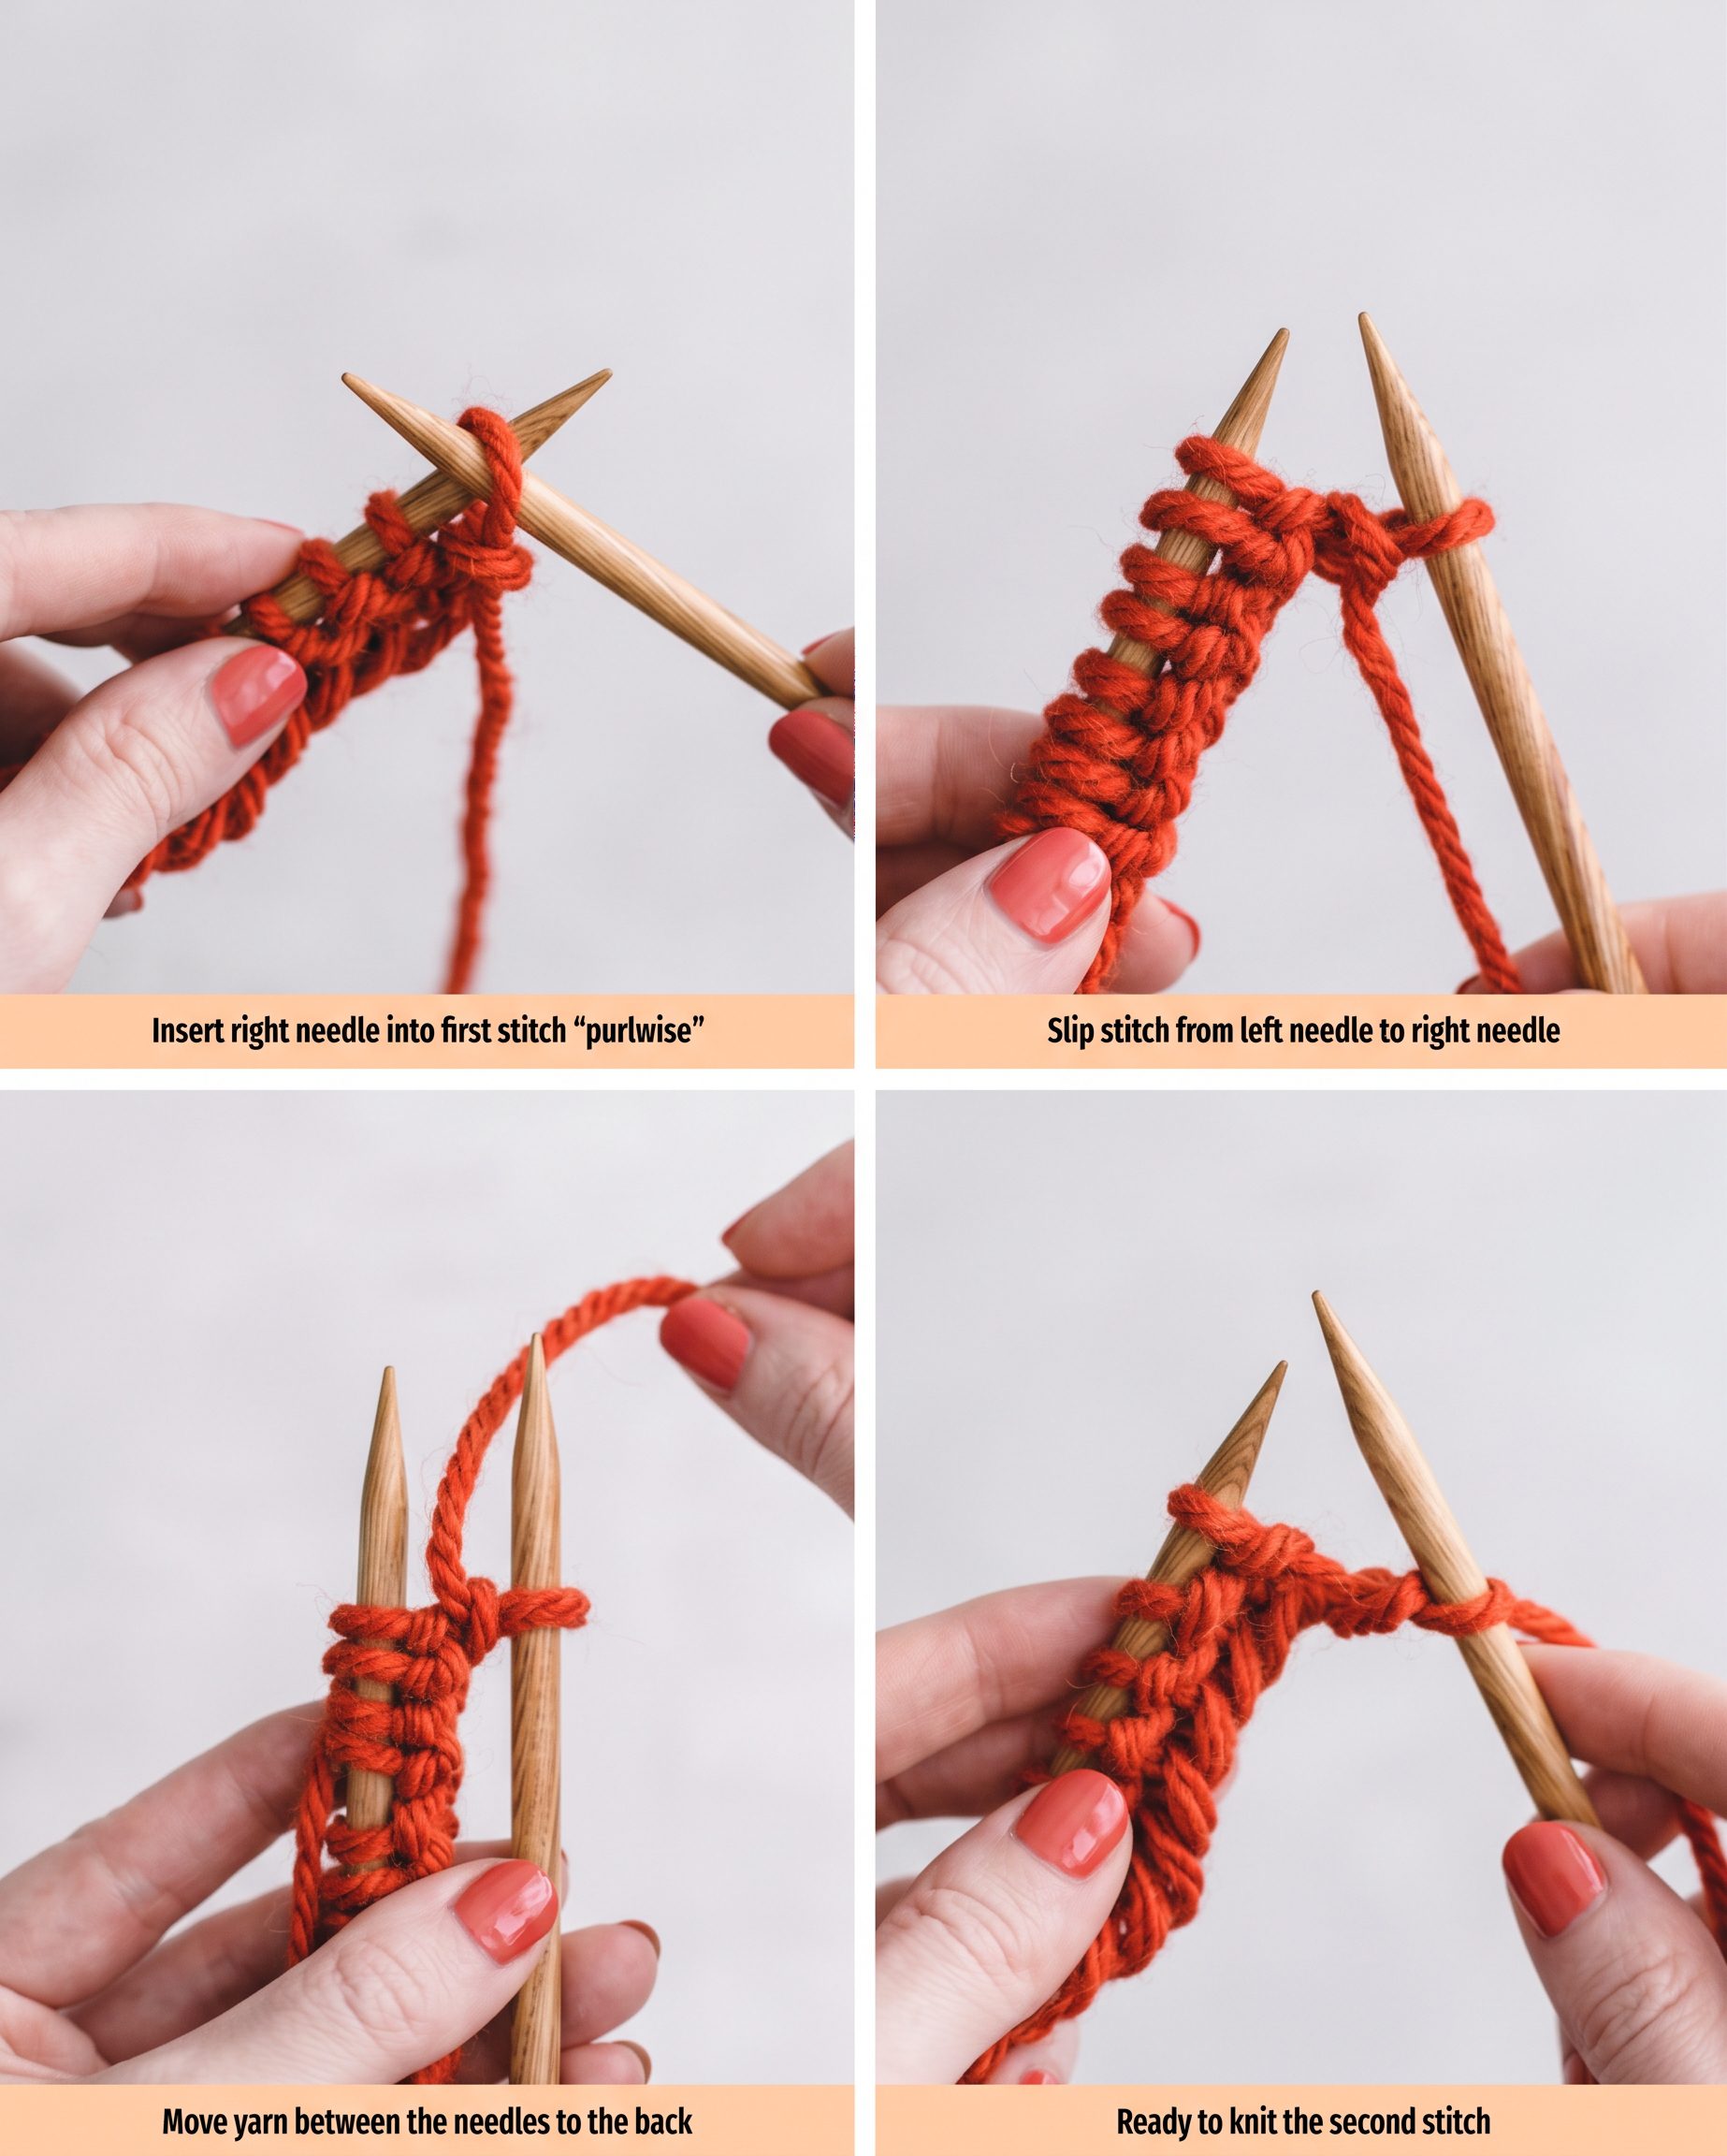
Knit the remaining stitches across the row. Turn, bring the yarn to the front again, and repeat the same slipped-first-stitch move at the start of the next row.
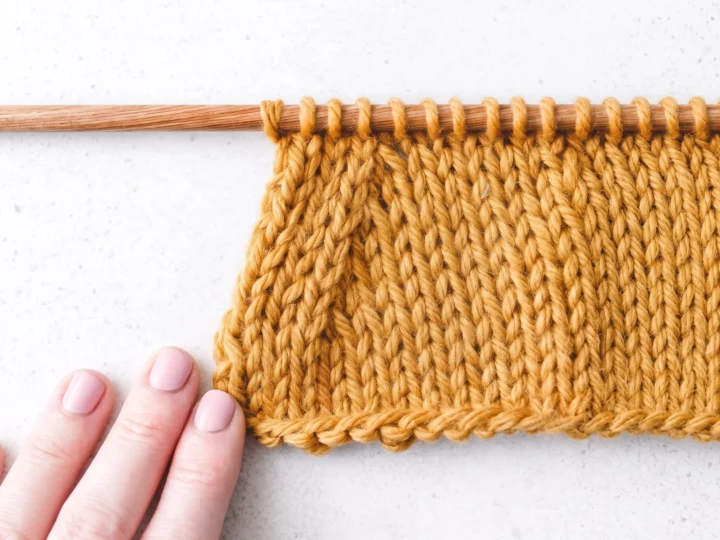
The slipped stitch stretches along the side and can make a more defined chain-like edge. Try it on a small practice swatch first, since the edge may look different with different yarn and tension.
Choose this edge treatment from the beginning if you want it across the whole scarf. Switching halfway through will leave a visible change along both sides. If you are already well into the plain version, finishing it consistently is a good choice.
Fix common beginner problems
The scarf gets wider or narrower. Count the stitches on the needle. If the count changed, look for an extra yarn over or a dropped stitch near the edge. If the count is unchanged, your tension may have shifted; compare the width of the first and latest sections without stretching them.
There is a loose loop along the side. At the start of a row, check where the working yarn is coming from before making the first stitch. Pulling the yarn over the needle can make the last stitch of the previous row appear doubled.
A hole appears in the fabric. An accidental yarn over can create a hole and add a stitch. Count the stitches on your needle. If the count increased, undo rows back to the mistake and rework them; if a stitch dropped, catch and secure the live loop before it unravels farther.
The ends pull inward. A tight cast-on or bind-off can pinch the scarf even when the middle is relaxed. Redo only the problem edge if possible, then compare it with the width of the fabric before weaving in the final tail.
The stitches are hard to move. Let the yarn feed from the skein without tugging after every stitch. If the fabric is consistently stiff, try the next needle size up on a small swatch and compare the drape before restarting.
The scarf rolls or twists on the table. Garter stitch is generally flatter than stockinette, but a tight edge, uneven tension, or the way the fabric was stored can distort it. Smooth it gently and use the care-label-safe finishing method above.
Make the next scarf your own
To add stripes, change colors at the edge at the start of a new row. Leave tails for weaving in, and decide whether you want each stripe to cover a whole number of garter ridges so the pattern looks deliberate on both faces.
Fringe is optional. Cut equal yarn lengths, fold them in half, and attach them evenly along each short edge after the scarf is finished. Account for fringe when deciding your total worn length and yarn purchase.
To change the width, use your measured stitches-per-inch estimate before casting on again. To change the length, keep the same stitch count and work more or fewer rows. The one-row repeat makes both adjustments straightforward.
With a different yarn weight, use the needle size recommended for that yarn and make a fresh width swatch. Do not assume the same 20 stitches will give the same width or require the same amount of yarn.
Scarf knitting questions
How many stitches should I cast on for a beginner scarf?
Start with 20 stitches for this bulky-yarn pattern, then measure after a few inches. The useful number depends on your yarn, needles, tension, and preferred width; a stitch count alone cannot guarantee a finished measurement.
How much yarn do I need?
Check the yardage on each label and estimate from a short scarf-width sample. Divide the sample’s weight by its length, scale to your planned length, and leave extra for tails or fringe. This avoids pretending that every skein has the same yardage.
How long does it take to knit a scarf?
It depends on your pace and how long you make it. Time yourself over a comfortable stretch of rows, measure how many inches you gained, and use that pace to estimate the remaining work. Your speed often changes as the motion becomes familiar.
Do I need to know how to purl?
No. This flat garter-stitch pattern uses the knit stitch for every row. Once you finish it, you can try a textured pattern such as our seed-stitch guide, which alternates knit and purl stitches.
Your first scarf does not need perfectly identical stitches. Keep the stitch count steady, make the length useful for you, and finish the ends securely. The next scarf will be easier because you will already know the whole route from cast-on to bind-off.
What’s Next?
Pin this post: Save this tutorial to your Pinterest boards so that you can come back to it later.
Leave a comment: We love to hear your feedback. Tell me in the comments below!
Share on Instagram or Facebook: When you make this project, share it on social media and tag me @iheartdiybystacy. We love to see what you make!
Have questions? Join the Facebook Group!
We hope this article was useful for you! If you have any additional questions, feel free to join my Facebook Group. We created this group for you to share pictures, ask questions, and help each other out.
I hope this article was useful for you! If you have any additional questions, feel free to join my Facebook Group.
Join the group to share pictures, ask questions, and help each other out.
Have a question? Use the form above to submit your question or comment.
I love hearing from you and seeing what you made!